
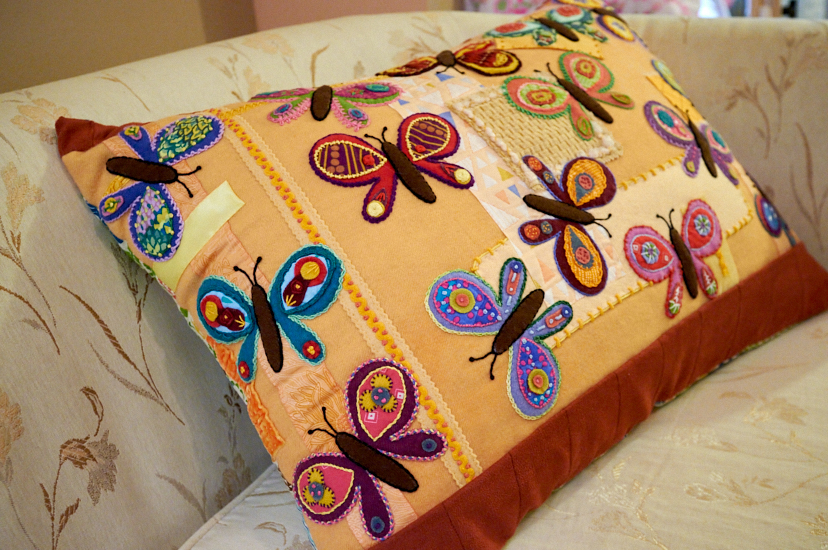
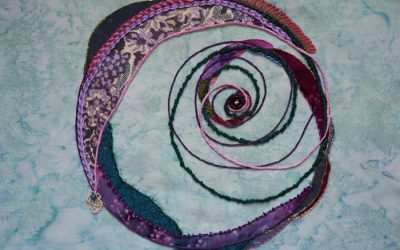
You might recall that I signed up for two Craftsy courses earlier this year. Today, I present to you my first finished project, from Embroidering Texture and Dimension from Sue Spargo which is a lesson in textured embroidery.
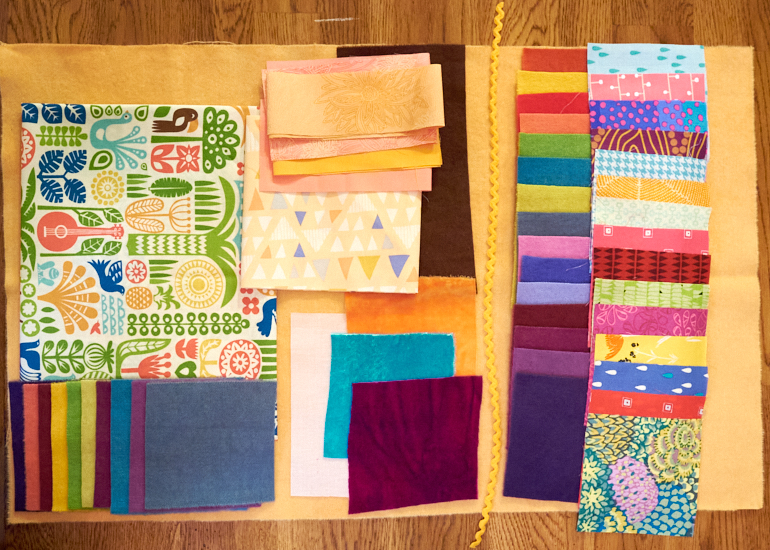
I ordered her fabric kit but could not justify spending an equal amount on the threads (once I become “pro”, I won’t mind spending for upgrades!). Instead, I used what I have left of a starter pack of cheap stuff Boy bought me many moons ago. Honestly, that wasn’t a terrible idea – most of the colors worked well and were chunky enough to stand out from the felt. Shrug.
My first challenge with this course is that the course itself was not what I expected. I am new to Craftsy and did not understand two important things: 1) that the cost of the class does not include supplies (this was a “DUH!” moment, considering how cheap the courses are), and 2) more related to the class itself, I had expected a step-by-step guide of how to replicate one of her pieces. What she offers is the inspiration to go at it yourself, explaining how she chooses combinations of colors and textures, and she does show you step-by-step on some stitching. In the end, that method of teaching is more valuable as it teaches you critical thinking skills on how to pull something together with your own imagination, but until I realized that, I was uncomfortable!
But my second (and largest) challenge was that my imagination is picky. Though I do enjoy looking at Sue’s bold and vivid work and I relish in her texturizing, overall it is not my personal style. I am not a fan of butterflies, and I felt very uncomfortable having so many “clashing” colors in the fabric kit without explicit directions of how to put them together so that they look as great as Sue’s. And toss that in with no step-by-step, use-these-stitches-together guide and I found myself squarely outside of my comfort zone. For a while I was frustrated (not with the class – with myself!); ya’ll know me: I generally whip out projects as fast as I can (sometimes too fast!) because I have clear ideas of the final product. This? Not so much. I didn’t even know what I was going to do with it once I got it done because I just sort of kind of hated the whole thing (no offense, Sue!)! Give me color combinations I swoon over, or shapes I collect in my mind’s inspiration vault, and I’ll go to town with ideas! But this… this was a challenge, for sure.
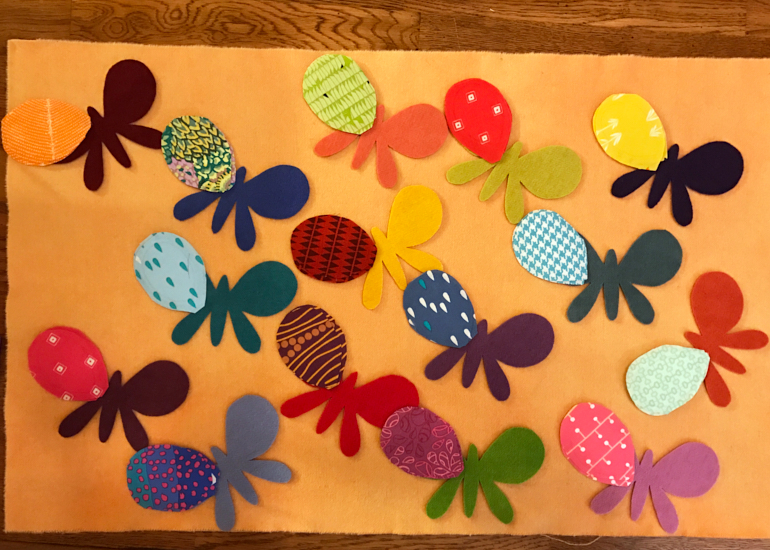
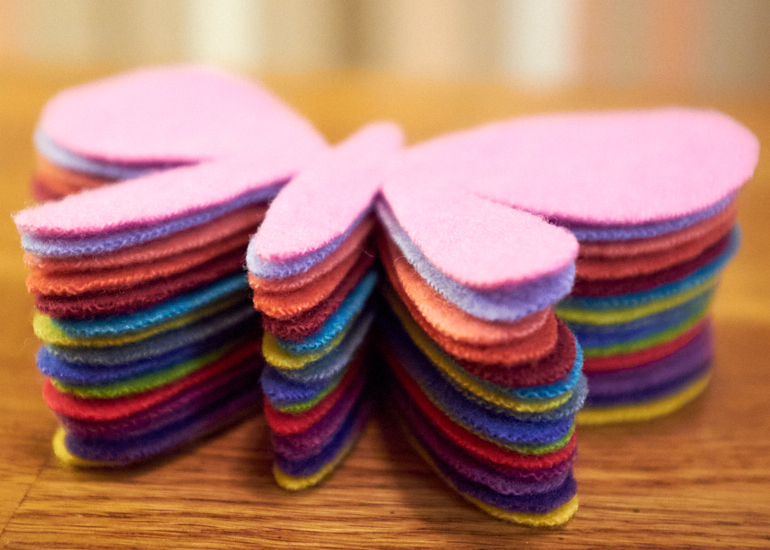
I figured a good inspriation would be to order Sue’s Creative Stitching book and make a small practice sampler of them. It probably helped, but honestly I am not quite sure how to explain that, somehow, it all did eventually come together. I cut out all the felt butterflies, and then continued to hold off working on the project. I finally added the cotton appliqué to them, and then sat on it. I began figuring out the background embellishments and was able to finally begin stitching on that. But then once the background of soft oranges was completed, guess what? It was shelved once again. Finally, I made the bold move to Just Make.
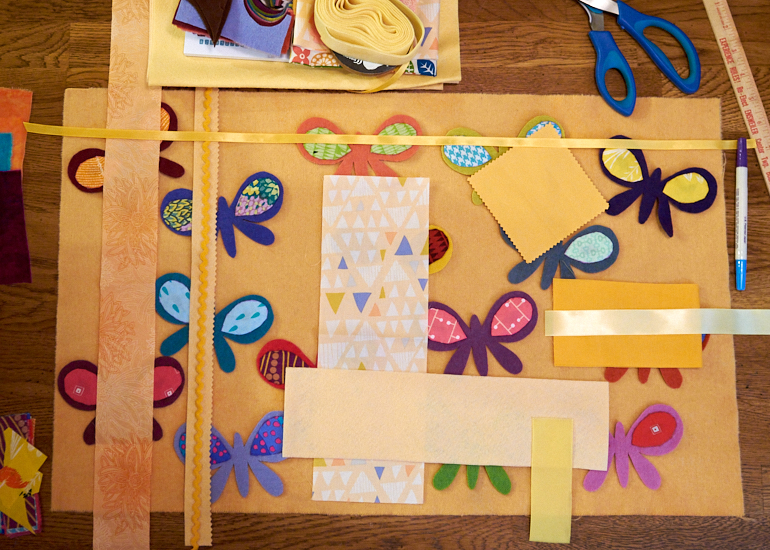
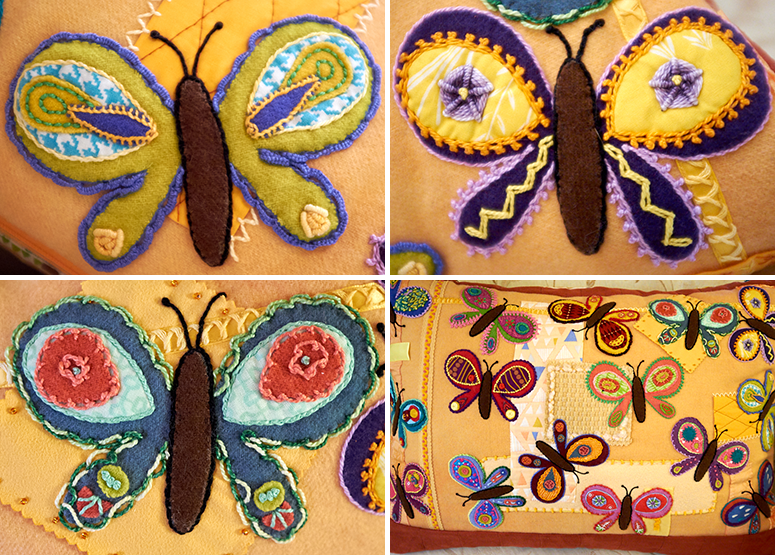
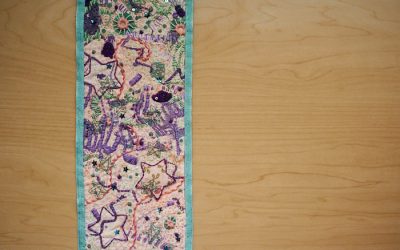
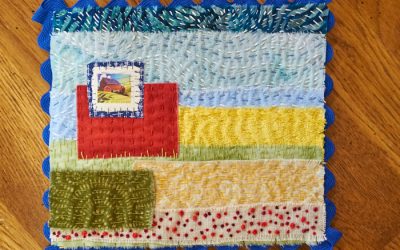
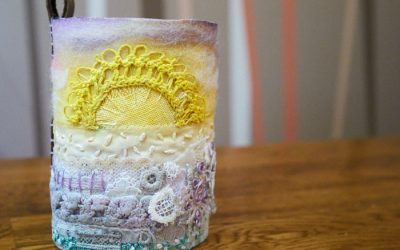
The background was the easiest part. I just had to keep things in the same general color family and hue. Here are just a few things I worked on for that: bullion knots couching twine as a border; small seed beads arranged around the edge of a micro-fiber cloth (found object from some tech item, I’m sure); and finally colonial knots anchoring ric rac along a pinked strip of felt as well as colonial knots decorating printed fabric, attached with the buttonhole stitch. Other stitches for the background were simply quilting (running stitch) and backstitch on cotton, varying sizes of Algierian eye stitch on cotton, flystitch outlining cotton, seed stitch on velvet, couched yarn along a piece of upholstery fabric, and ladder herringbone stitch along a ribbon with variegated thread. Look for them in the close-ups of butterflies below! I had a lot of fun experimenting with textured embroidery.
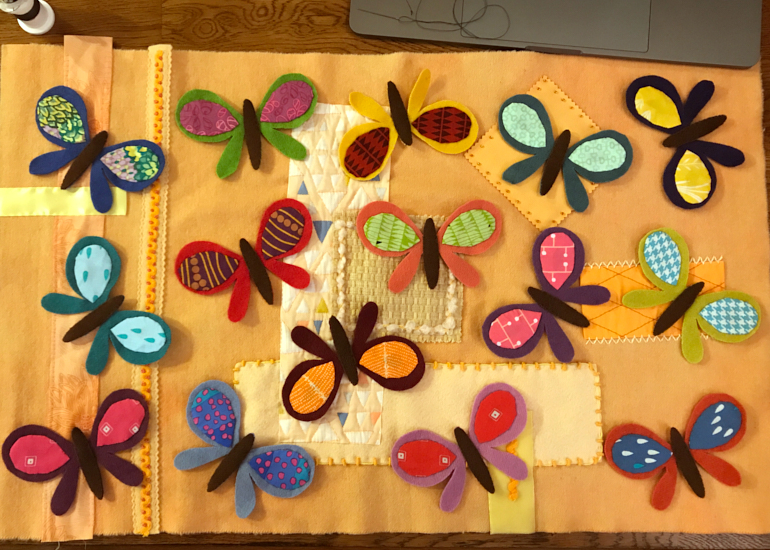
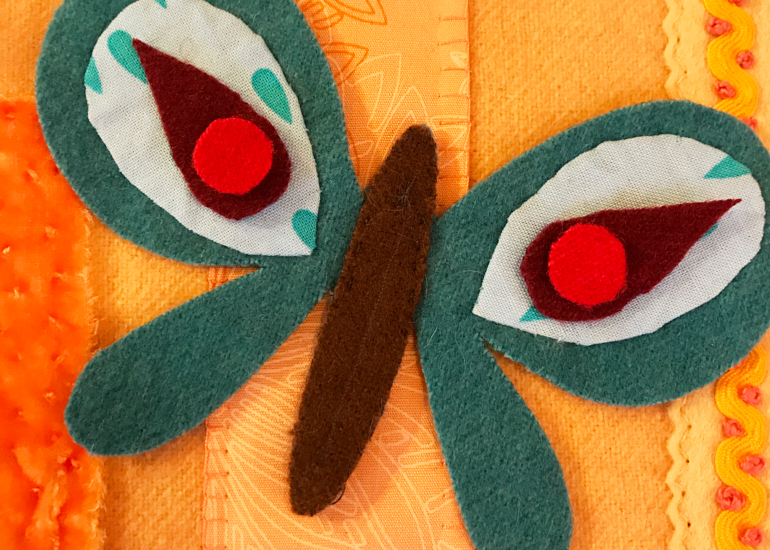
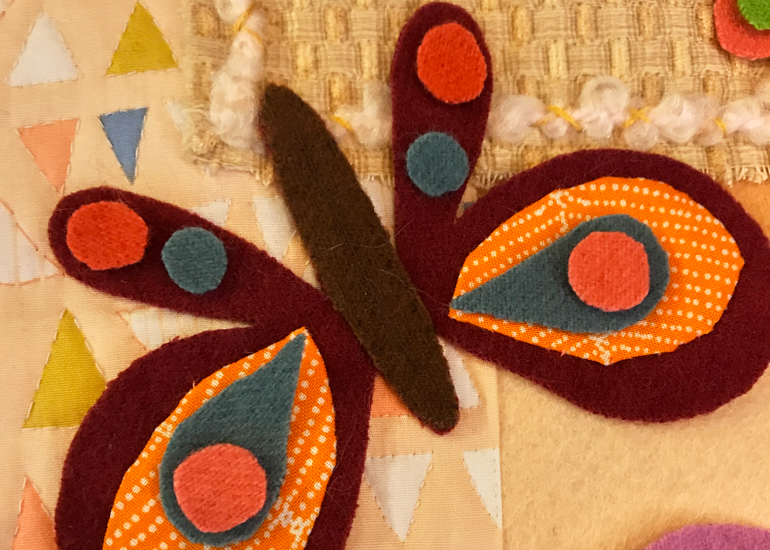
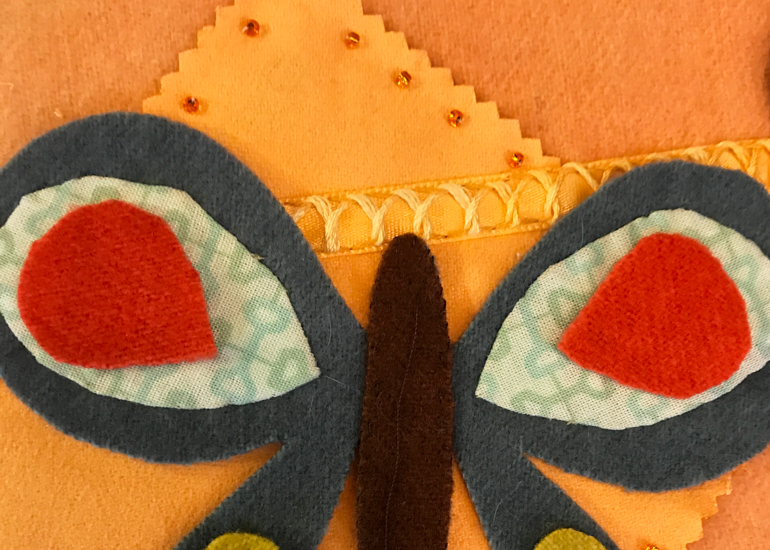
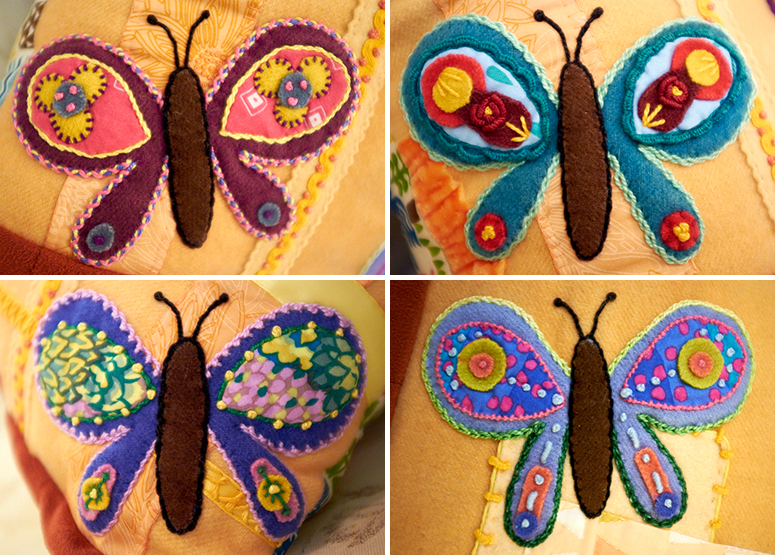
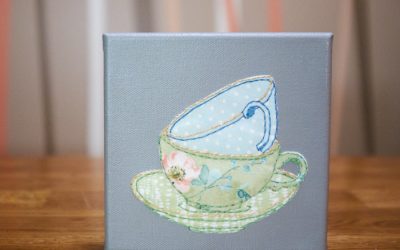
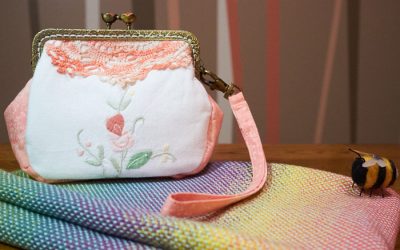
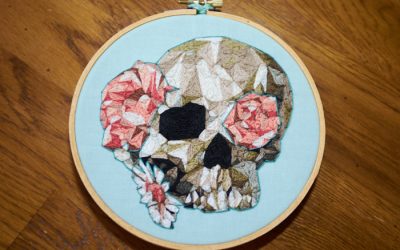
Adding the stitches to the butterflies seemed daunting at first but really once I started, the process just went. I stopped stressing over it – the idea was to learn, and surely I was doing just that! I will list a few, if not all, key stitches used in the individual butterflies below each photo. All the bodies were outlined in outline stitch, stem stitch for the antennae, topped off with colonial knots. (Note: I did not keep a record as I made each one, so it is entirely possible I have some mismarked!) The effects of the textured embroidery really make the pillow come together.
- Stem Stitch, Whipped Woven Circle, Crested Chain, ZigZag Chain Stitch
- Buttonhole Scallop, Stem Stitch, Back Stitch, Bullion Rose, and what I call “reversed” Blanket Stitch
- Stab Stitch, Colonial Knot, Outline Stitch, Pekinese Stitch
- Double Laced Running Stitch, Scroll Stitch, Colonial Knots, Split Stitch, Straight Stitch
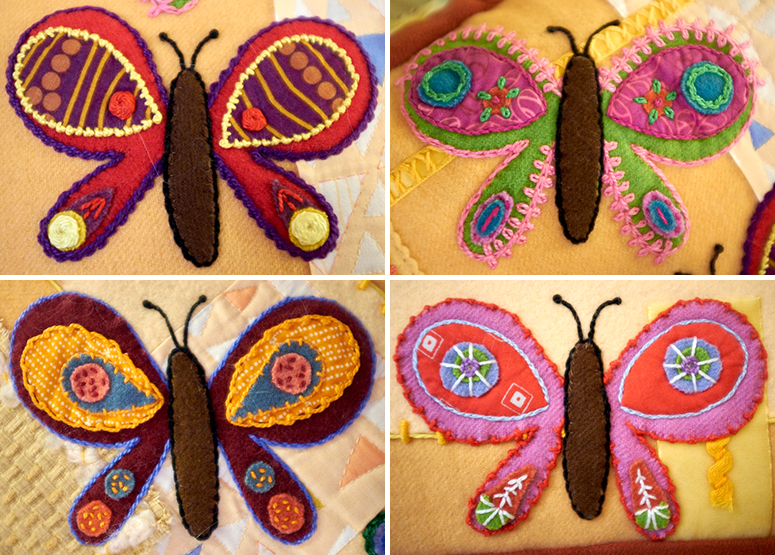
- Italian Knotted Border, Colonial Knots, Straight Stitch, Scroll Stitch
- Colonial Knots, Straight Stitch
- Straight Stitch, Bullion Knot, Back Stitch, Chain Stitch, Stem Stitch, Crested Chain Stitch
- Closed Fly Stitch, Staight Stitch, Coral Stitch, Split Stitch, Woven Wheel Stitch
- Split Stitch, Scroll Stitch, Seed Stitch, Blanket Stitch
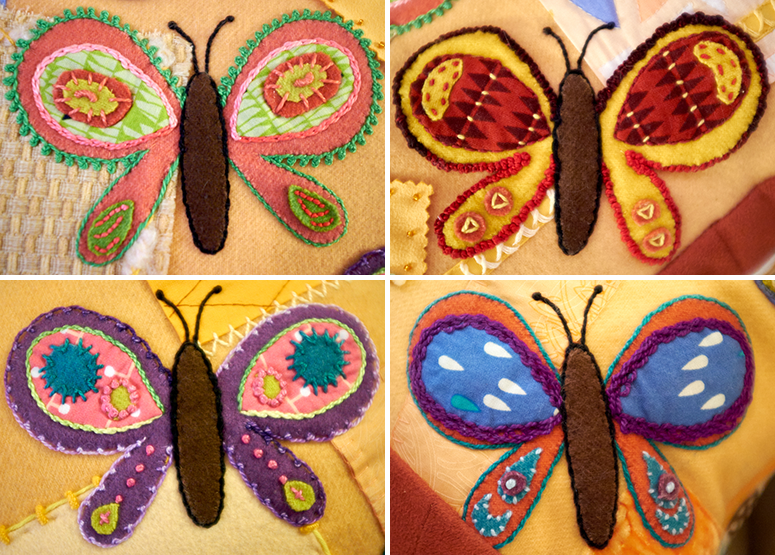
- Triple Chain Stitch, Detached Chain Stitch, Chain Stitch, Straight Stitch, Stem Stitch
- Woven Circle Stitch, Straight Stitch, Palestrina Knot, Chain Stitch
- Chain Stitch, Colonial Knot, Bullion Knot, Coral Stitch
- Colonial Knot, Straight Stitch, Split Stitch, Pearl Stitch
- Bullion Rose, Colonial Knot, Stab Stitch, Chain Stitch, Buttonhole Scallop Stitch, Straight Stitch
- Double Whipped Chain Stitch, Colonial Knot, Stem Stitch, Straight Stitch
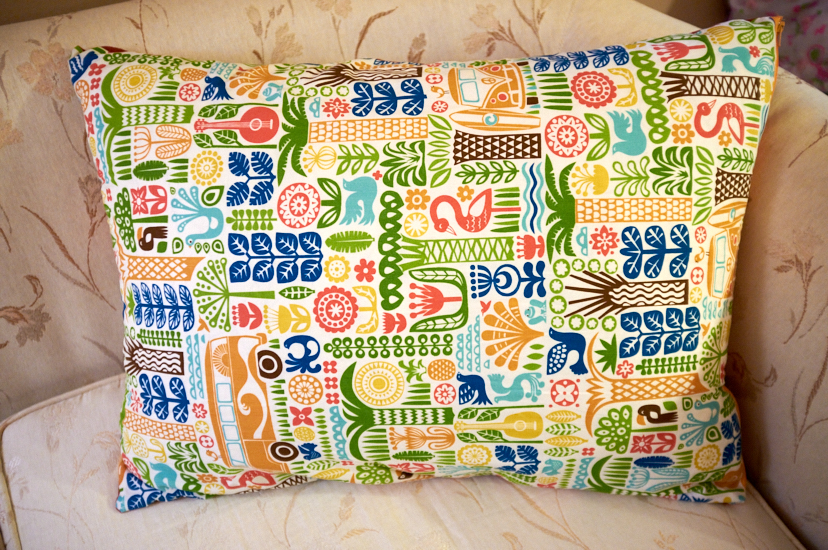
Some stitches were much easier than others, and some took a lot of work. Many people who have seen the pillow ask how much time it took. I estimate, based on the number of Netflix shows I watched, that each butterfly took about 2 hours to embroider (not to cut out, and not to appliqué). The rest of it was done in piecemeal throughout much of the year, so it is hard to really know, but I would hazard a guess of maybe 60 hours, give or take. Cutting, ironing, planning, seam-ripping, youtubing/reading for instructions, and so on – maybe I should hazard a higher guess, huh?
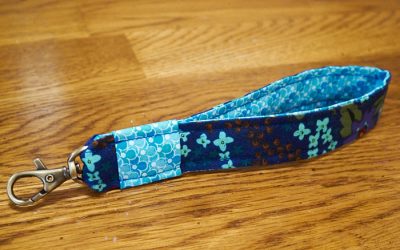
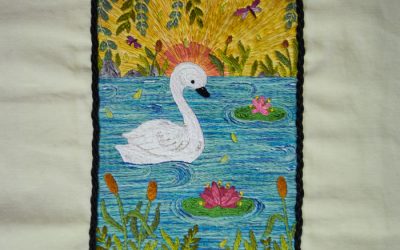
And once I realized my new window seat just had a boring white pillow, I checked the measurements of the panel and realized that with a little top and bottom border (reclaimed from fancy faux suede napkins), I’d have a pillow case. Tada!
A huge thank you to Sue for her textured embroidery course!


Beautiful! You did an awesome job. I love how you made it into a pillow. I have purchased the class and the kit. I think you said it perfectly how it’s more a recipe, and it’ really pushing me out of my comfort zone as well. Thanks for making a post. Love your blog!
Rose, thank you so much for your compliment! I hope you enjoy being pushed out of your comfort zone – I learned a lot by doing so! Can’t wait to see what you turn out:D:D