
Today’s post is all about Michelle Patterns’ Mending Kit, which I’ve used before as a travel bag when I visited Peru, but now with more of my own custom personalizations. (It amazes me how much skill I’ve picked up accidentally over the years!) I love this pattern – it is a perfect size for a small bag to house my essentials needed in airports, train stations, bus rides and such – and small enough to stuff into my bigger bag when not needed. It’s also wonderful to keep my electronics and passport on me when wandering around town whilst staying in a slightly sketchy hostel. Let me walk you through this delightful bag!
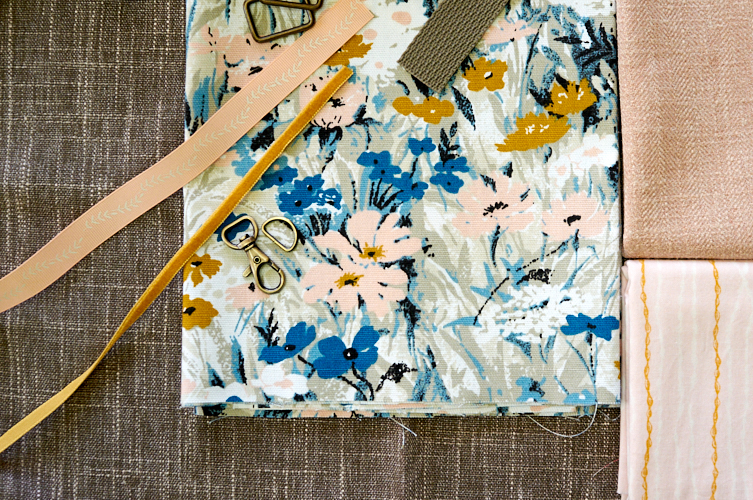
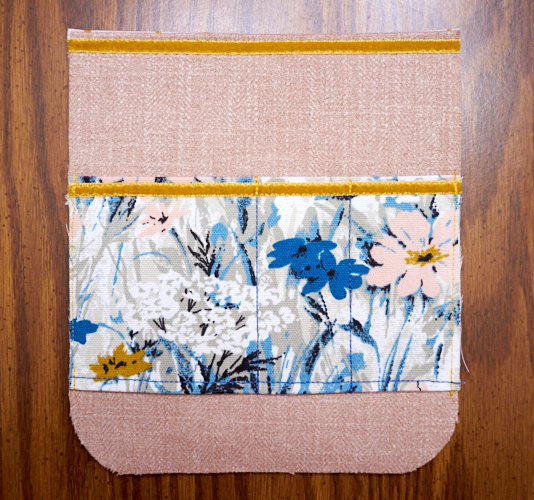
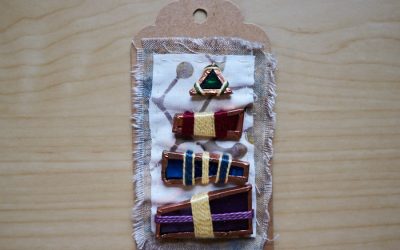
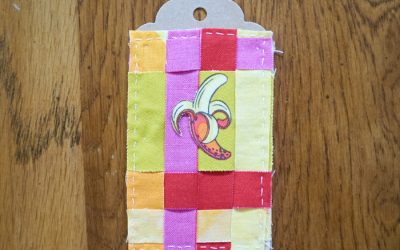
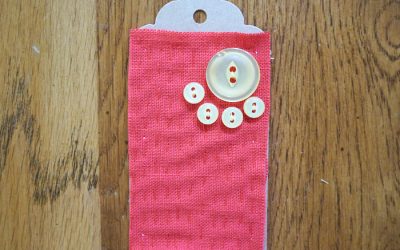
I selected some supplies and it took a while to decide how to put them into practice. I purchased the floral fabric for this project, along with the hardware, ribbons, and strap. The striped coral/pink fabric was a win from Made By Rae forever ago (I also used it when I recovered an ironing board to make a small bulletin board). The pink and grey fabrics are upholstery samples I scored for 50 cents each when a local Joanns went out of business.
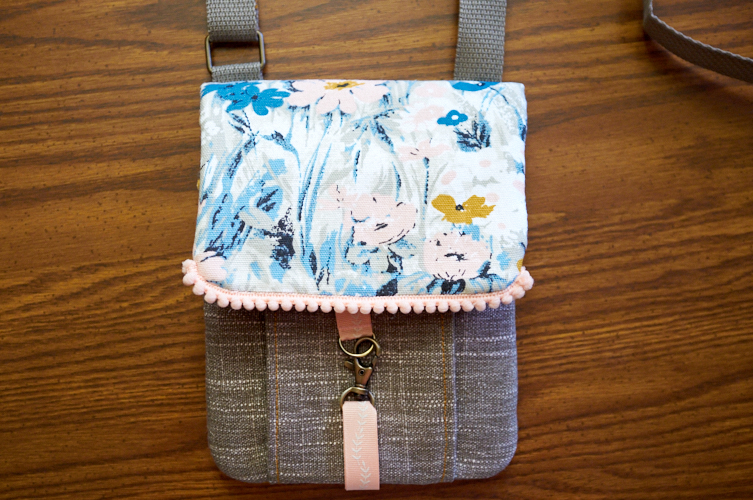
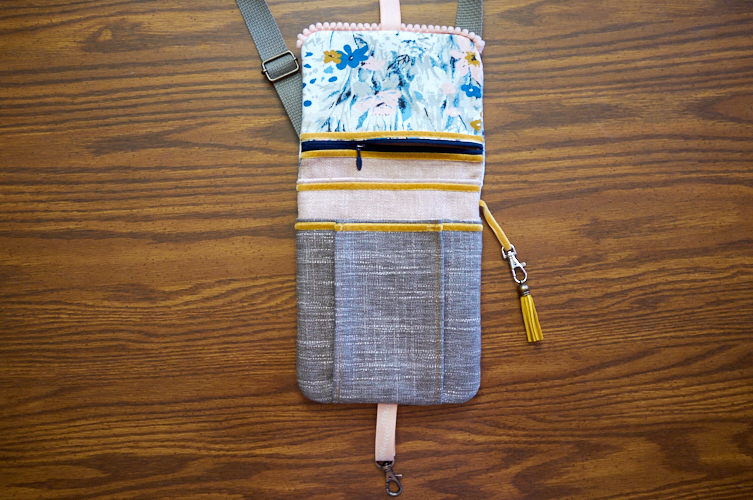
My original bag used a velcro closure per pattern instructions, but I found myself wishing it was more secure on my travels so I added a clip instead, with a little extra length in the ribbon. In Peru, I ran into situations where I over-stuffed the pouch and couldn’t secure it, so this was an important update. I have no idea what I will shove into this little bag on my next trip! Since there is no velcro closure, I didn’t need to add the little rectangle the pattern called for. So to dress up the flap a bit, I added a section of matching pompoms I found in my stash.
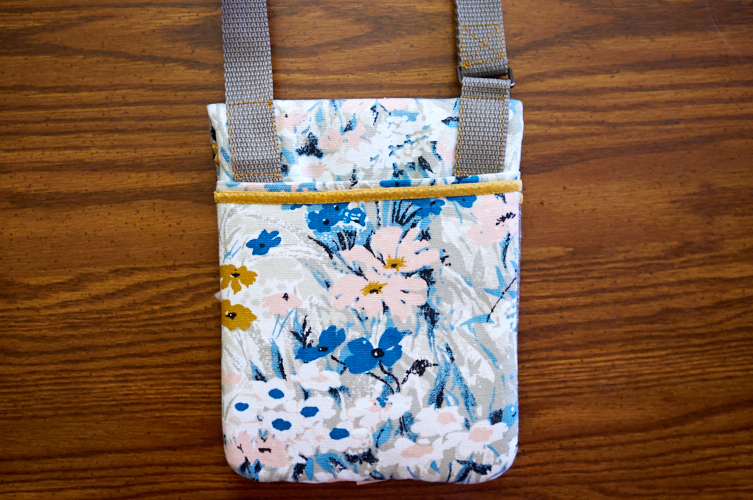
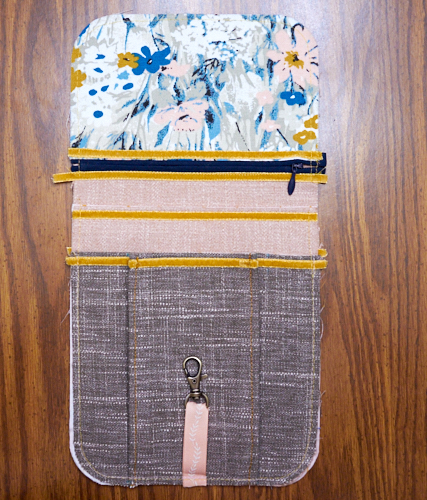
On the back, I added a pocket. Nothing fancy, but I do collect flyers or maps and things to some day scrapbook (yes, I still love scrapping, I just haven’t done it lately…). In the original pouch, I had no option but to put them inside, which meant the flap folded them down. No bueno! Now, they can stand as tall as needed until I can get back to place them in their temporary home in my backpack.

I also changed the strap. Originally I purchased a commercial purse strap with clips. Being detachable was cool – sometimes I was able to thread the strap through something to secure it whilst moving from point A to point B but otherwise I didn’t like it. It dug into my shoulder, and the way I attached the ends to the bag itself was in poor execution (it was an afterthought and I also didn’t know anything good about bag construction). This time, I opted for an adjustable belt strap that was also wider for better comfort; I am also excited about its adjustability! When long, it is the perfect cross-body length. If shortened all the way, it is the perfect under-my-arm purse length. No matter what vibe I get about walking through town, I know my bag will be comfortable and protected from thieves. I must thank Betz White for her simple and clear Adjustable Strap Tutorial!
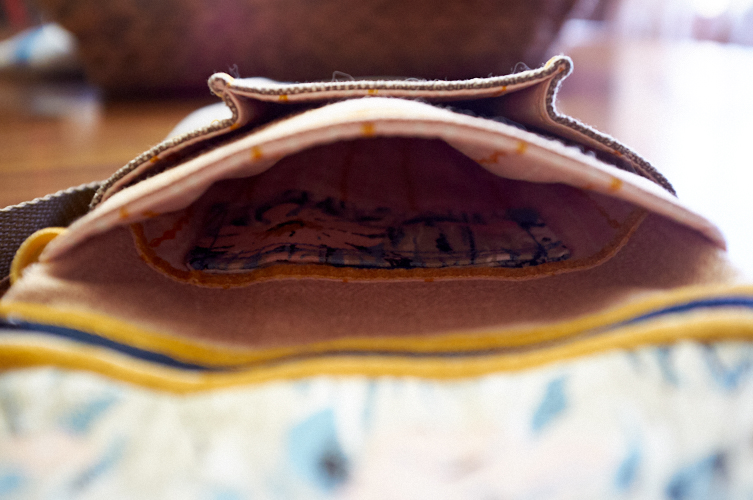
The pattern calls for an open pocket in the pouch flap and in my original version, I added a thin strip of velcro to secure it. Again, it wasn’t really the best solution, so this time I found a zipper in my stash. Voila, where my cash money will collect! True, I didn’t think this part through in the bigger scheme of things because as a pouch, the flap opens all the way so the zipper is on top, thus having change inside the pocket makes sense. Add the straps though, and well, the flap doesnt flop all the way over. I tested it, however, and while a bit more clunky than imagined, it is still good enough for me!
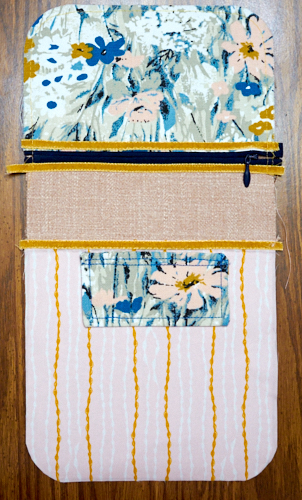
The big back pouch is for my kindle, a necessity in long transport routes! Here I also have a small pocket just for my ID and credit cards. In the original, I had it on the forward part of the pocket, and here I’ve moved it to the backside. I’m not sure which one will be better, if indeed, there is a notable difference at all. I did make it shorter, so that part of the card sticks out for easier grip; the original pocket made it difficult to get the card out sometimes.
In the front expanding pocket, there are three sewn in pockets. One fits my phone when it is not in a case (which would be for normal day-to-day use around home) or a mini notebook and mini pencil I have for when I travel. I take notes about itinerary changes, or to journal about later, and always new words I learn as I am submerged into foreign languages. My obsession with lip balm holds a place in one of the pockets, as does a place for bandaids and pepto-bismol tablets (a trick I mentioned in my Peru post – one before and after every meal has done me right as far as never getting sick!). The expandable pocket can be for anything, but most likely my passport and a pack of pocket tissues. A small bottle of sunscreen, hand-sanitizer, and bugspray wipes rounds out what can fit in here.
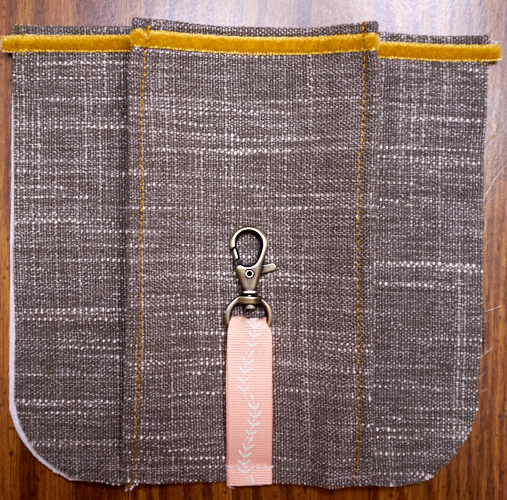

I am in no way whatsoever a purse girl. I go about my day with a case-less phone in my pocket and a little zipper pouch that functions as a wallet/keys holder/lip balm maintainer in my other pocket. However, since I now own a kindle (rather than only borrowing one for a trip), I might be taking it with me more often than not, so it occurred to me that I might use this bag regularly, not just when I go on my upcoming Africa trip (70 days and counting! Ack!). If this is true, I had a place for everything but my keys. Solution? A little clippy – and look at how cool this matching little leather tassel is!
Big thanks, again, to Michelle, for drafting up this pattern! 😀


Bravo! This looks amazing in these fabrics and the pompom trim is a sweet touch. You did a good job getting it on too. I’ve tried using those little pompoms before and made a mess of my project. Oops…
Great job on all your well thought out mods. You knew what you needed and made it happen. Fine job!
Love this! Just made one and wish I had seen this first!
Thanks, Denise! When it is time to make a new one, try her pattern out 😀