
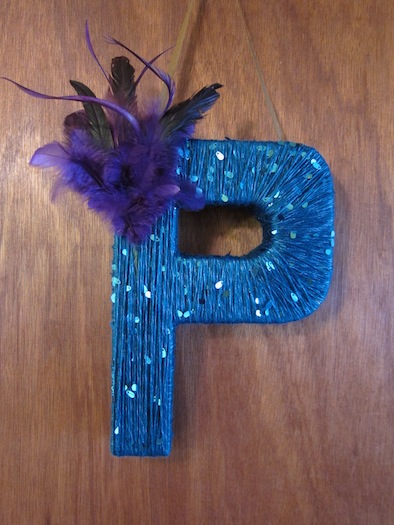
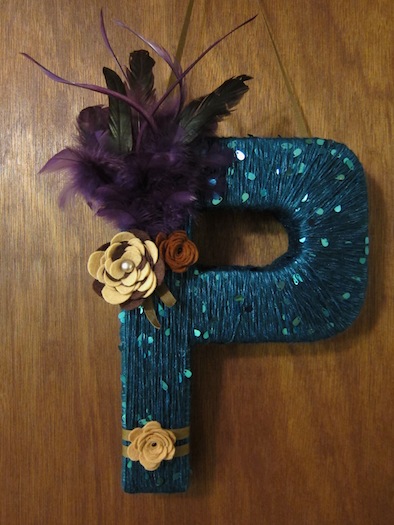
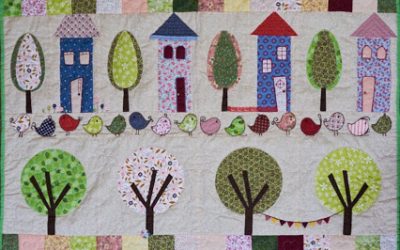
Our friends recently got married, and Boy was one of the groomsmen. We had bought them stuff for their shower but I still wanted to give them something handmade. Their wedding colors were peacocks and browns, but I also get the feeling they like things like Mardi Gras and whatnot, so that is how I chose the colors and feathers.
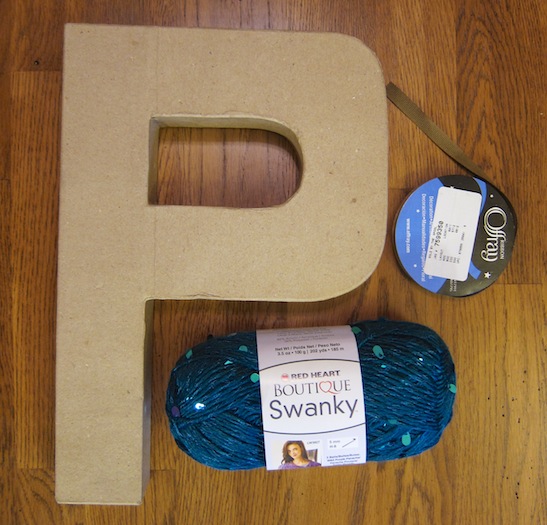
I did a quick search online on how to do it – were there any tricks I should know? Why, yes, there are! Some letters are much more difficult than others if you want the yarn to look in sync across the whole letter (rather than most of it going one direction with a small portion going a radically different direction). There are several ways to tackle that, and so I just made up my own way. Thank goodness I investigated – I wouldn’t have put nearly the same amount of thought into how I would wrap a letter otherwise. Here is how I made the letter P.
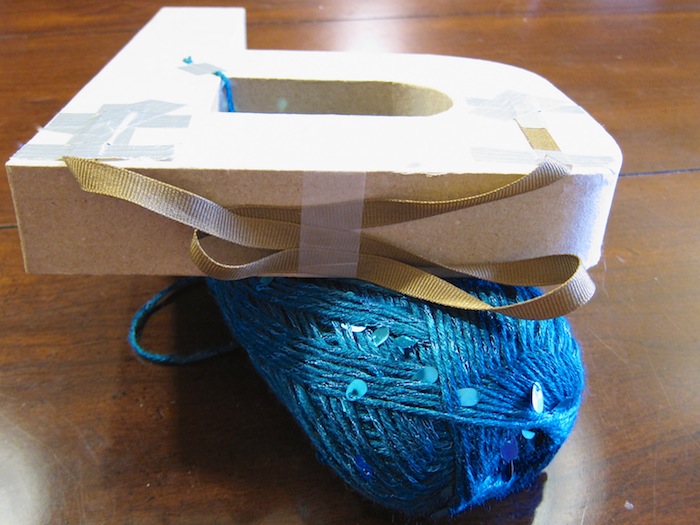
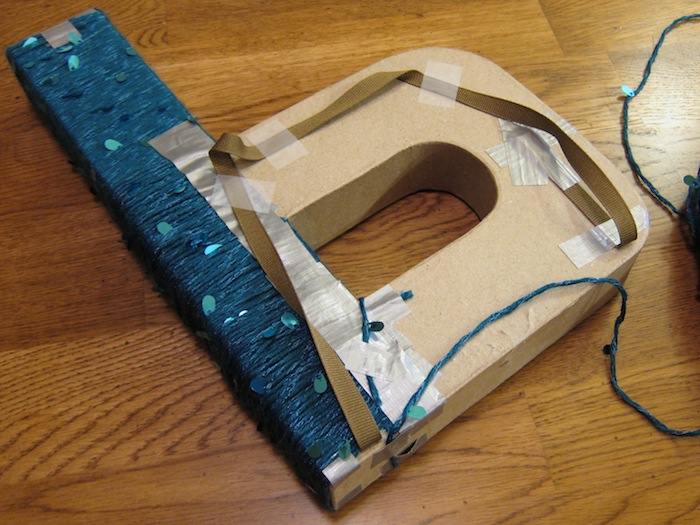
I cut some ribbon to hang the letter (just eye-balled what looked good) and then taped with duct tape. Then, I folded it a little and taped it with scotch tape so that it didn’t get in my way or end up accidentally wrapped with yarn. I started with the inside area first, and simply taped the beginning length and wrapped around until it was covered, taping the end.
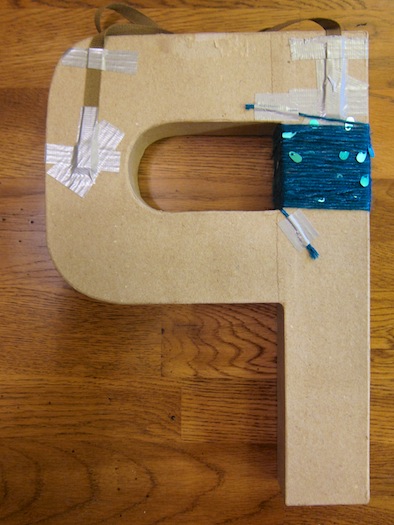
I cut another piece and began wrapping for the bottom leg of the P. When I got to the bottom, it was a little tricky getting the yarn to stay put and not slip off the bottom. I used tape just at the corners to secure them down. When wrapping horizontally like this, only the sides mattered. The front (and back) would be recovered with vertical yarn later.
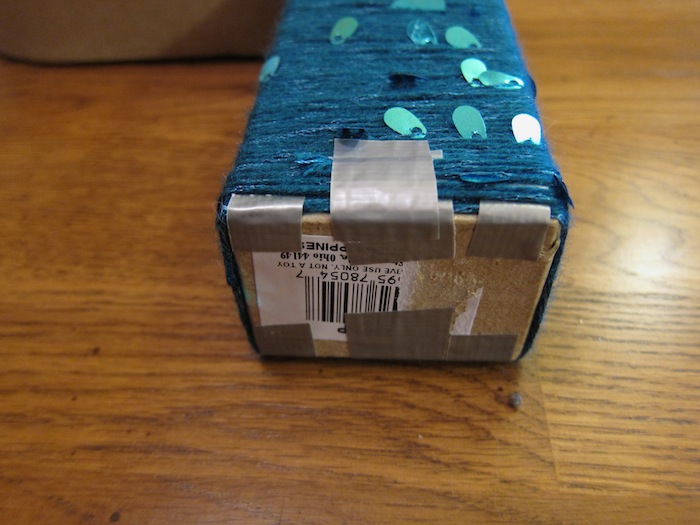 Then I knew I needed to wrap the portion of where the curve of the P met the leg of the P (do parts of letters have proper names?). I thought on this for a while and decided the best course of action was to have a block of yarn that I could simply attach and came up with this idea: wrap the yarn around my phone (because the width and length made the appropriate size) and then cut. The first time I did this, I did not think ahead far enough. You’ll want to do what I did here in these photos – include something like a manicure stick so that you can actually get your scissors under the yarn to cut. But, before you cut, you slap a piece of tape on there to hold everything together. Then reinforce the edges with another piece of tape on the reverse side.

I then taped these two sections where they needed to go. Remember, they were only necessary for the side of the letter.
Next, I needed to move the brown ribbon so that I could begin wrapping the curved portion. Once I wrapped so much of it, I had to reposition it again. This is why I chose scotch tape – it does not stick well to cardboard as we all know! That usually frustrates me to no end, but for a project that needs repositioning, it was perfect.

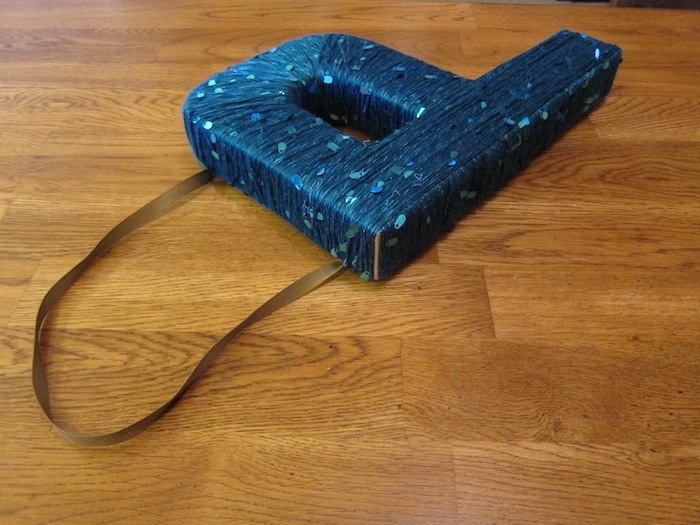
Finally, some long wrapping for the stem of the P so that the directions of the yarn was a smooth transition. It hid all my duct taping too.
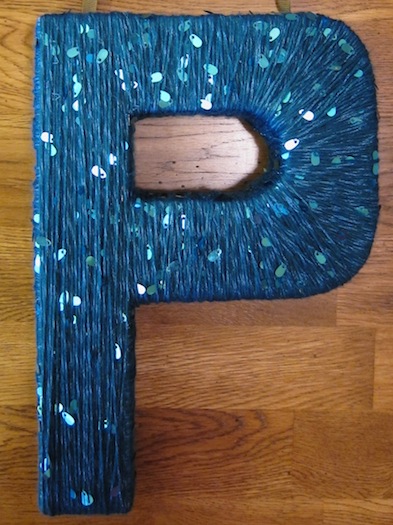
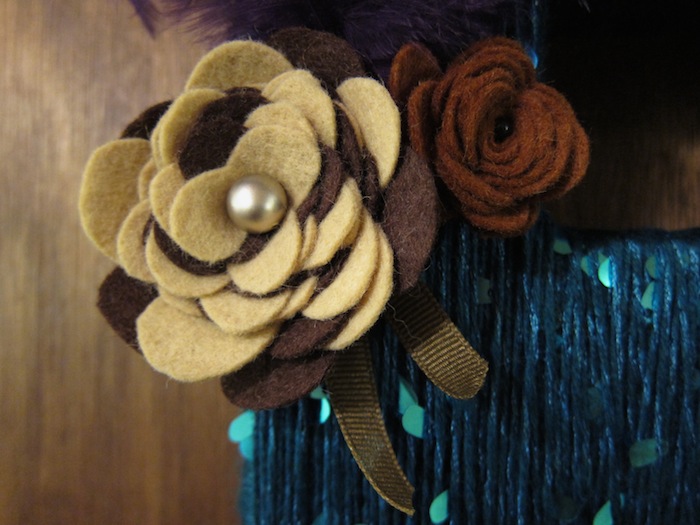
Now, in the image below you can see that corner did not get covered so well. Eh, it would not matter because it was to be hidden by some purple and black feathers.
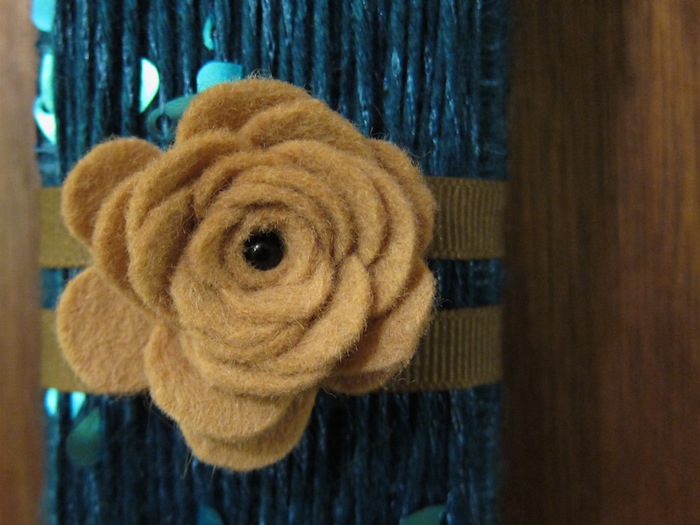
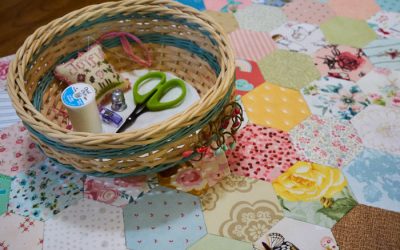
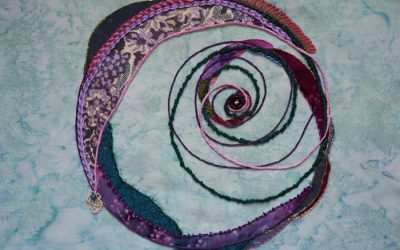
I wanted to tie in brown, so I decided to make some felt flowers. I have made these in the past – my favorite type, though, are cutting scallops out of spirals like this:
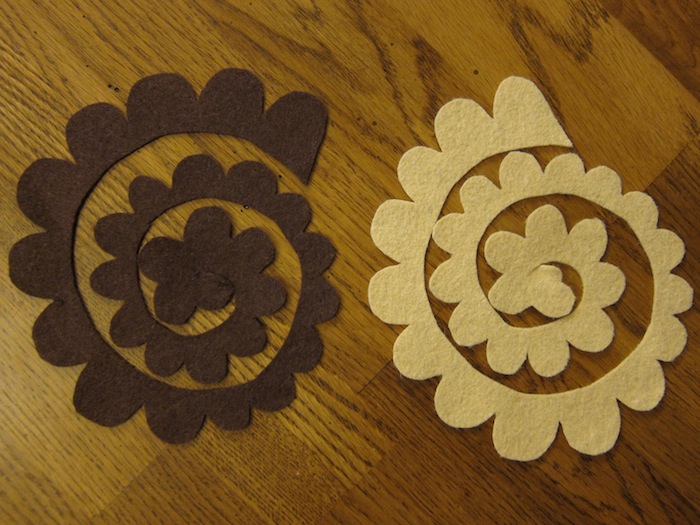
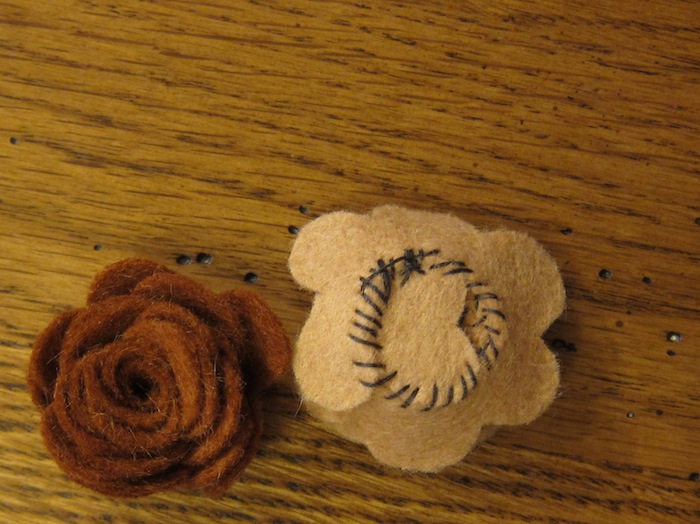
The large flower is made by using both of those cuts, and then the small flowers are made by a single color each. You simply wind them up, and voila! For the big one, I wound it from the inside out, but then I remembered that through experimentation, I decided I liked winding from the outside in instead. That is how the small ones are wound. You just need to scale the scallops accordingly – its very simple and since flowers are organic, perfection is not required. I tidied the bottoms up by sewing them all together.
The large one got a piece of I-don’t-know-what. It is a champagne colored ball from a fake floral plant. I cut it so that it had a stem and just pushed it through the middle.
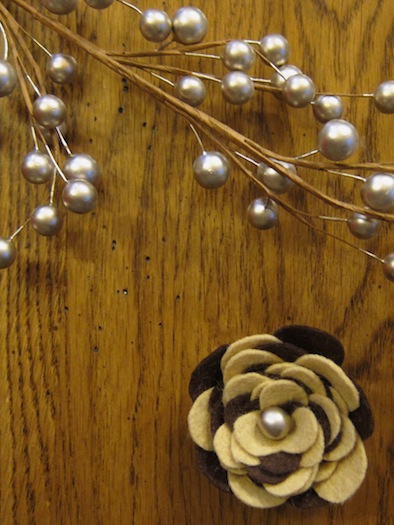
I attached them with black stick pins. No glue required! (In fact, I was taken aback that they stayed in place at all – who would have thought, pins in cardboard?) I added a little ribbon trim just for fun.
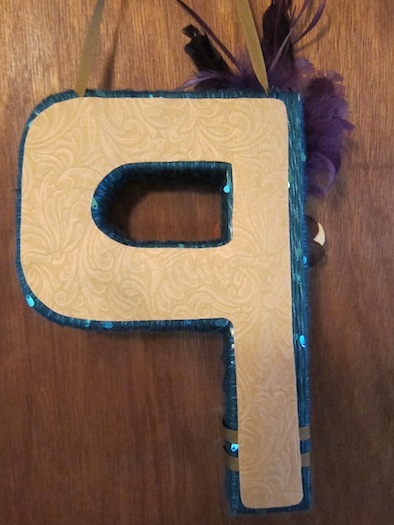
I also added some embossed felt to hide the duct tape on the back and just up the feel of quality overall. It will also protect the yarn from whatever it sits against, whether on a door or a mantel.
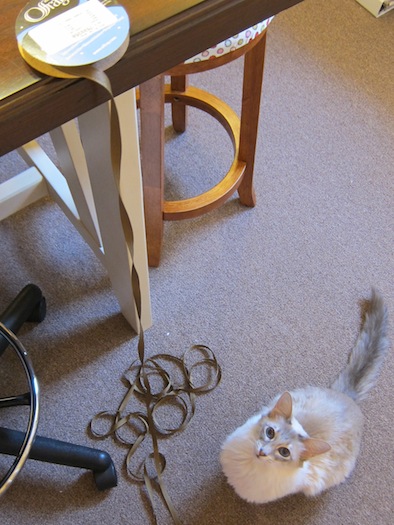
Oh, and Sasha helped me measure the ribbon…..


0 Comments