
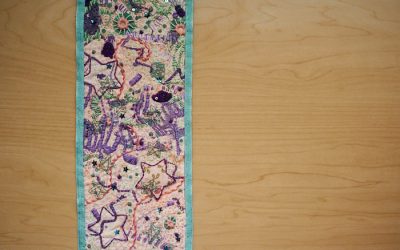
When I visited the EGA museum, Boy and I were very impressed with a particular piece worked on silk gauze. In fact, Boy deemed it his favorite thing he’s ever seen in embroidery, and possibly in the whole world of art. At my guild’s holiday party, I mentioned my visit and this piece to a friend who later gifted me with a silk gauze kit to try for myself!
I guess I didn’t take any photos at the museum. But I did snap this amazing shot of Louisville when we took my gramma out to Kingfish – we’d never seen the river so calm!

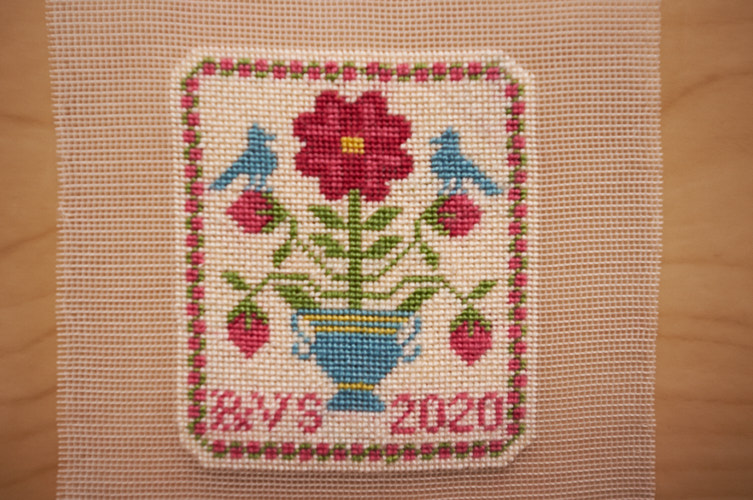
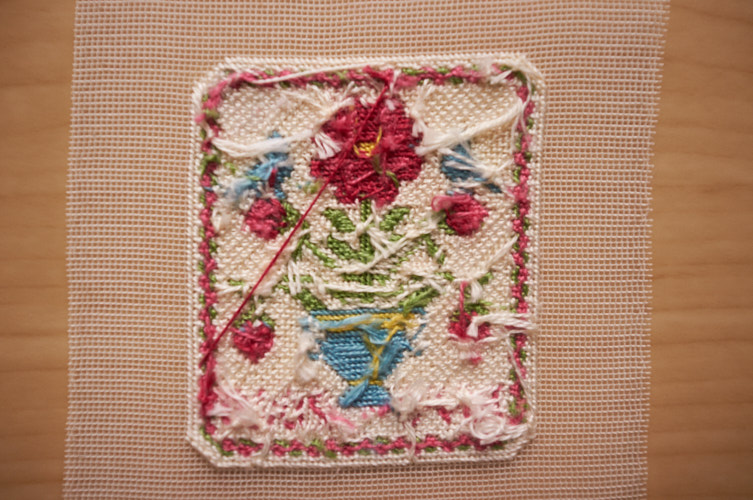
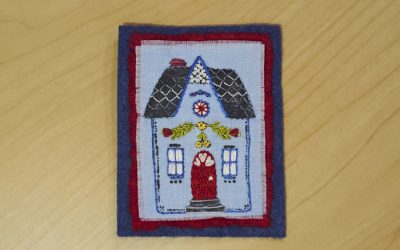
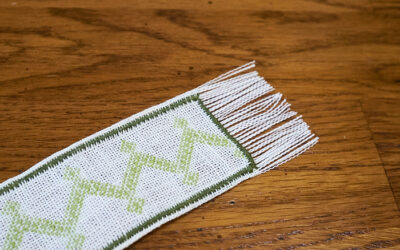
Now let me tell you what working on silk gauze is like for a newbie like me! This particular example, The Rose Sampler by Nancy Sturgeon (and still available here, it seems) is on 40-count, which means there are 40 stitches to make just along a single inch. They are so tiny – it felt an impossible task in the beginning! I don’t know when embroidering on this scale became a thing, but I can’t even dream of trying this in any condition less than stellar lighting (and not just any lighting, as I will mention!). And while I have been grateful for having excellent eyesight for sewing many times in the past, this work really requires sharp vision. Many times I wondered if my younger self would have been much more proficient and I am not that old! I included a ruler here for size – those are centimeters.
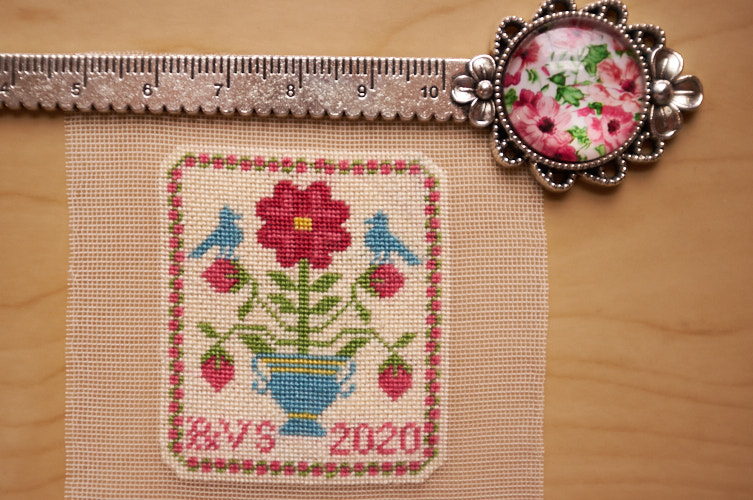
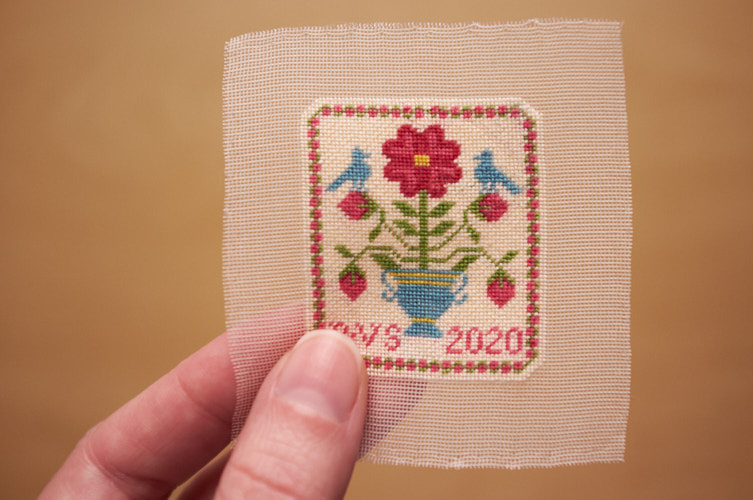
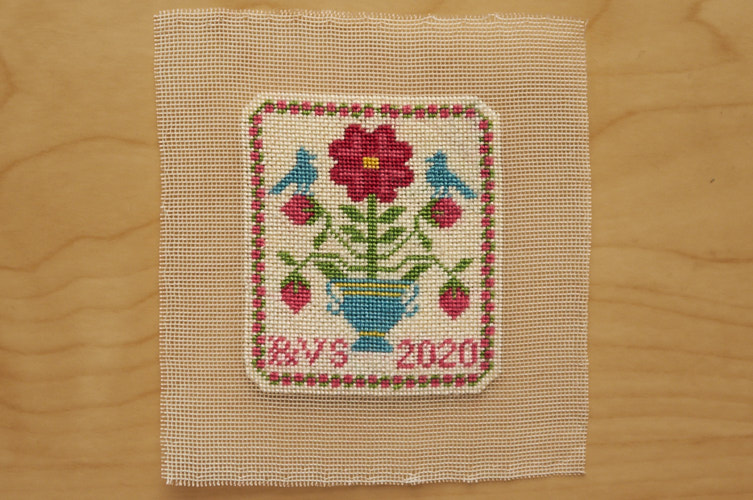
The whole thing is only 1 ½ by 1 ⅞ inches tall! Here is a different photo for scale:
For my first go, of course there are errors in it but I corrected when I could. These errors are thankfully few because I really tried very hard to do it right but occasionally my needle slipped into the wrong hole and I had moved too far along before noticing so that I just couldn’t fix it. Undoing work is generally a non-issue for me – if it needs it, it needs it, I say. But at this scale, undoing stitches was quite difficult.
I also learned the hard way about traveling threads. The directions called for short travel only – and I assumed short meant maybe upwards of a half-inch, no big deal. But I think instead it meant just a teeny square or three! When I first began filling in the background, the colors were totally noticeable on the front! I was forced to cut the traveling threads in their middle, resulting in some tiny lengths which I struggled to secure. In the past, I have used this neat trick I found over at Sarah Homfray‘s channel but the stitching was too tiny to slip a larger needle and thread through, so I pulled out my needle threader instead (it got damaged in the process, but mostly worked like a charm!). There are still some spots the colors show throw but, again, first try = great acceptance!
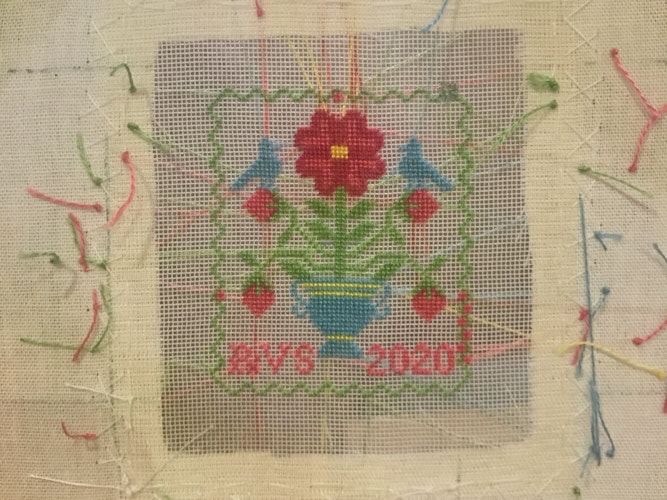
The original pattern called for a black background but that color scheme doesn’t do it for me. I asked my much more experienced friend what she thought about swapping it to a cream and she gave me the go-ahead. I do love how it turned out but I was pretty bummed when I saw that I had gotten some of it dirty. I know exactly what happened – let me tell you about it! Boy offered to lend me his fancy panavise so I took him up on it. Not only did it let both my hands be free, but it meant that the hoop remained stationary which was much easier on my eyes. Plus, I could also lay my phone on it to use its light source and I even turned on its magnifier to help when I got into a sticky situation. However, the panavise is a working tool at the office and had some grease on it :.( I told myself I would redo all those stitches, but in the end I decided that this was not an heirloom example anyway, and a good lesson to remember! (Or, I am too lazy after all? Maybe it will continue to bug me and I’ll wash it somehow or redo that section before I finish it in a frame or something.)
I never thought about different stitches with counted work because I don’t usually go for counted projects, but I learned new stitches with this mini project (properly called petit point, I believe). I already knew the half-cross stitch, which is specifically not used in this piece. The colored design is worked mostly with the continental stitch (which is the same, yet opposite, of the half-cross stitch; rather than working from left to right as the right-hander I am, you work it from right to left so that it adds a little bit of a back stitch for strength). The background cream color is worked mostly in basketweave stitch, which goes back and forth but at the diagonal. I found turning the hoop 45 degrees so that the gauze were little diamonds rather than rows of squares really sped up my progress and I created less errors. The basketweave stitch adds a lot of thread to the back of the piece which also strengthens the whole thing.
I also learned the difference between DMC and Anchor threads. Never thought much about this either, and my collection is nearly entirely DMC because of availability in my area. I know there are conversions to match colors, but other than that (the dyes) I always assumed they are basically the exact same. The kit used DMC for all the colors but specifically chose Anchor thread for the background. Nancy notes that at this scale on silk gauze, Anchor seemed to do a better job filling the background in basketweave than DMC. I found that super interesting and since I wanted to change the color from what was provided in the kit, I had to go seek out a specialty shop. What fascinated me more was that the moment I held Anchor in my hand I felt a difference! It was less silky than DMC, less smooth, less soft – I don’t know really but my hand instantly knew it was not DMC.
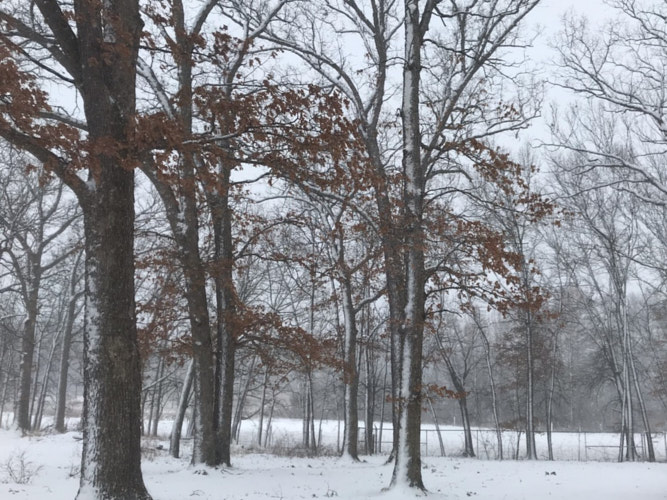
The best lighting wasn’t super bright. In that scenario, the silkiness of the threads reflected too much and blurred it all together in my vision. The best light happened to be next to my window when it was full daylight – but not the sunny kind! The winter grey and diffused light reflecting off the snow. As I mentioned, the magnifier on my iphone helped tremendously in a pinch, but I have the privilege of owning a microscope and will admit that it saved me more than once! I was able to undo some obstinate threads without harming other threads, once I adjusted to working through the lens – it really shined when I needed to pull out traveling threads that had been pierced.
I felt humored that when it was time to add the date, Nancy’s pattern numbers would not fit 2020, so I had to make a small adjustment to the 2s. My initials were also problematic and I popped a dot in there to make up for it, which now I wish I hadn’t because the R is unclear. But again – not an heirloom!
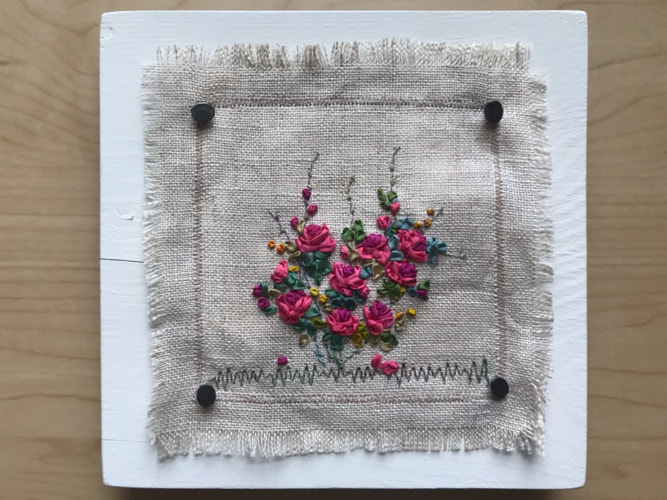
I want to finish it in a frame of sorts. I know I want the gauze to still be visible so I am thinking either in a matted frame, which will first lift the piece off the back a little, or onto a block of wood like the example Boy bought me from Denise Benczik at Interwoven Expressions one year.
Will I ever work on silk gauze again? I’m not sure. It really strained my eyes, but they did adjust by the end and I found it much less frustrating than when I first began. However, counted work is still a bit too persnickety for me to really enjoy doing. But Boy is a huge proponent and I dreamt of many possibilities working at such a fine scale… so, you know as well as I do if more of this awaits in my future!


Hi
I am very impressed with the little picture you are showing on your website.
I love working on silk gauze and was wondering if you do a pdf of the picture as I live in the Uk and find it is the easier way.
Many thanks
Gwen
Hi Gwen! No, I don’t have a pdf of the pattern. It isn’t mine to share, but I am sure you could find something similar online!