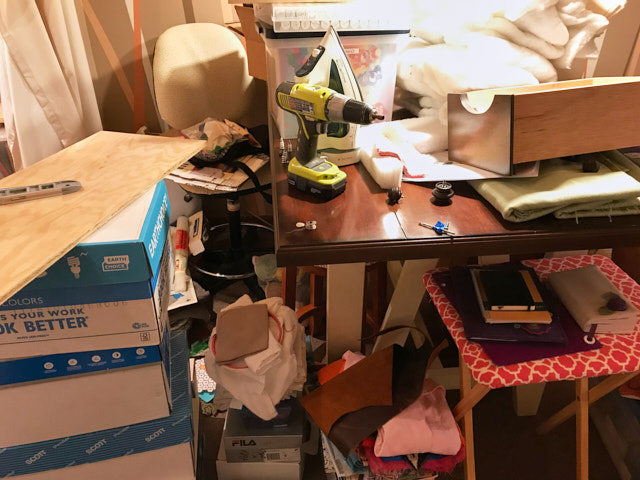
Throughout the years I have been lucky enough to inherit so many crafting things. Add to that all the things I was also fortunate enough to budget for, and it became a lot! I try to confine everything into my craft room closet, but that became a messy hoard that turned me off from crafting. What to do? Well, sometimes going through a work-life balance transition gets so boring that inspiration hits, and before you know it, you’re knee deep in a chaotic pile of goodies for days. No, I am serious. Piles of goodie madness.
I began by removing everything out of the sewing half.
The other half of my closet is dedicated to scrapbooking; I have small bins in the window seat for other crafting things like clay or painting.
I needed to see everything I had to formulate a plan. I added another shelf, and spaced the ones I had already a tad differently so that I could fit in more organized tubs. Then I tackled one “type” at a time.
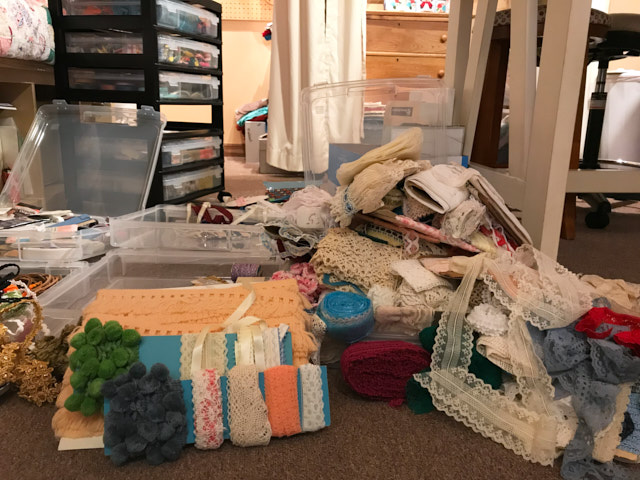
I purged as I went but surprisingly, most of the stuff I had was still in great shape (some being quite, quite older then my own self!). With a little more OCD-like organization, my closet became like the Tardis and I could keep almost all of it. But rather than just stashing it to never see the light of day again, it would become perfectly sorted for ease of use!
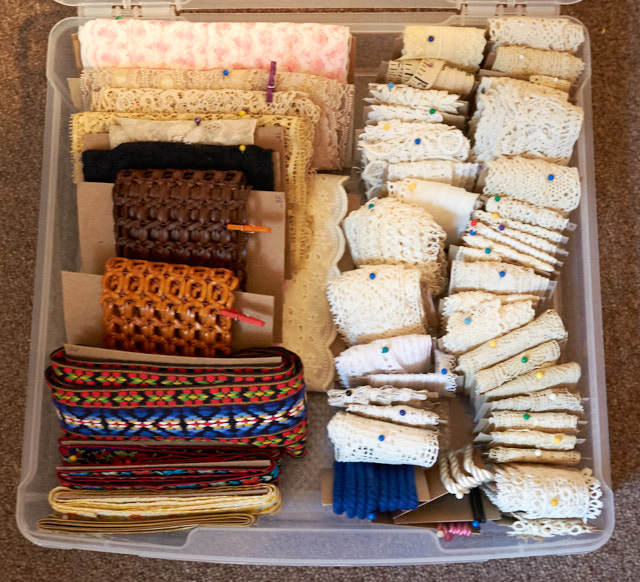
I realized I needed more storage. I already had an Iris storage cart for my scrapbooking and it was great (not the drawered version, but the kind with independent bins that slide in and fully out of the cart). Why not buy one more for sewing? Turned out I needed two, but hey – I had some coupons! I also purchased two more Iris photo and craft storage bins. I am not sure if they are out of production (I could not find them at the Iris site to link up) but they are around the interwebz. The scrapbooking one isn’t as neatly organized, but it goes like this: sticker letters, chipboard letters, chipboard shapes, other stickers, WIP #1, WIP #2, and WIP#3. Up next is my sewing supplies: DMC threads, craft threads, beads, zippers, binding & piping, and finally tools like clasps, button tape, grommets, fabric weights, magnetic closures, and so on. The third cart is trims: metallic and colorful trims; crocheted and fancy trims; scrap ribbons, cords, pipecleaners, wires, leather cords, sturdy twill tapes, and patches; lace ruffle trims; crocheted and fabric ruffle trims; pom-poms and specialty trims.
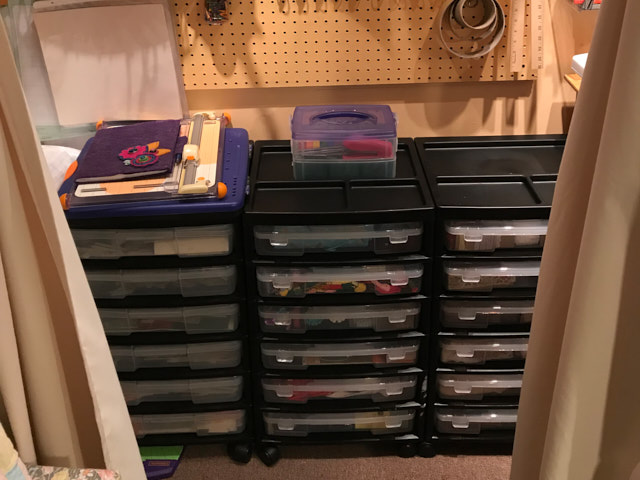
I originally intended to just toss things in the bins but I quickly realized that if they weren’t orderly, I would need yet more storage! So I looked to my ever-growing pile of cardboard I collect from the kitties’ wet food boxes. I cut them down to an appropriate size, measured every single piece of ribbon and lace and trim, wrote the measurement on the card, wrapped and pinned them, and then organized by type and color. Yes, that is absolutely crazy, and yes, I have way too much time on my hands. But looking back, I am super proud of how accessible everything is now!
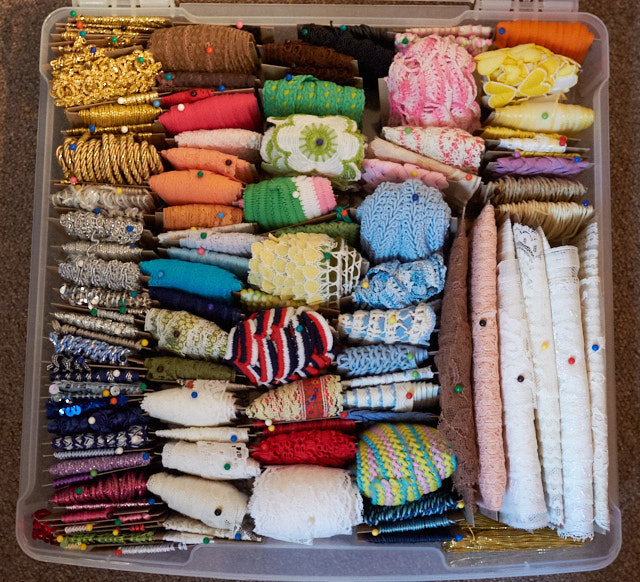
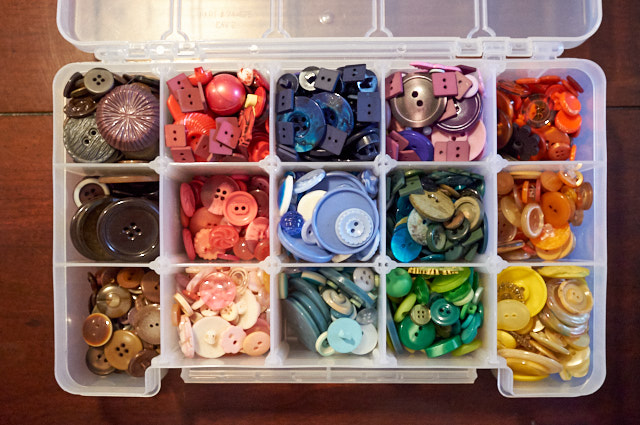
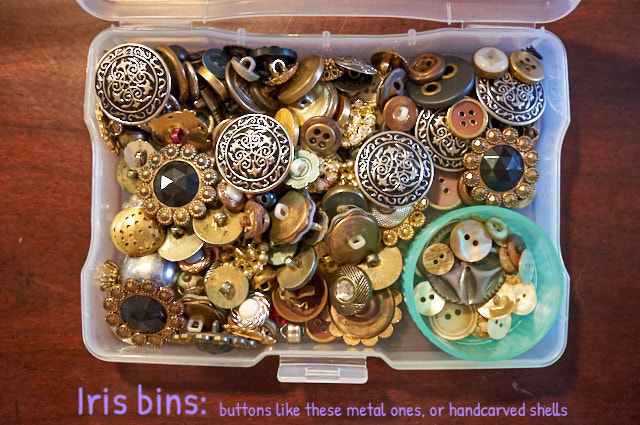
Even the buttons are color-coded. How did this happen to me?!
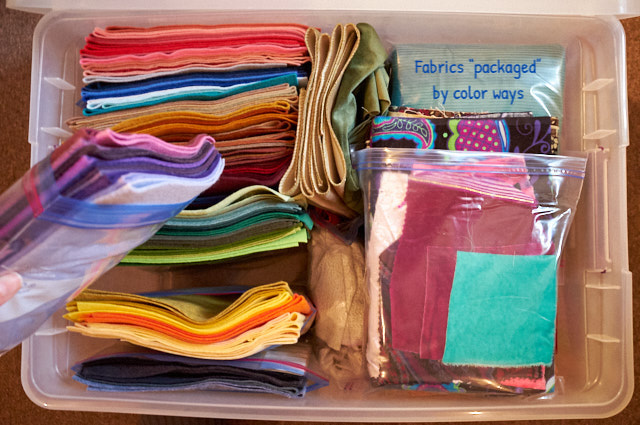
You’d think that I’d be over organizing after the many days that this took! Au contraire! I tackled my fabrics next, as I had newly inherited way more than I had space for. I have five now dedicated to that purpose. 1) Interfacing + stuffing 2) felts + leathers + velvets + corduroys 3) specialty fabrics like upholsteries 4) stiff fabrics like canvases and 5) cottons.
All sorted by types and colors in (unzipped) ziplock bags so I can just remove the color way I am interested in and easily keep things organized.
It was a lot of work, no joke. It is not something I would have ever done in better weather or when I had a job or anything of the sort, but the stars aligned and it is done, huzzah! I can’t wait to tackle some new projects from the inspiration looking through those items has granted me! And, since that dragged on for as long as it did, I became OCD elsewhere. Junk drawer? Check. Bathroom cabinets? Check. Bedroom closet? Check. Other closets up next!







I commend you on a JOB WELL DONE! Presently, I’m busy making my entire basement into my Sewing Area! One room will be strictly storage. I now have set up a “cutting area” for fabric cutting and using my Accu Cut. Have my Machines set up in the middle of the floor for easy walk around access. Definitely not done yet — but, happy with the results thus far!
Thank you, Gert! It was soooo tedious, but the results are fabulous! I am super jealous of your basement! To think, expanding beyond a closet! A girl can dream:D I wish you the best in your efforts!