
Most artists learn through copying. It makes sense – humans pretty much do it with everything: language learning, cooking, fashion, gadgets. What’s fun about it is adding your own spin and making it yours. This is how the world evolves. Something I will always try to do, though, is to never make money off of someone else’s idea. So in my search for creating “products”, those projects that I copied will never meet the standards. But, alas, sometimes I just have to try my hand at something, regardless of how blatantly obvious it is as a copy.

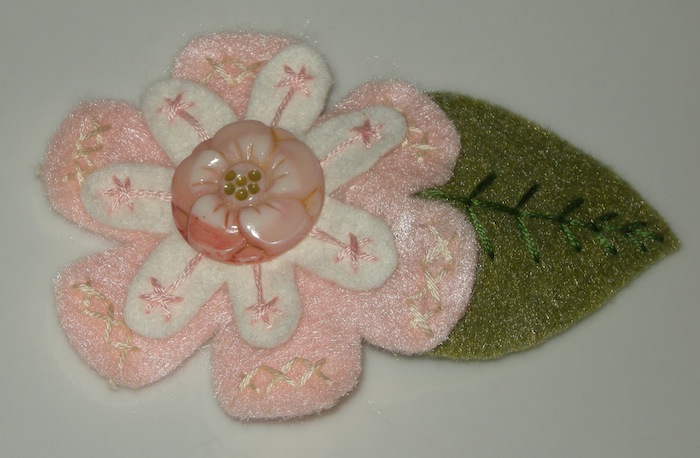
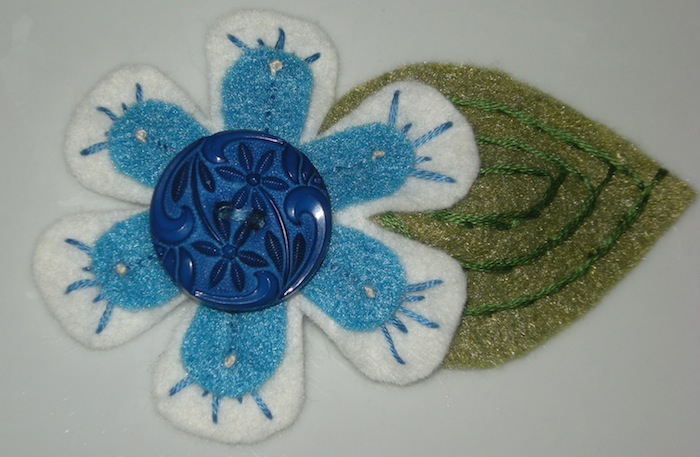
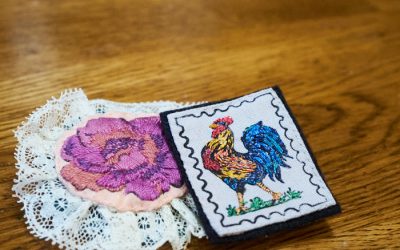
This project was inspired by Princess Lasertron. She designs these brilliantly colored felt flowers, with all kinds of awesome buttons. She is a big hit currently in the bridal world, a new take on a traditional item. I strongly urge you to check her out, you’ll fall in internet love with her immediately, I just know it.
I was simply itching to try this out, so what better opportunity than my pseudo-niece’s baby shower? The host and moi (as co-host) wanted to try our best to not be traditional, so this idea would be awesome as favors.
I had no prior skill to felt crafting or even embroidery. I google searched, and came up with Sharon B’s dictionary of stitches – so helpful!! I learned maybe like 10 different stitches, and have plans to learn lots more. She has some amazing possibilities on her site.
Anywho, I went around to local antique stores looking for jars of buttons and came up pretty empty-handed. So while visiting my gramma in Southern Indiana, I tossed it out to her that I was searching for buttons. Gramma is whom I inherited my packratting ability from. If anyone would have buttons, it would be her. And she didn’t just have some. Oh no, she had literally maybe 9 pounds worth of buttons collected over the years by her and my great gramma. I spent hours picking and choosing. It was très difficile, but I managed to borrow about 4 pounds worth.
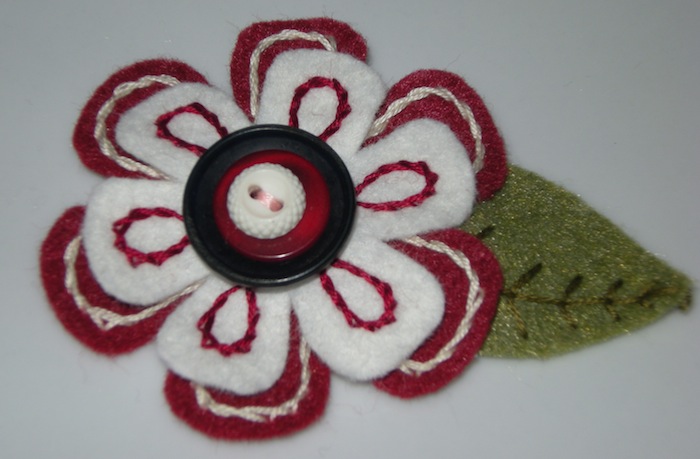
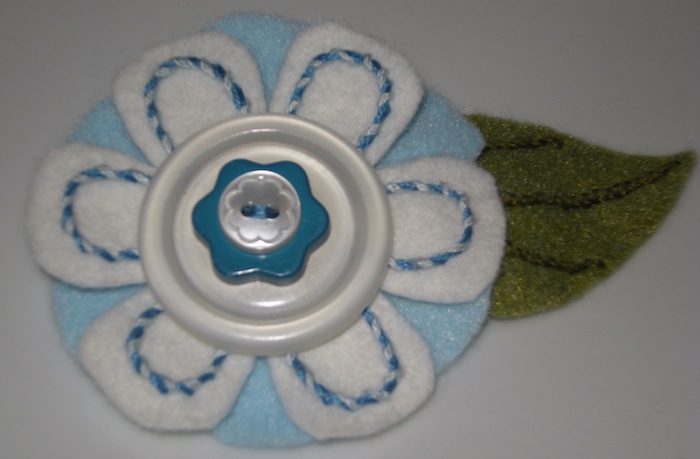
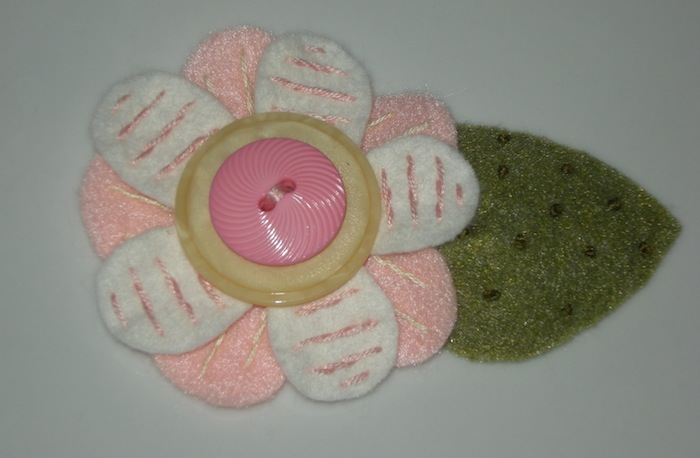
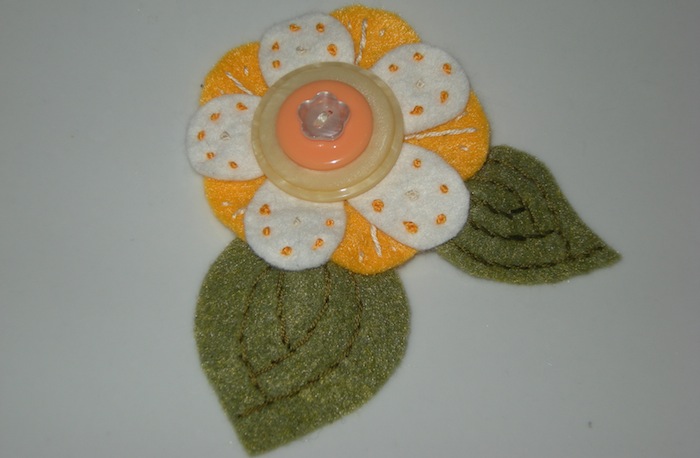
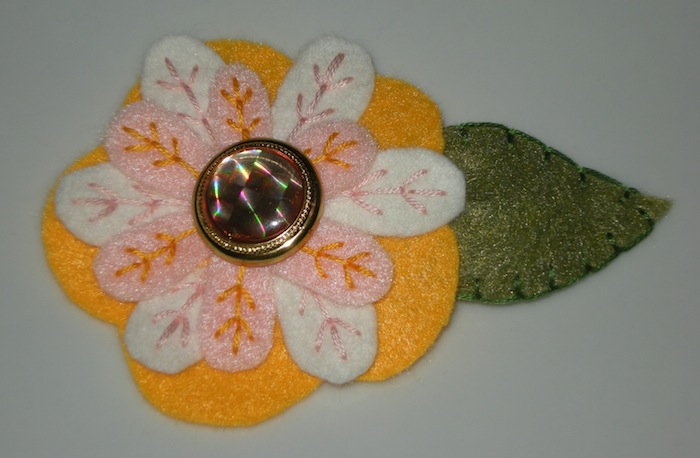
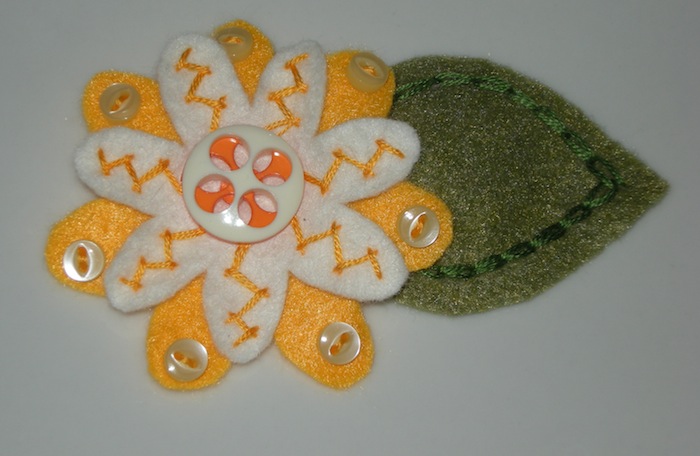
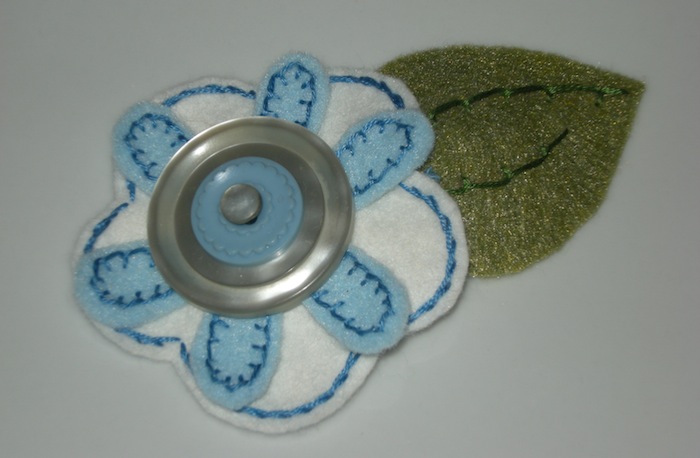
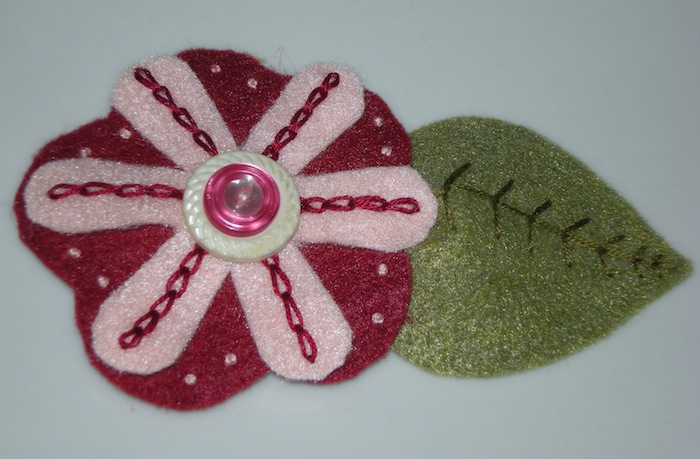
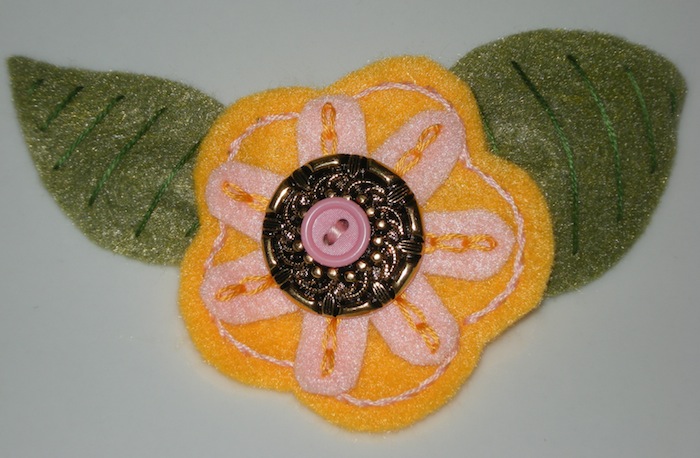
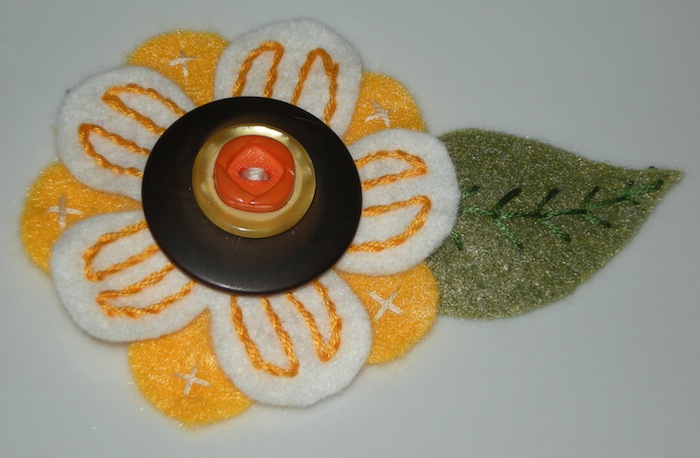
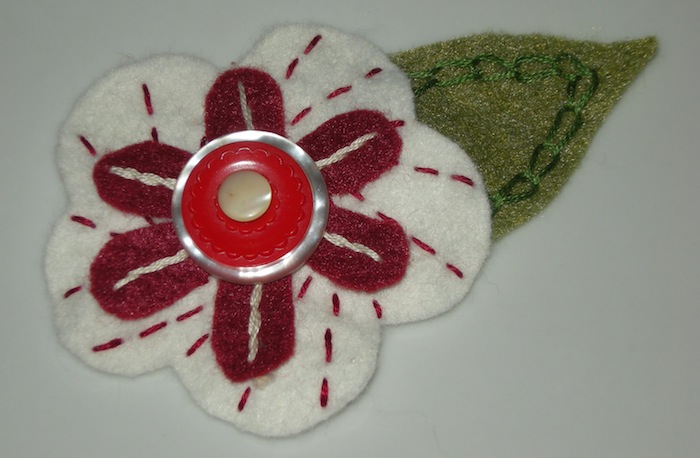
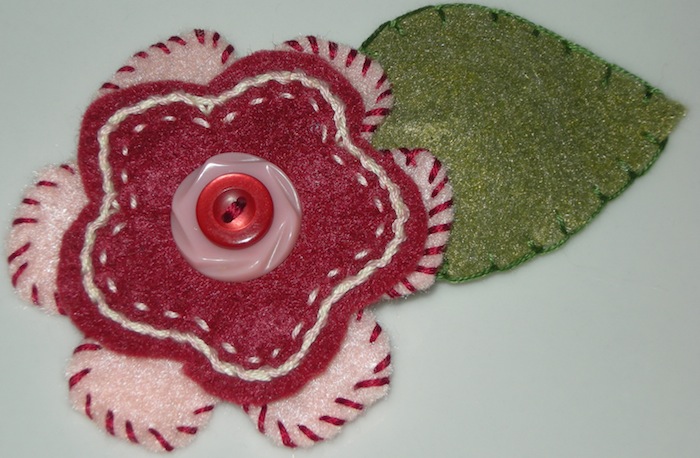
The host provided the felt and thread in colors that matched her theme. My pseudo-mom (she would be my Mother-in-Law should I ever get married) suggested using stencil paper. Great idea! I used my Cricut Expressions with a couple of different borrowed cartridges that had flowers and cut in two sizes – small ones of about 1.5” and larger ones of about 2.5”, so that I could stack them. I also made two sizes of leaves, in two shapes, that were about the right proportion to the flowers. Using a disappearing ink fabric marker, I marked all the felt and cut away.
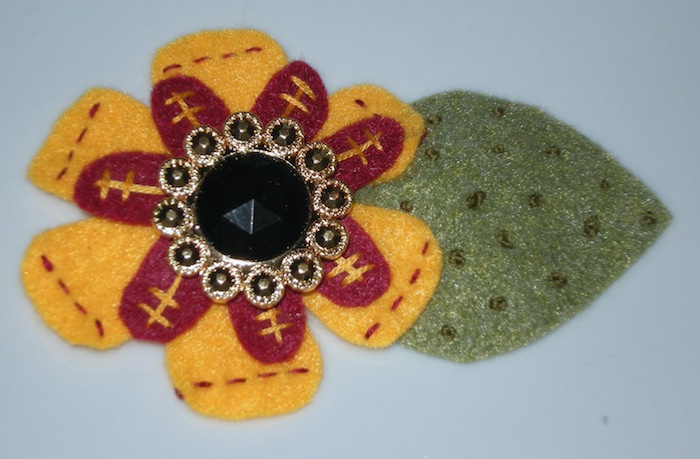
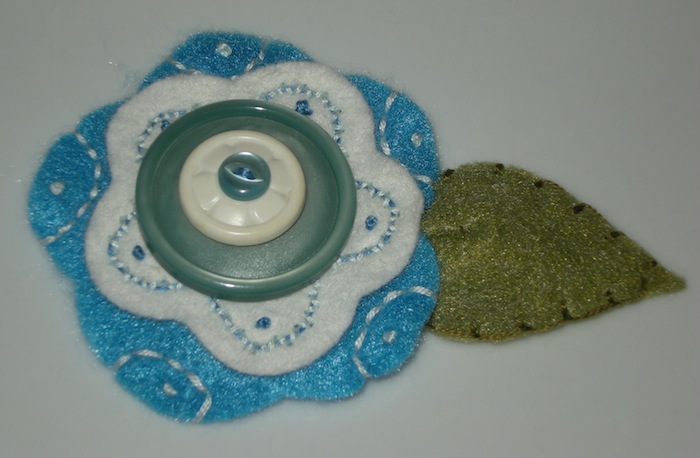
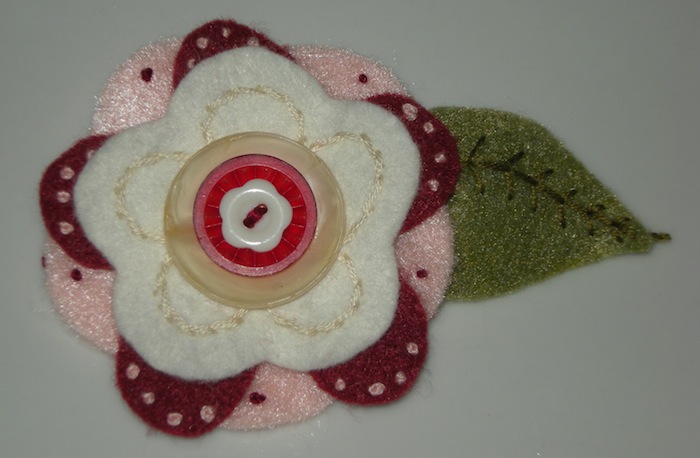
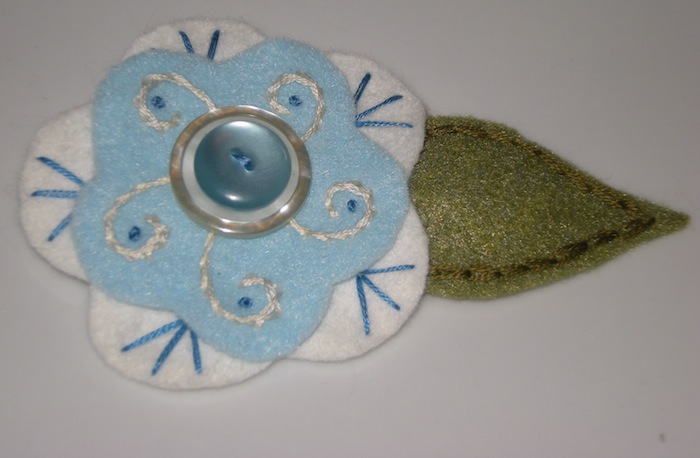
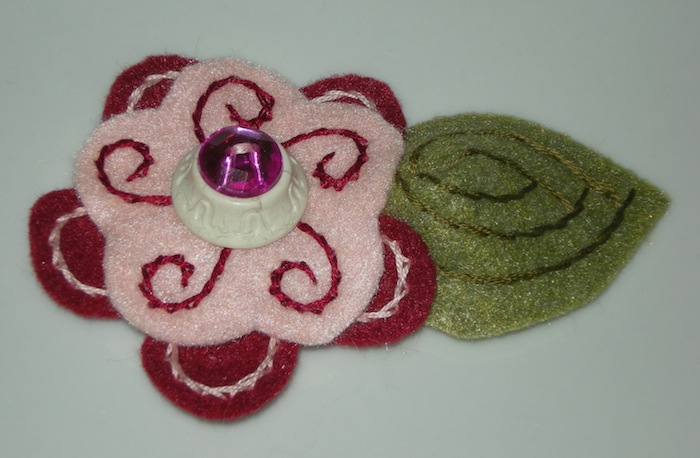
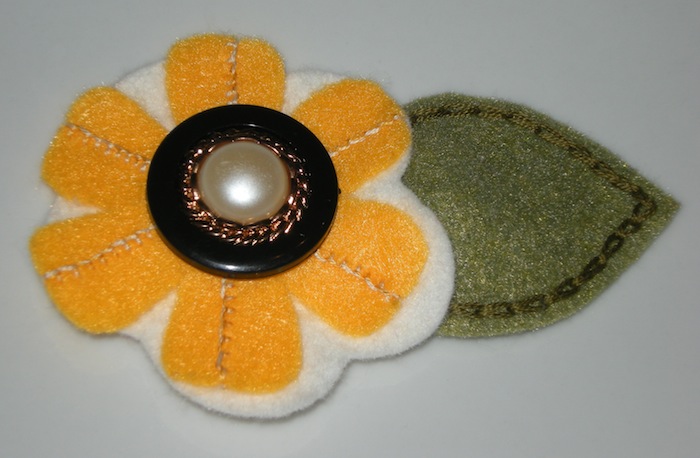
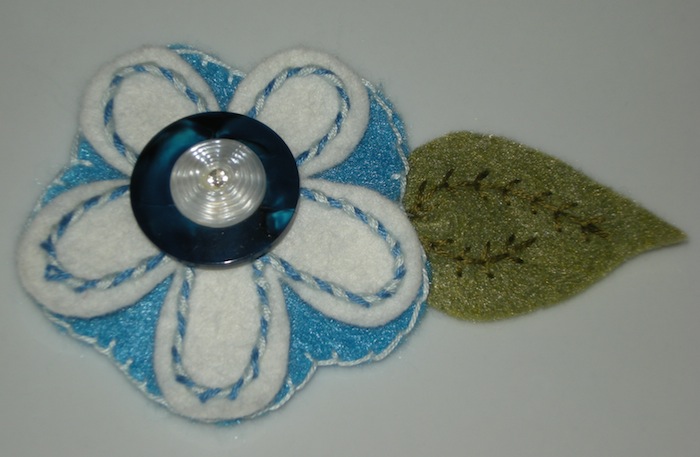
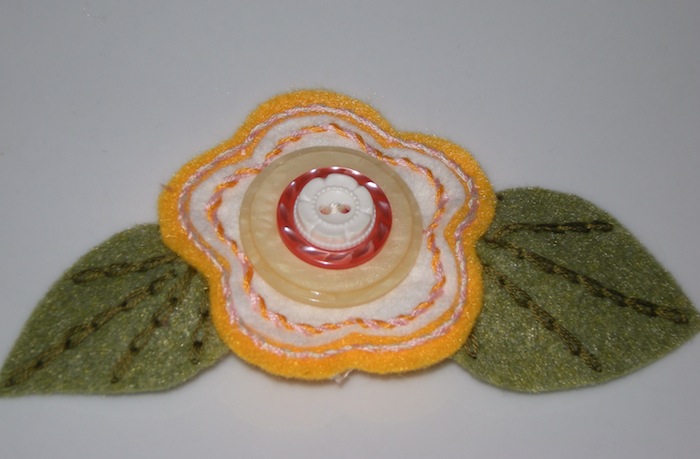
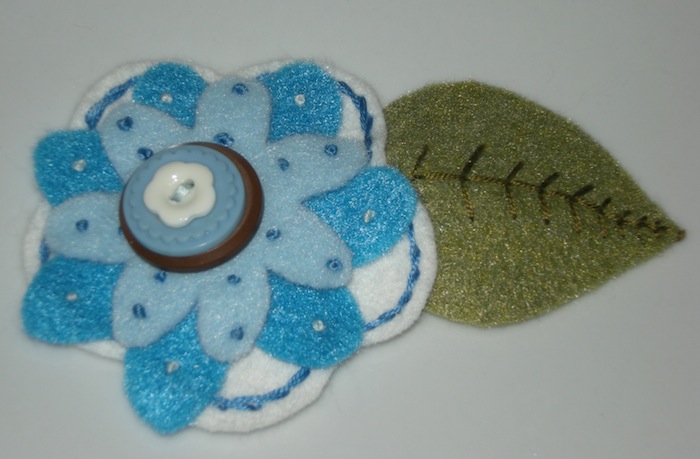
Another difficult stage in the process was matching up the buttons and colors. Princess Lasertron works with a slew of color palettes. I found myself being constrained to monochromatic themes. I don’t know how she does it. But then again, the color choices might have assisted me had they been my kind of colors (I prefer the colors that look so good, you could eat them:) These colors were not edible for me.
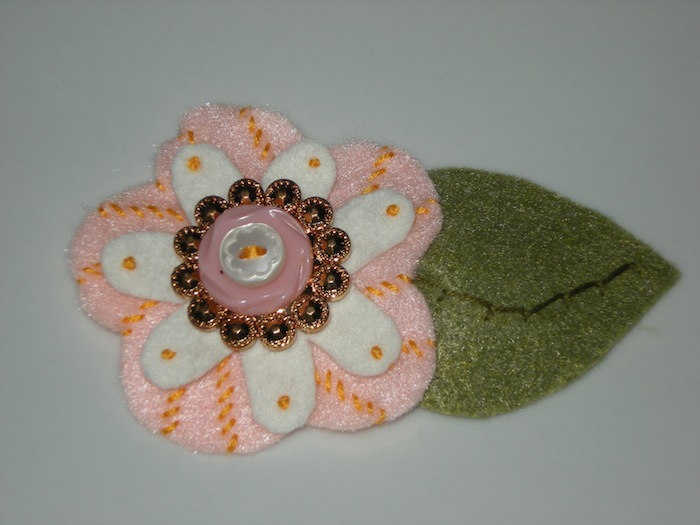
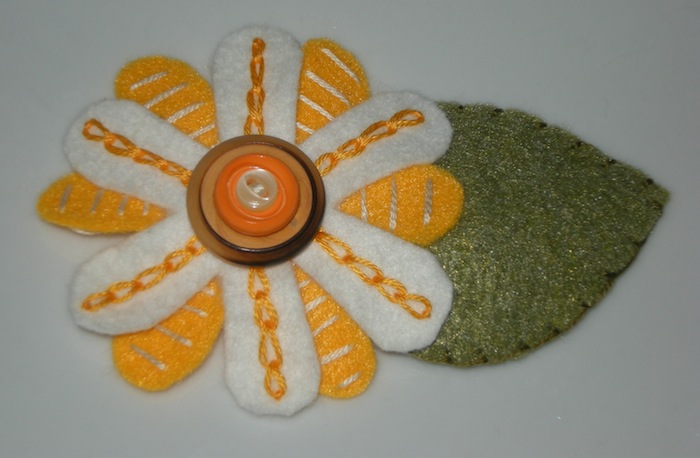
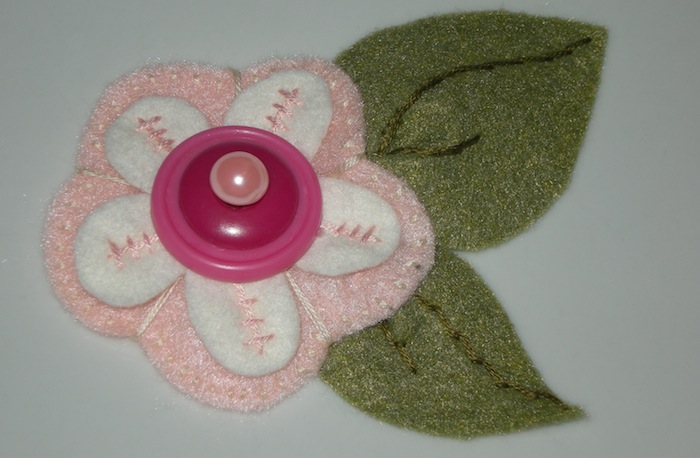
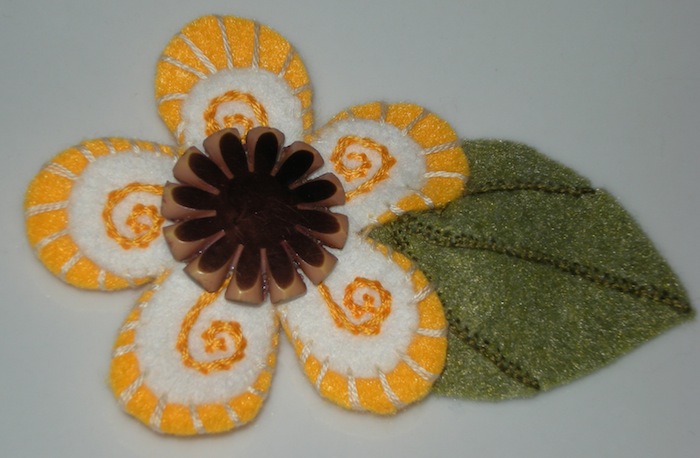
I started with embroidering all the leaves, as singles or as sets of two, in all kinds of stitching. Then I put together a flower, found buttons to match, and began embroidering. I learned early on to sew the pin clasp first, as doing it after everything was stuck together was difficult. Sewing the buttons on came last, although ironically, sometimes the placement of the clasp made that part difficult too. Once the flower was completed, I matched it to a style of leaf and then moved on to the next. I definitely do not have these down to a science, even though I made 32 of them…

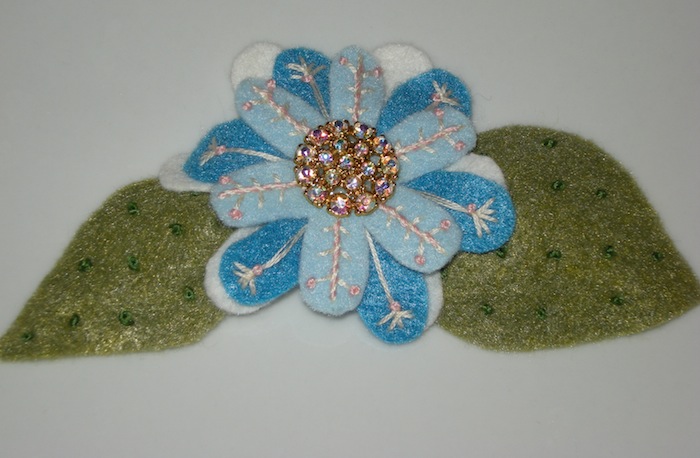
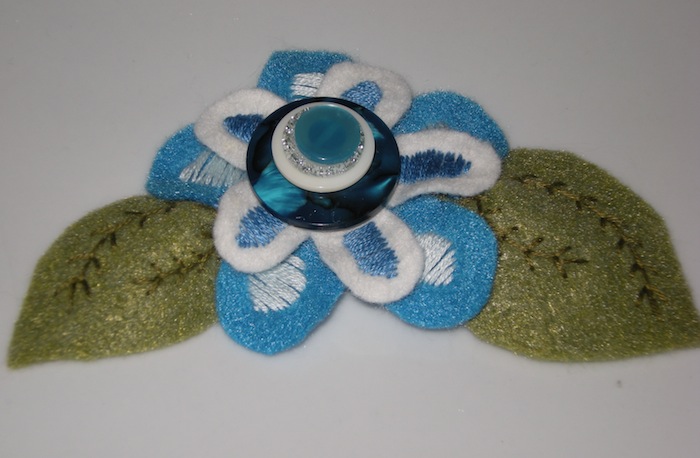
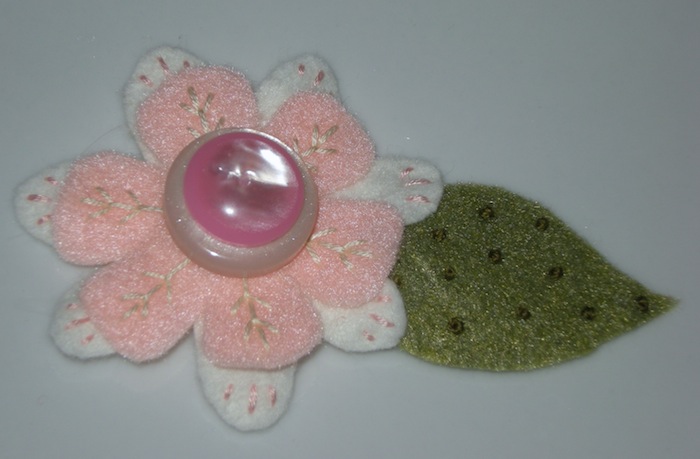
I wanted something a little more special for the Mum-to-be. Princess Lasertron makes wrist corsages also, so what the heck, I’ll try that too! The host had realized that better color choices would be more fun, so she had bought some yummier colors. Unfortunately, neither of us thought to buy matching thread. Under normal circumstances, I could have gone out and bought some, but it was down to crunch time and neither of us had the time to do it. So, fortunately I had a box of embroidery equipment on hand from my pseudo-mom. She did not have purple thread to match the new colors, but she had black and a silvery kind. The flower creation turned out to not match the original ribbon I had picked out and it was about midnight the night before the party. What to do? Well, again, Fortune smiled upon me. Two years ago, my bro and his girlfriend visited and I found a nice piece of black ribbon in the room after they left. It was perfect. (See, packratting really does save the day!)

I also wanted her flower to be better quality, but I could only work with what I had, so I doubled up the leaves and the back flower, for two reasons: it would be stiffer, thereby looking nicer on a wrist; and I would be able to hide the crazy ugly stitching on the backside. It was a learning experience to sew between two fabrics, but I achieved the look I was going for. It turned out super nice, and everyone loved all of the flowers.
Craft itching satisfied, party favors succeeded.
The drawbacks to this project were: I only had one shade of fabric marker, so on the darker fabrics, it did not work so well. I do not have any other experience with fabric markers, so perhaps it is normal but maybe it was because I was using it on felt or the marker wasn’t a good brand, but the ink disappeared almost too fast to cut the shapes, even when I went over the stencil several times. I also originally attempted to make the backside of the pins look neat, but gave up. Some of them had the knot so close to the edge that it peeked out. We also used thin felt, and I believe that a thicker, sturdier felt would look more quality. The pin backing, being so tiny, is a little difficult to clasp and unclasp. And as I said, in my opinion, better colors would have been more inspiring to me, and might have allowed me options beyond monochromatic schemes.
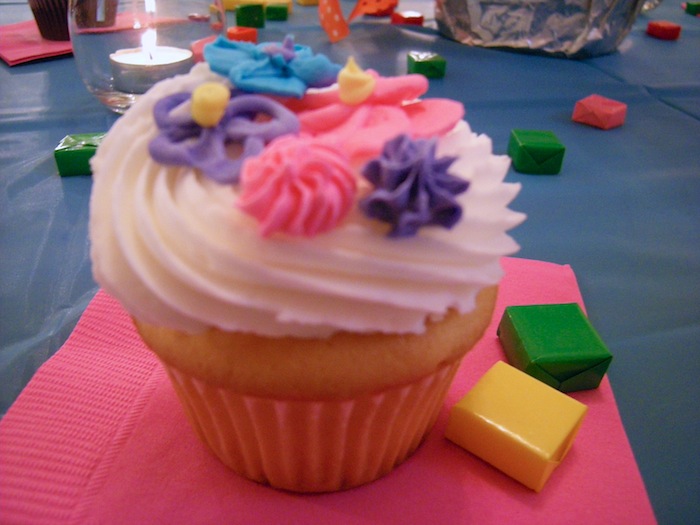
Also, check out these cupcakes that the host made:
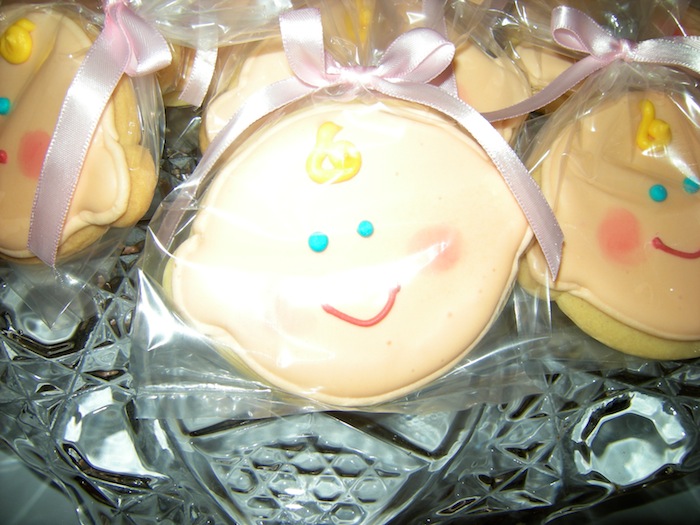
And how cute are these baby face cookies? Jill from Jill’s Sweets & Treats made them.


CaLynn,
Did you make these Cookies? they are so adorable. I love them.