
I don’t remember where I scored this milk glass dish, which I think is an Indiana pedestal candy dish with a daisy design, but I could not part with it. I don’t eat candy, and had no idea what to do with it, so it just sat in a closet for years. One day, a blog I followed posted about egg cup pin cushions (I would link here, but I can’t seem to relocate it). I loved this idea – vintage dishes with a modern remake, and so simple!
Alas, I do not have egg cups, and I am generally not the type of gal to go buy things. I use what I have, because, truly, I have so much already. But then, as I had to move my sweet milk glass dish out of the way to reach something else, the idea returned to me in a flash. So, on Christmas day, I treated myself to some sewing-for-me and without looking at a pattern (because #me), I figured out the way I wanted to go about doing it. It was pure felicity and serendipity that my gramma had just recently given me some cardboard circle templates that were exactly the right size. I didn’t take any photos of the process, but I want to remember how I did this so here goes.
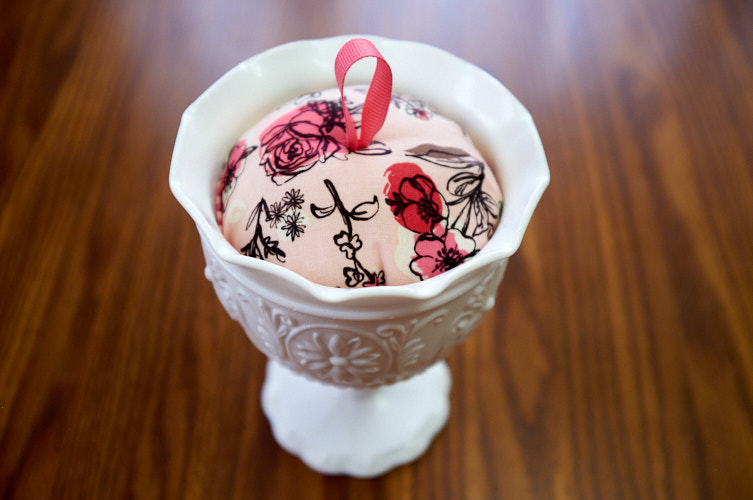
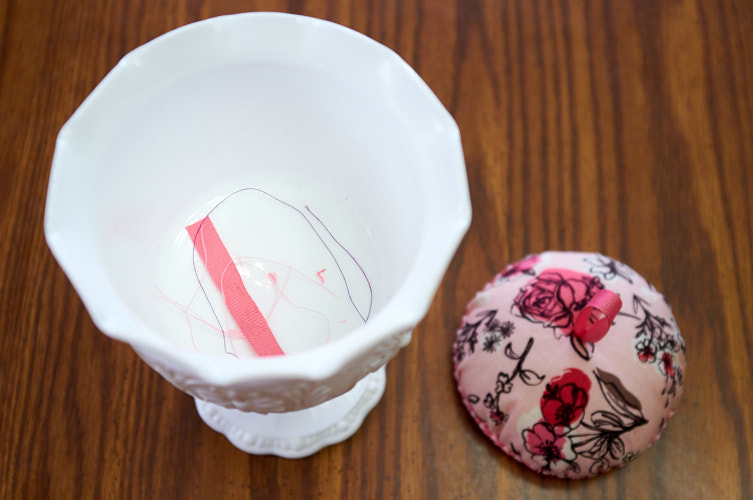
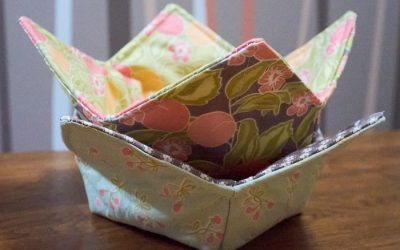
My idea for this was to have a removable pin cushion that would hide a compartment beneath it, so I needed to make a little dome that would fit snugly in the top of the dish.
I basically cut a circle about an inch and a half larger than the dish opening. This, I ran a running stitch around the edge to bunch it up a little and stuffed with regular stuffing (if I had had anything else, I would have used it instead). I slipped a cardboard circle in, tightened up the fabric and stuffed around an edge until I was satisfied with the stiffness of the dome, then I secured my thread. I wanted the dome to be really sturdy, and survive a possible tea-spill someday in the future, so since I had extra circles on hand, I added another one on the bottom. However, first, I used an awl to poke a big hole in the center of the dome (fabric, stuffing, circle – all of it). On the second circle, I poked two holes near the center. Then, using a tapestry needle, I inserted a small strip of grossgrain ribbon up through one of those (keeping about an inch of tail rather than tying a knot), through the hole in the dome, and out of the fabric. I placed a pin across the dome to fold the ribbon over, assuring that when I took the needle back down into the cardboard, a loop the size I wanted would remain. It wasn’t easy, and Boy helped me with pliers. Then I tightened the ribbon up until the loop was stiffly standing on its own, and I glued the two tails of ribbon to the second cardboard circle.
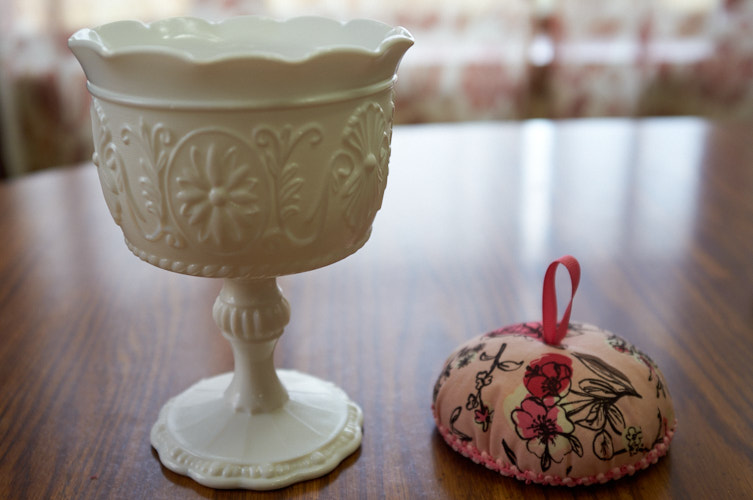
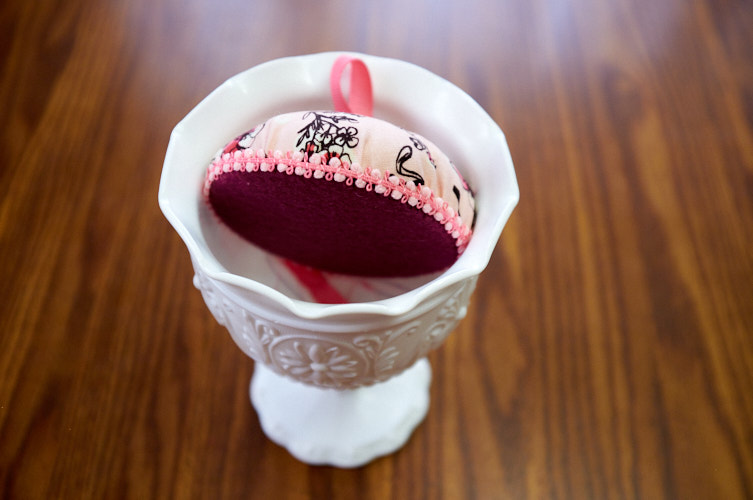
On a third circle, I wrapped some felt (cut about a quarter-inch larger) around it and laced it back and forth until I had a nicely covered base. I used a paintbrush to apply glue to secure it to the middle cardboard. Then I hid tiny little stitches all the way around, connecting the felted third layer to the fabric dome. Because I wanted this dome to be removable, I wanted it to also look pretty on its own, so I tacked on a little bit of trim as well.
I am over the moon with this little idea! I should share a before and after scene of my craft room because when it’s clean, it’s clean, but when I craft, it is like a toy section at the mall after a troop of misbehaving unsupervised toddlers camped out for a year. It’s bad. I lose my things so easily and am always super annoyed for cleanup because I have bits of thread and whatnot all over the place, clinging to everything, mixing in with good thread pieces. Ugh, I can’t stand it! You’ve heard me say before I’ve tried organizational methods, from a big tray to this awesome book box (can confirm; is awesome), but I’m still so undisciplined, it’s near shameful. I made a little ORT bag (“old ratty threads” – the little pink-bottomed red bag in this post) but it doesn’t do it for me – I lose it just as easily because it’s soft and gets smashed by things, and also clings to good threads when I push everything around in a flurry so I don’t use it much anymore. This candy dish? Firmly unsquishable, unclingable, and rises above the chaos. As you can see, I began training myself whilst making the project!
Now I have my eye out on all kinds of lovely dishes I could transform!

0 Comments