
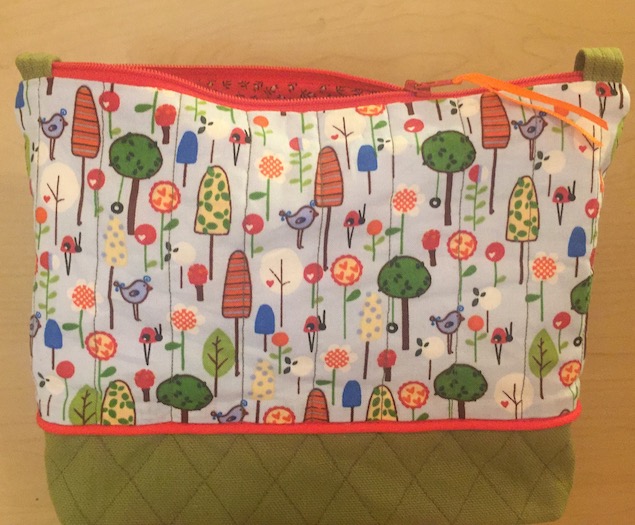
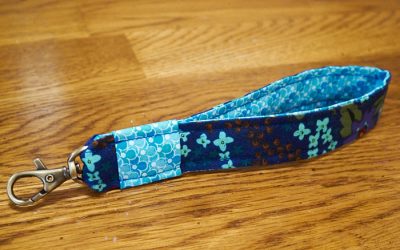
I got on a roll making things with zippers. I began with the Fancy Stitched Quilted Zipper Pouch tutorial I snagged from Joanns last time I stopped in. Obviously, I couldn’t just follow the instructions – I don’t know why I am like that but I just have to change something to make it my own, you know? So, I added a bottom panel with piping. and I made it out of canvas material for almost all of them so that they would have added durability.
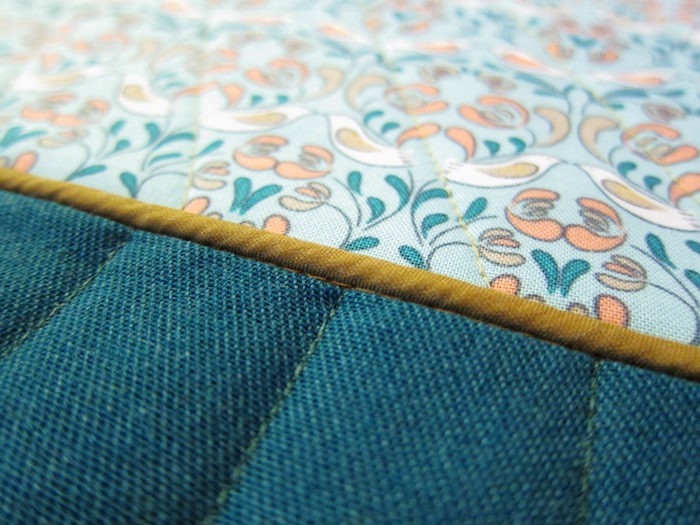
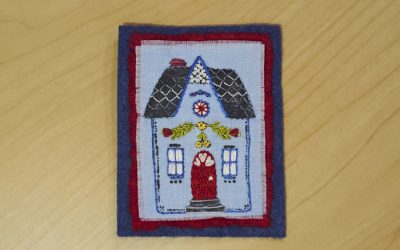
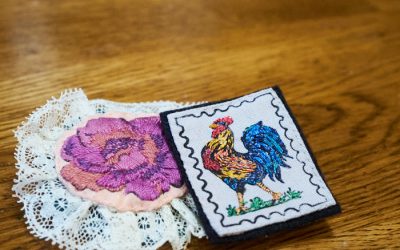
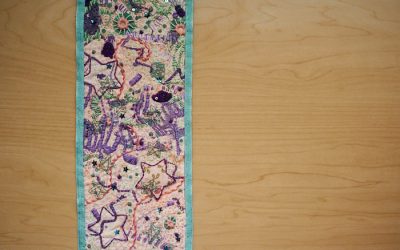
I love love love the very first one I made. The bird panel and fancy zipper were things I picked up from the 2016 Illiana Shop Hop. The piping and canvas were things I had laying around. I love it when I can puzzle out things that go together from my stash! I quilted after I pieced them together, so I just left some extra tails of thread and used a needle to tie them off at the piping.


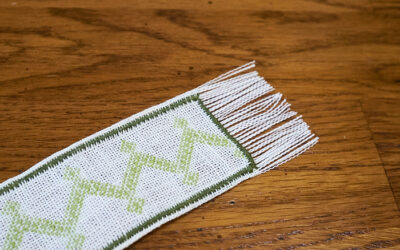
The second one I made, I gifted to an old colleague of mine. I forgot (as usual, gah!) to take photos of it so these are just with my phone at the office before I left it for her. I had all these parts laying around (except for the zipper that came in a huge bundle of colors I ordered online). The panel is from a scarf that I inherited from Boy’s grandmother.
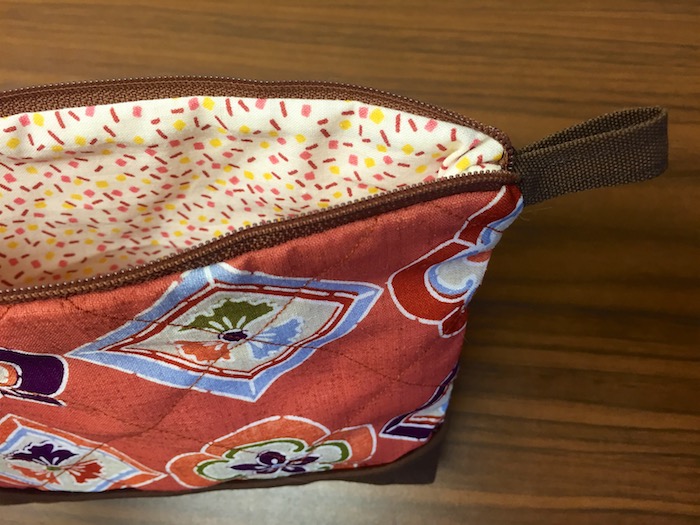
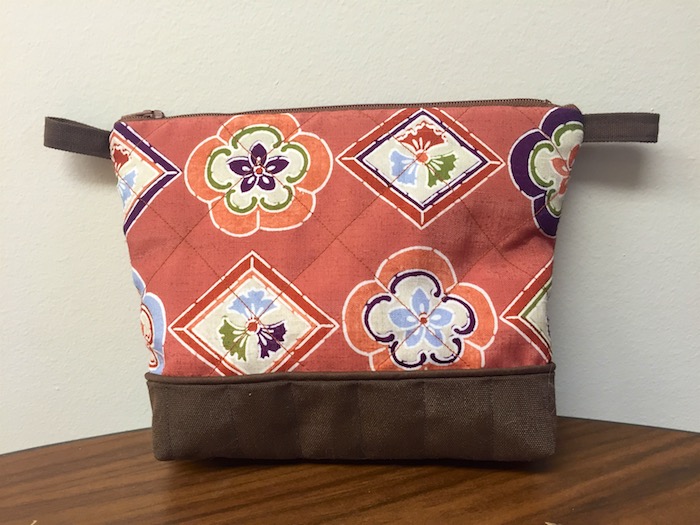
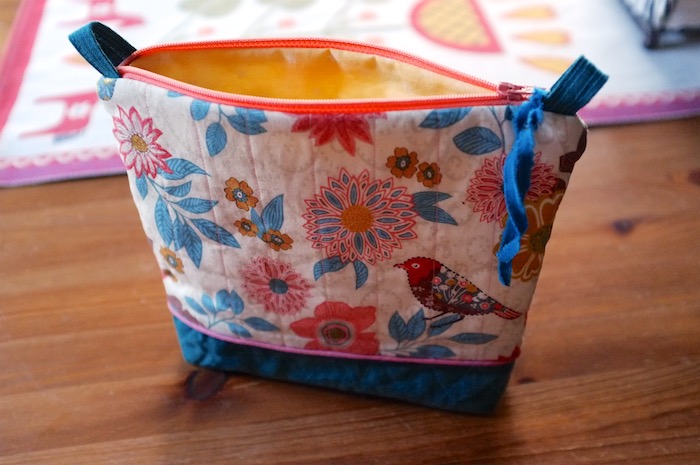
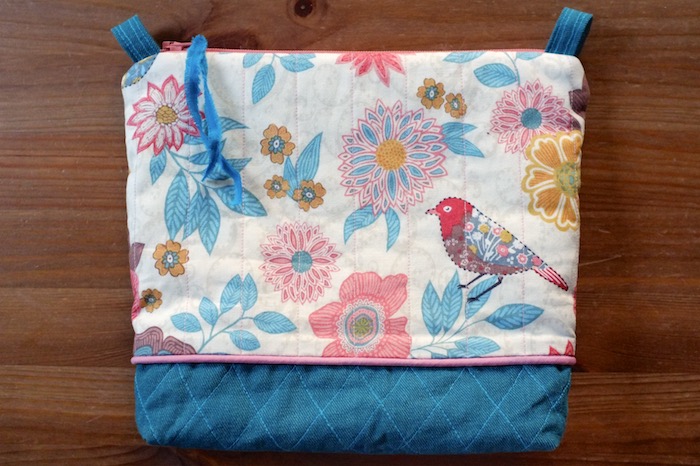
I made a third pouch as a birthday present – I was invited to a quinceañera (a Hispanic tradition for a girl’s 15th birthday) which was awesome in and of itself. I really really liked how this one came together!
I had to put everything a way for a while because the semester began again, but curiously enough, I have had a wee bit of “free-time” and had the pleasure of digging it back out. This fourth pouch went to a friend of mine from my grad school/teaching days.
Surprisingly, I got a spot of even more free-time so I made one for my sister-in-law. Did I mention how I just love it when things come together straight from my stash? I couldn’t have had so much fun with all these if I had to go buy materials – I don’t have that much free time!

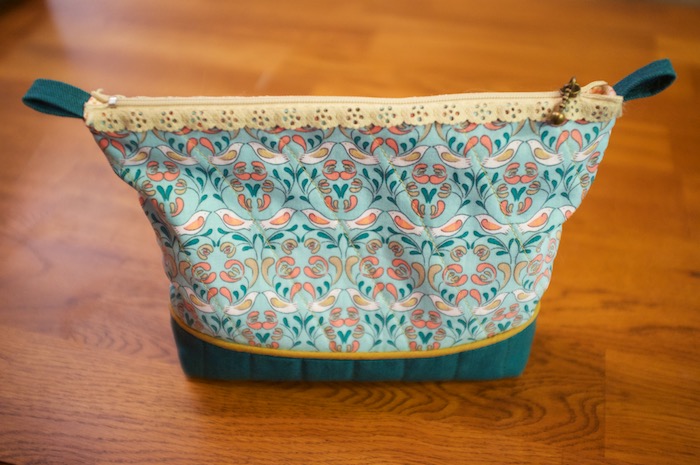
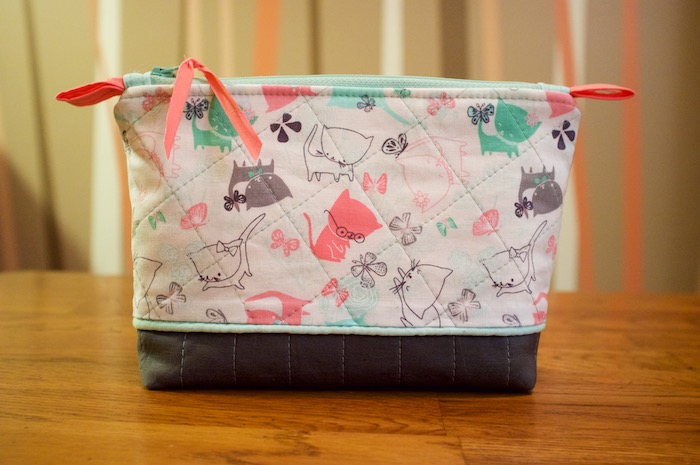
Then, lo and behold, another spot of free-time appeared and I made a bag for myself! Sadly, I did not have any heavy weight fabric for the bottom, but I think standard quilting cotton will do for now. I mean, it matched so who can really complain? I also recently received some fabric from my grandmother’s stash and pulled it out here – the mint and coral are hers. And you see that mint piping? I made that! I can make piping now! [Oh, and I must shout out to the creator of the Walking Foot! I finally swallowed the purchase and got one. This was my first project with it, and I feel like a HERO of sewing now. I can take on any task. Bernadette (my machine, aka Berni) and I are now unstoppable!]
In the process of making them, I experimented with a few different ways to do the lining. The original pattern ends with raw seams (zigzagged stitched) on the inside. I also tried making the lining bag separate, then sewing them together. And, i tried using the original pattern but then binding the raw seams.
I liked the first way, because the liner was also quilted and stayed put – but the seams were raw. I liked the second way because the seams were hidden – but the liner was loose. I liked the third way – but it added quite a bit of bulk and was hard for me to do (before I got the walking foot, that is!). I experimented more with the second approach, hand quilting after I put the pouch together. Then, one other attempt, to quilt the exterior and to quilt the interior, separately. That is my favorite way, and it makes the pouch much more sturdy – something I could not have done without that magical foot! I am using it for my new camera storage bag. You see, Boy upgraded to a Fuji XT2 so he gifted me the Fuji X100 (I hope that means you will see a remarkable difference in photo quality!). It is bigger and bulkier than my my little Canon S95 so having the extra padding by quilting the inside and outside of the pouch is perfect.
You may also have noticed that I experimented with a few ways to add the tabs. My favorite is from the very first bag, so I might just go back to that method. I also experimented with the zippers – that first one just wasn’t long enough, and the rest needed something to top them off so I added a little band of fabric.
In addition to the Joann’s tutorial, I consulted Melly Sews’ How to Sew a Zipper Pouch Tutorial and The Sewing Chick’s Zippered Pouch Tutorial.
I had great fun experimenting with these, and I wish I knew more people who need pouches so I could make them with a purpose!


0 Comments