I finished the French boutis bag I’ve been working on all summer and have decided to gift it to my gramma who travels frequently and may need a nice place for her jewelry or such. I was going to drive through the area yesterday on my way down to Living Archaeology Weekend but now I’ve had to bail out on that fun adventure so she won’t be getting it til probably Thanksgiving rather than her birthday but better late than never! If you are anywhere near LAW, I highly recommend making the trip for a fun day out.
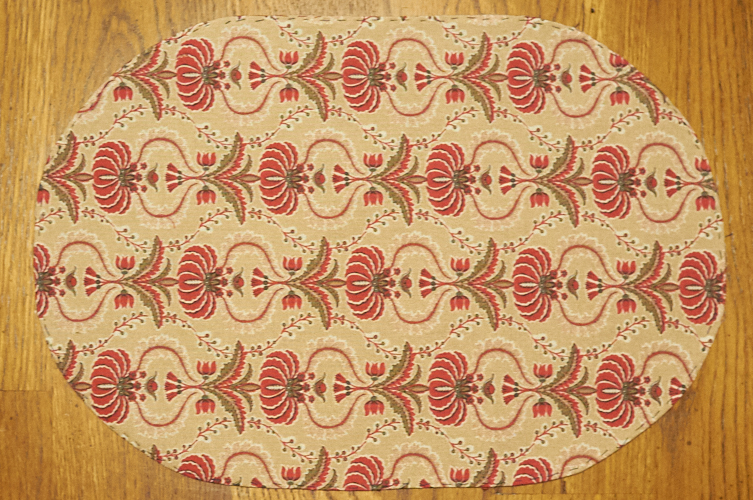
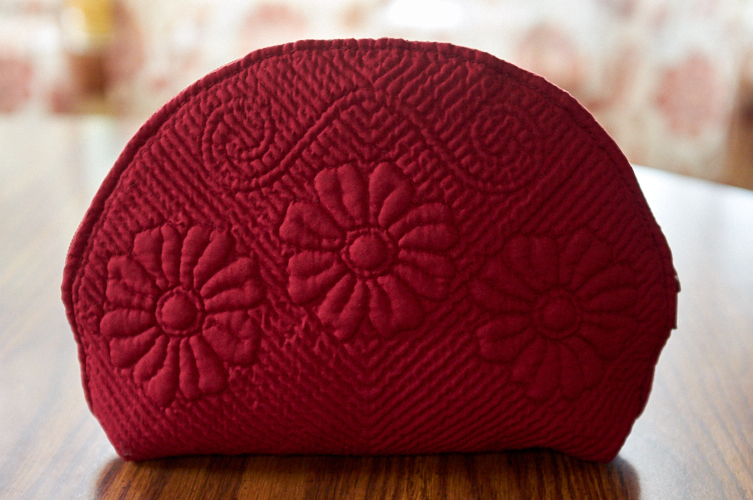
Here are some shots of the boutis part after completing the rolled hem. The lining fabric is behind it – I think the colors are so complimentary!
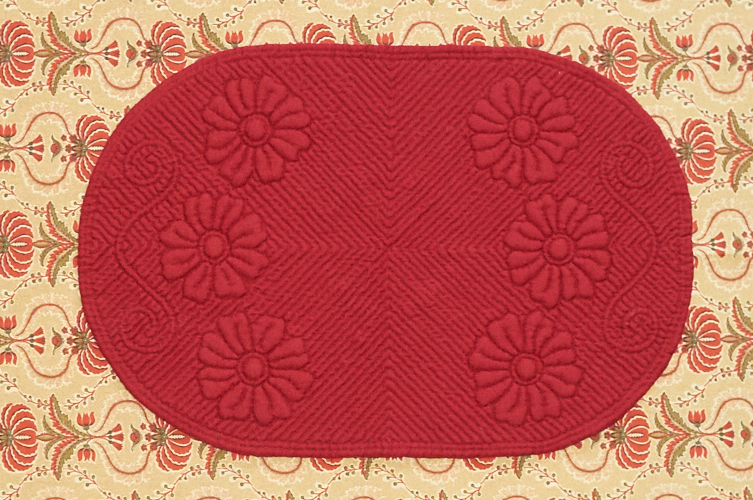
I also want to point out that traditionally, you don’t use knots in French boutis. I did (obviously!) – no one will see them and it still feels uncomfortable to not use them much of the times I try.
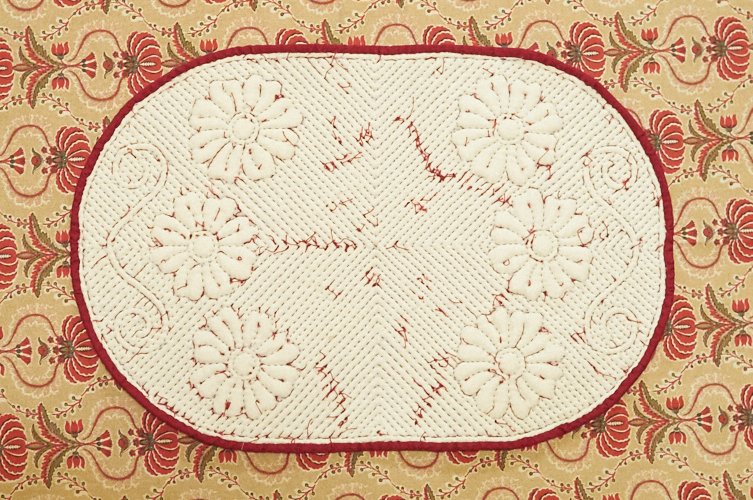
Then I had to carefully size and cut the lining, and I opted to go a little further than the directions said and used a baste stitch to secure the hem. I chose a black thread so I could easily see it to remove it once I was finished attaching it to the boutis.
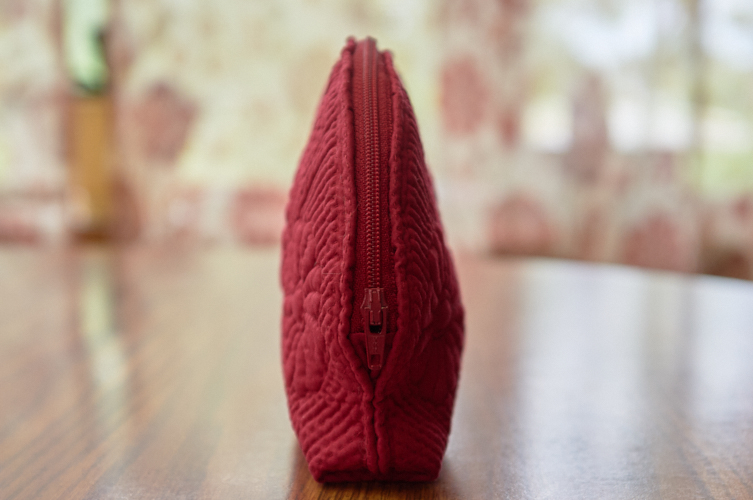
I skipped taking any photos until the end result, but this pattern did not come together like other bag patterns. Instead of sewing the lining to the outer fabric with the zipper wedged between them, this one calls for attaching the zipper first completely to the outer fabric, then attaching the lining using hidden stitches. This could be for many reasons, but what I learned was that I think I like this way better. It resulted in less bagginess of the liner, and though more time consuming, seemed less aggravating than my results using the machine (so yeah, this bag is 99% hand-sewn; only the little zipper tabs were machine-stitched).
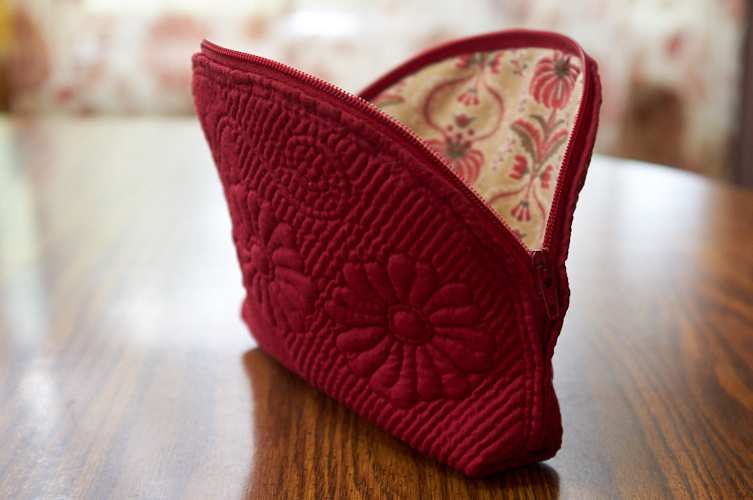
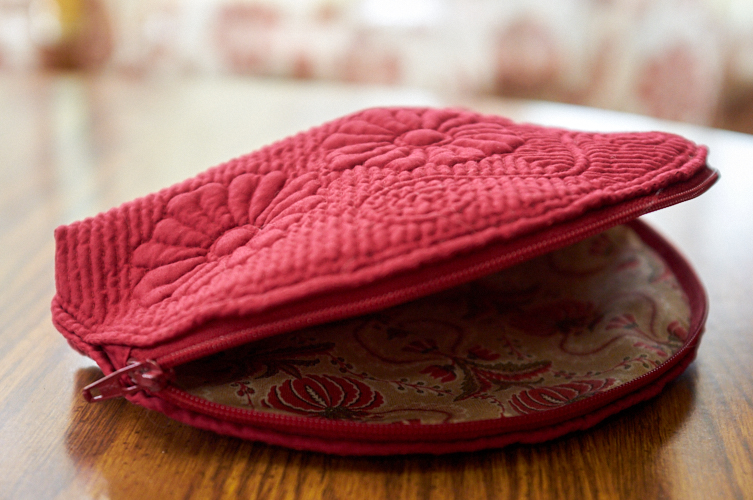
I stitched a little “2018” to the inside of the bag just as a remembrance. I’ve been trying to do that on many of my “first” projects. This bag turned out lovely! I am grateful to having a local embroidery guild that helps me learn new things.









0 Comments