
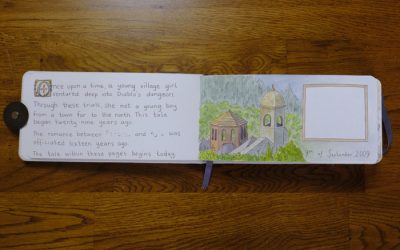
We are skipping WIP-TAST-ic Wednesdays 22-37 since I was out of town. I did craft all summer, but just here and there and without the stability in schedule to photograph or post. Today is a signal that I am back in some sort of routine (I hope!) and so I’ve chosen a project I am almost done with – a french boutis bag through my embroidery guild, purchased from Averyclaire NeedleArts. I chose to do this project just to learn the technique. I didn’t mind it at first…
I learned that a special brand of regular gel pen works awesome for marking (Pilot Frixion Erasables), and disappears with a touch of an iron. This is cool because you can choose whichever color shows up best on your fabric – and pens mark so much better than pencils!
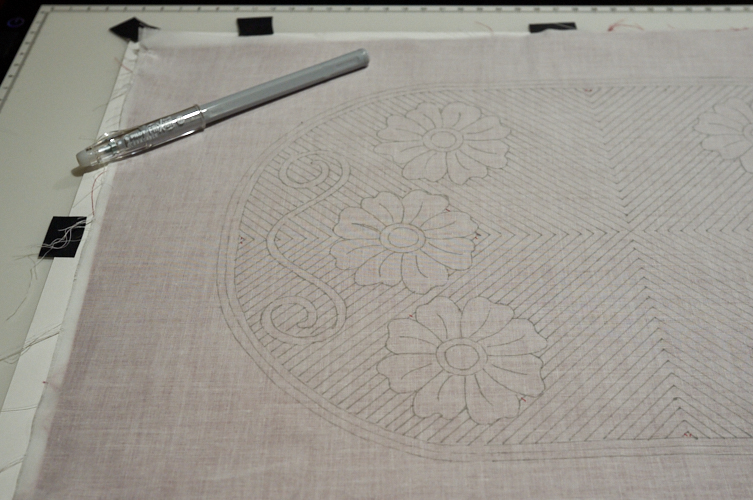
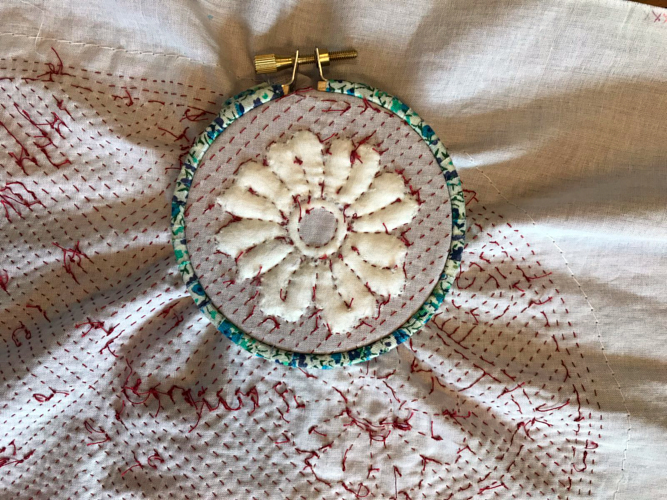
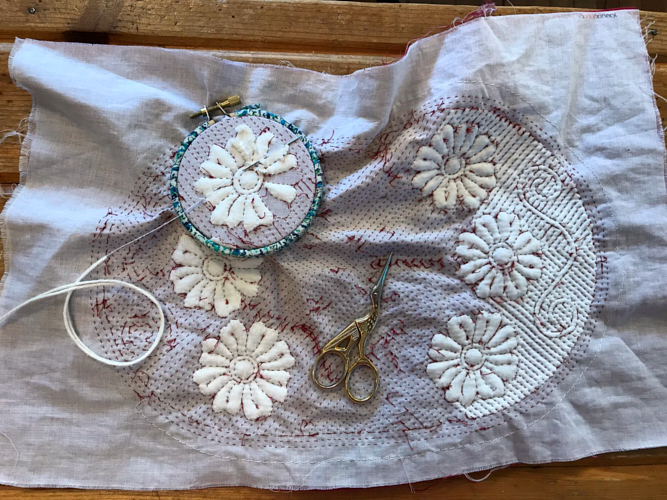
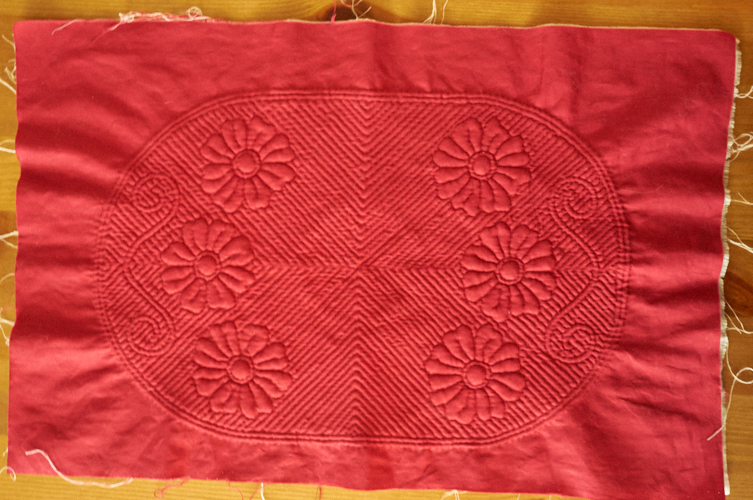
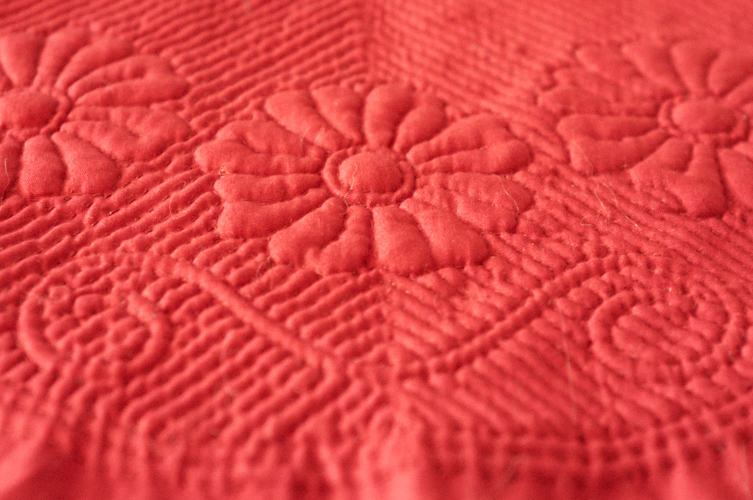
The first thing you do with boutis is sew the “channels” and motifs in a simple running stitch. My stitches could have been better – smaller and closer together, but I know this for next time and I can’t say I wasn’t warned by the teacher, ha!
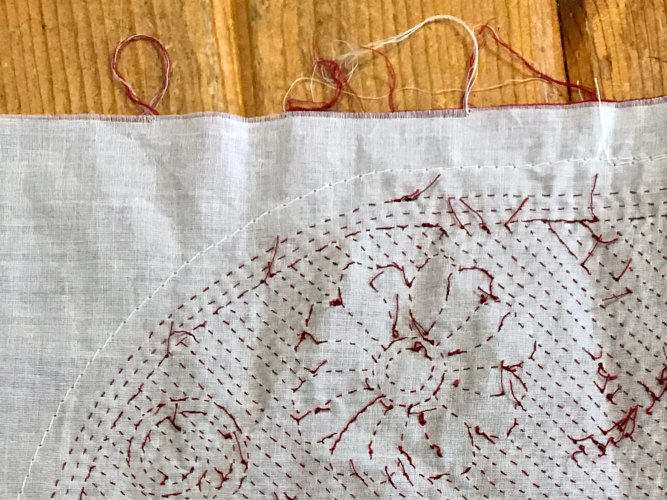
Then you take a needle threaded with yarn and pull it through between the fabric layers in the sewn channels, and side by side in the motif.
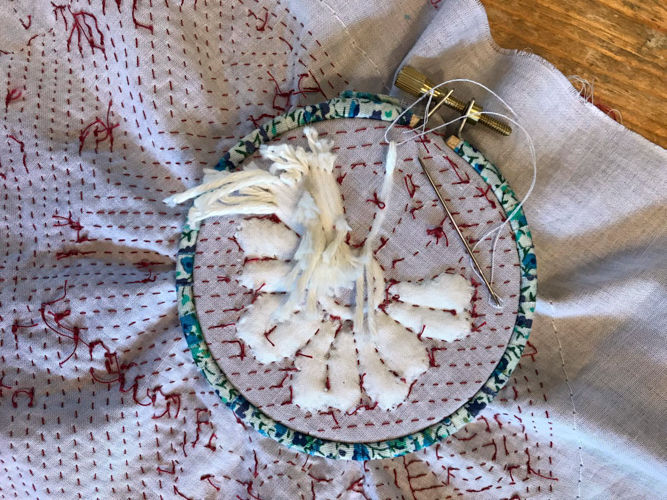
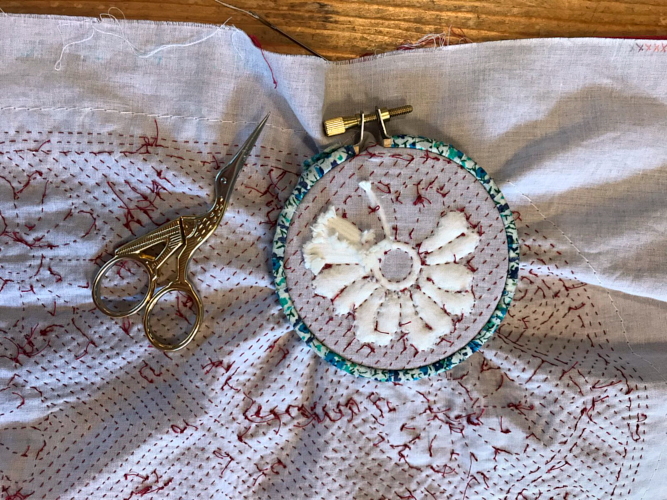
You snip the yarn so its about an eighth of an inch longer than the track. I could have done this better, too. Some of mine were too long, and I thought that it wouldn’t be too much of a deal after finishing the project but there is one specific area where the lumps didn’t disappear and tragically these are all arranged in a circle mimicking the hoop! Augh!
Then you take a toothpick and poke the yarn into the channel, and kind of smoosh it around the very end to fill the space if needed.
It was at this step in the project that my enthusiasm waned. It was not a favorite task, poking in yarn. I wondered about quitting, actually. Here I was, working on a “big” project for my first go and it was overwhelming to think how long it would take me. Originally, I was making the bag for me, to learn and maybe use on my travels. But then I kept thinking how “pretty” the bag will be and how much time I would have to invest in it, and I realized that it was a special piece, and I couldn’t personally appreciate that specialness. I decided it would be a gift for a particular person, and that re-motivated me. I also discovered that it was a perfect car-passenger project, and just brought it with me every time Boy drove. Soon enough, I had this tedious part finished!
We hosted a Norwegian and Frenchman for a long weekend (Hi Ragnhild and Thomas!) and this meant many late night conversations. I kept my hands as busy as my mind and before I knew it, I was ready to finish up the bag!
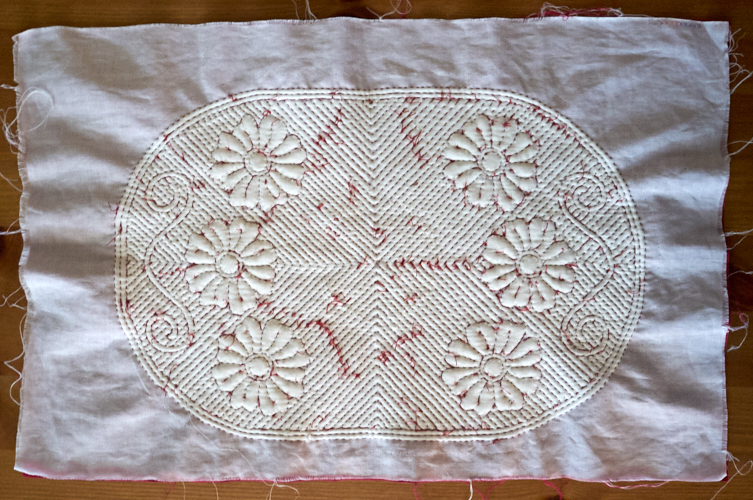
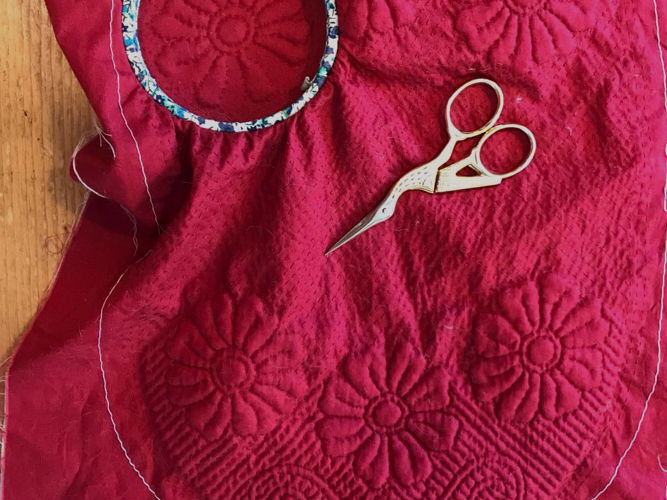
After all the yarn is in place, you soak it in water to help the yarn fibers expand and really fill in everywhere. Then on to the finalizing steps! You can see that disgusting lumpy ring right in the center in this photo:
I am confident it will become unnoticed, though. And really, it’s handmade so if anyone has a problem with it, they can go play in the street, as Boy would say!
I might never do another full boutis project since I found the stuffing part particularly tedious, but the puffiness intrigues me greatly. I have ideas to incorporate the technique itself in future projects, at least. And for all the beauty of this bag, it is actually such an easy type of sewing – I mean honestly, I don’t see why a child couldn’t pull it off. All you really need is patience! Anyway, I’ve got it trimmed now, and am working on my first “rolled hem”, and then the lining and zipper await! I think I might even make the deadline of getting it done before Someone’s birthday at the end of the month. We shall see.

0 Comments