You’ve read about my idea for this here, right? Ok! See all completed TAST posts here.
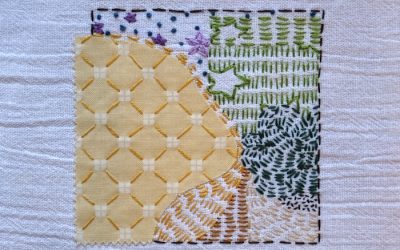
I only now realize I forgot to take a photo of the back, but here is the front:
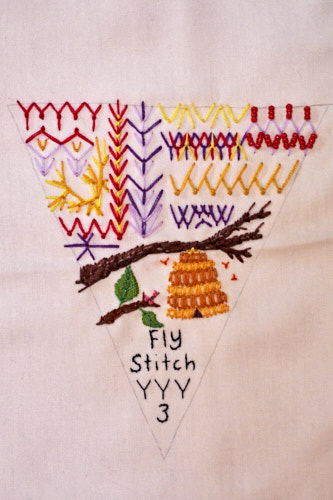
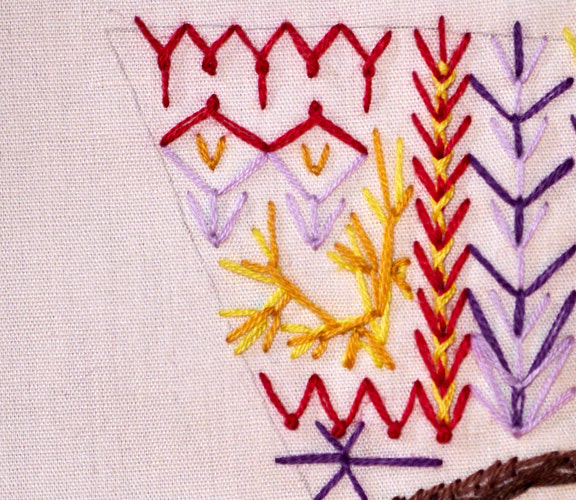
This time, what I noticed was experimenting a little bit with color theory. I didn’t think too hard on it, but I picked a color scheme and used it for the whole piece, rather than just selecting pretty colors as I came to each stitch. I might explore color theory more often. Here, I played around a little with free-style in two colors, sizing variations, and some border styles, including the Twisted Fly Stitch, Knotted Fly Stitch, and a Double Whipped Fly Stitch. I did one version of a Reverse Fly Stitch at the bottom.
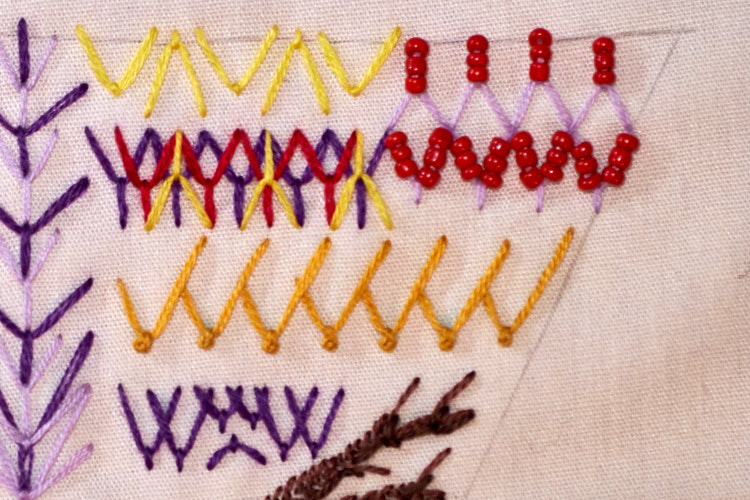
Over here, I wanted to use beads, and see what happens if I layer a few stitches evenly on top of each other or had them slightly offset. Sharon calls this a Plaited Fly Stitch at her other (older?) site, inaminuteago circa 2008. I also wanted to know what happens if I don’t make the little wings even. I knotted those, too. Just, overall, seeing how versatile the stitch is. I realized that it might be one of my favorites. It works well free-hand or orderly, and it can do so many things. I am quite impressed!
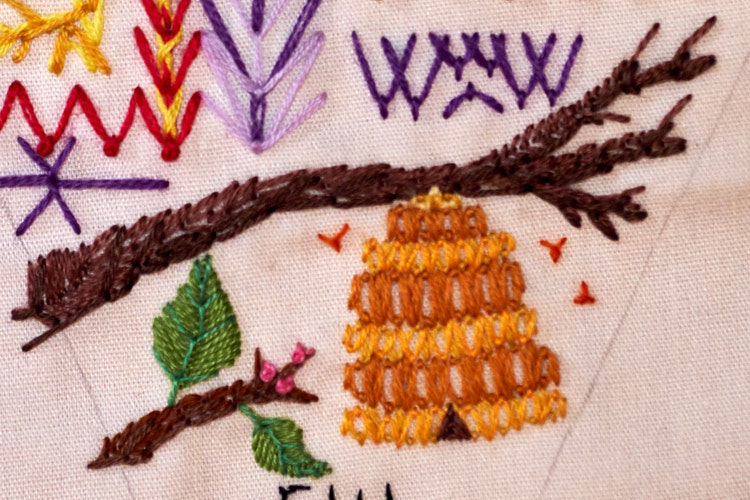
Speaking of what it can do, check it! I just layered fly stitches to create the branches, and though it is a little difficult to tell, I even added a darker brown for “shadow” effect. I added little tiny pink knotted fly stitches and followed Mary’s Fly Stitch Leaves tutorial for the greenery. I added a different shade of green for the veins and stem. The stitch I used for the beehive was inspired by a previous TAST participant’s link: Paper Napkin Poetry’s TAST: week 42. The little bees are simply small, single stranded, twisted fly stitches.
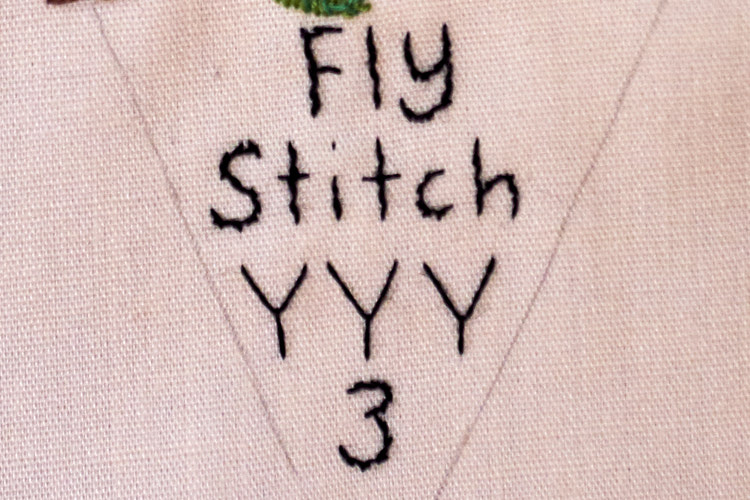
And, of course, the title portion:
I await next week eagerly!




0 Comments