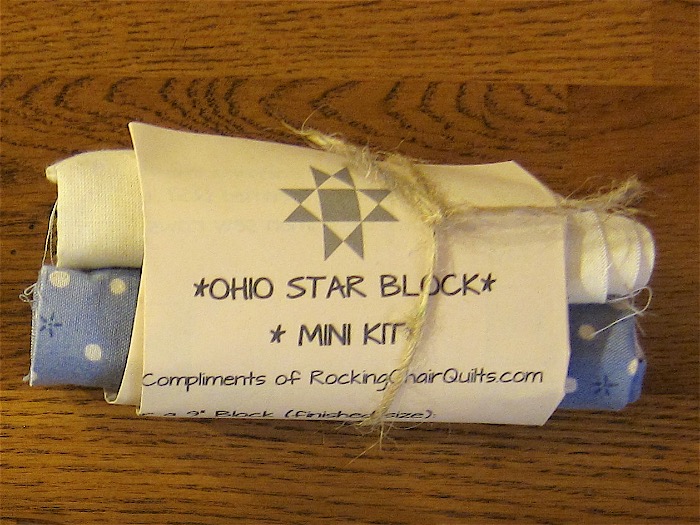
A shout out goes to Carol at Rocking Chair Quilts for this post! I visited her shop as part of the 2016 Illiana Shop Hop and in her goodie bag was an Ohio star block pattern with enough fabric to make it. She told us that she selected the pattern because it was the first quilt block she had ever learned how to make – and now it is my first, too! (She also grew up in the city where I live now, just down the road from Boy’s office; small world!)
Had she not included the fabric, I doubt I would have ever made it. I learned something from that, actually, but I can’t quite place my finger on it. Maybe it means I need to buy kits? Maybe it means I don’t actually know what I like? Who knows, but I love the little snack mat!
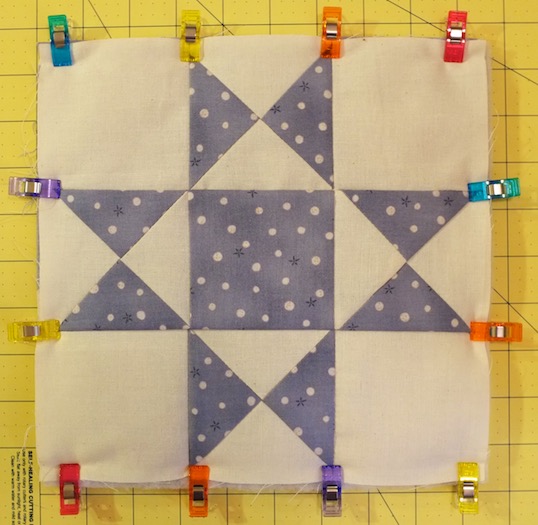
Professional quilters will see my mistakes, but for my very first one, I think I did a splendid job! And I really enjoyed being able to use my rainbow wonder clips. I happened to have had a segment of old fluffy batting so I decided to try it on this piece.
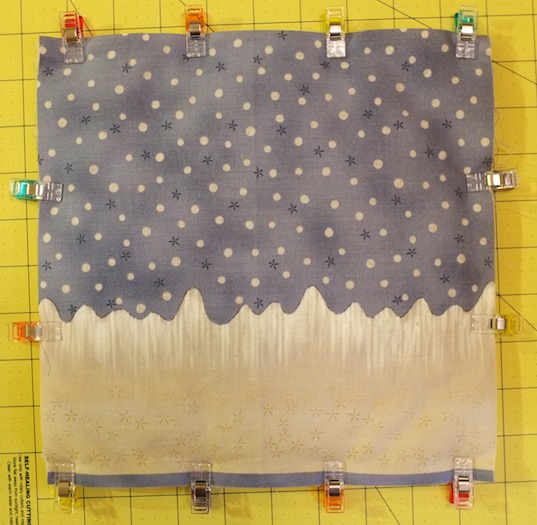
The fabric Carol gifted me was an interesting piece – I had enough to where I could have chosen to use only the blue portion, but I thought that it would be more fun to include the contrasting bit.
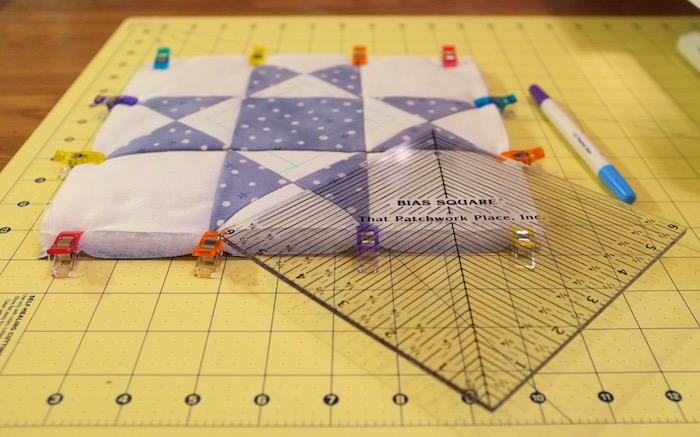
A long time ago, my quilting aunt set me up with some basic tools, such as this bias square ruler. Until this project, I had only ever used it as an additional and small straight edge. Now, I totally get it. I used the markings to draw a few nested diamonds in the center, a triangle between the blue points, and small diamonds in each of the blank corners.
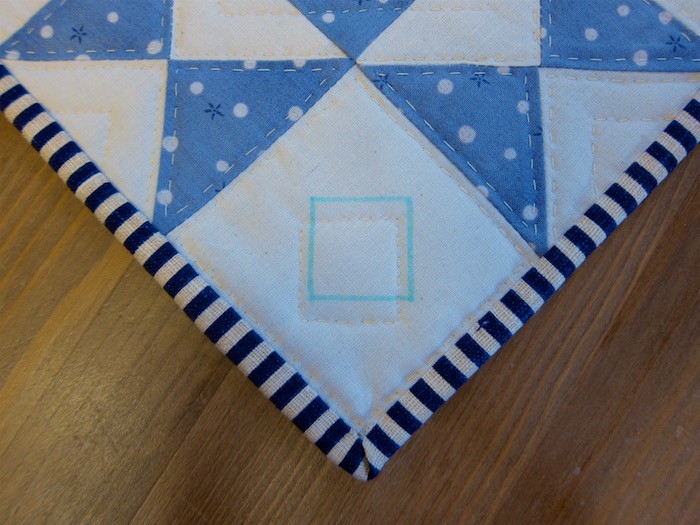
In hindsight, I wish I hadn’t cut the whole thing down to a square, because I decided to handquilt it (I have a small rectangular “hoop” that would have worked well with just the back piece being long enough). I managed with a standard hoop alright, though. But, once I put the binding on, my diamonds were no longer centered. See the type of things you learn in a small simple project? I ripped them out, and began anew. Luckily, I’ve spent some time around my gramma who handquilts, so she taught me the nifty trick of pulling knots through the fabric. Thus, I can start sewing anywhere, even after the project is complete! Honestly, I always thought you had to come up from under a raw edge. The things you learn!
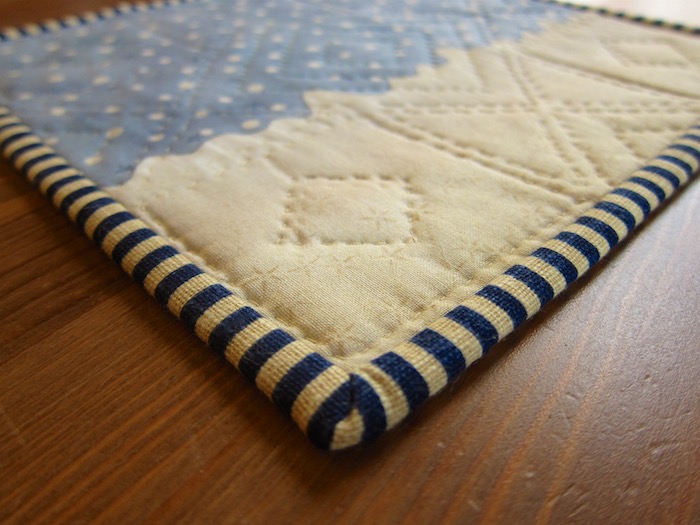
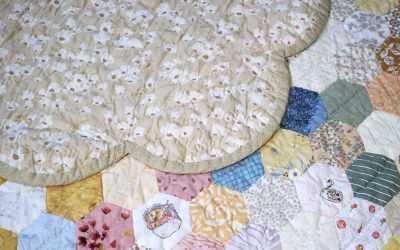
You can still kind of see where the old seams are but I expect that to fade over time. I was also a little nervous about the binding (not included with the project). I decided on stripes, and was worried they would be all wonky in the end. But, again, I surprised myself! And I want to pat myself on the back with how awesome my hidden stitches turned out. I definitely went up a level there with this project. Boy couldn’t even figure out how I had done it for a while (not until he started pulling at things, the nerd).
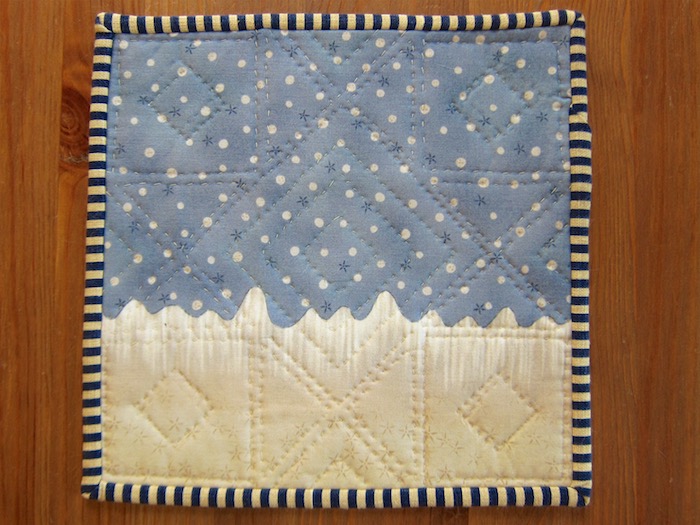
There are, of course, a few things I don’t love about it, but overall I do love it. I haven’t decided what I’ll do with it yet. I called it a snack mat earlier, but its true purpose awaits to be known.
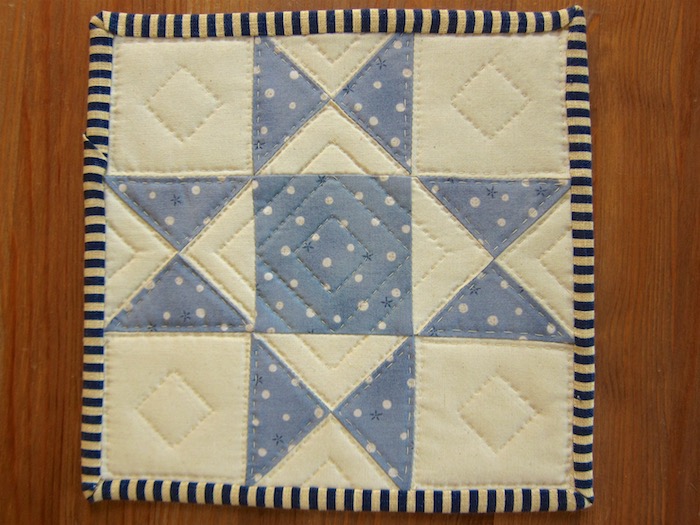
I suggest that if you have all the supplies for a project that you never thought you’d try – just do it. Even if you don’t like the end result, the experience you gain is worthy of the time spent! Happy crafting!




looks great – Missouri quilt company has a segment on binding if you want to look up the video on line – it was very helpful to me doing my own binding