
I finally wrapped up my sister-in-laws 2-year-belated wedding present and gave it to her. In this post, I am going to talk about the process. When she sends me over a photo of it hung on the wall in all its glory, I will post the final look.
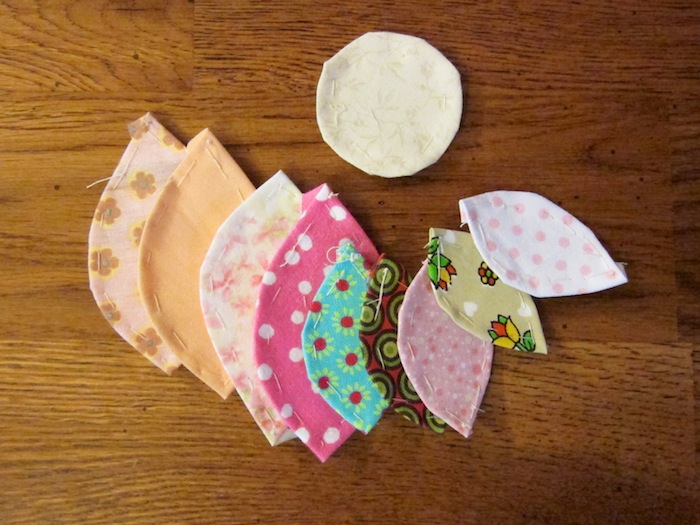
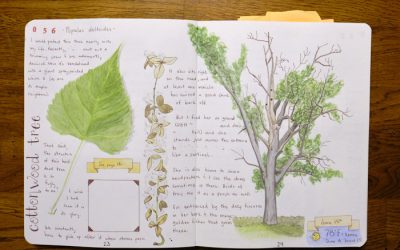
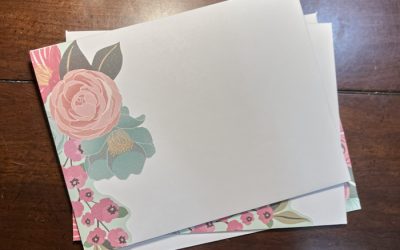
I learned many things. One, I like appliqué as much as I like hexagons. For her project, I used all free materials, except we purchased the background (a nice canvas for structure) and the trim (upholstery piping). The rest came from her grandmother who has passed away, her stepmother (my neighbor, a quilter and giver-of-scraps), and what I had in my stash (some gifted from my friend Leslie). I used a template I found on the internet, but for the life of me I cannot find its source again. Grr! I did not use the giant one, mostly the three on the left and a few of the one on the bottom right.
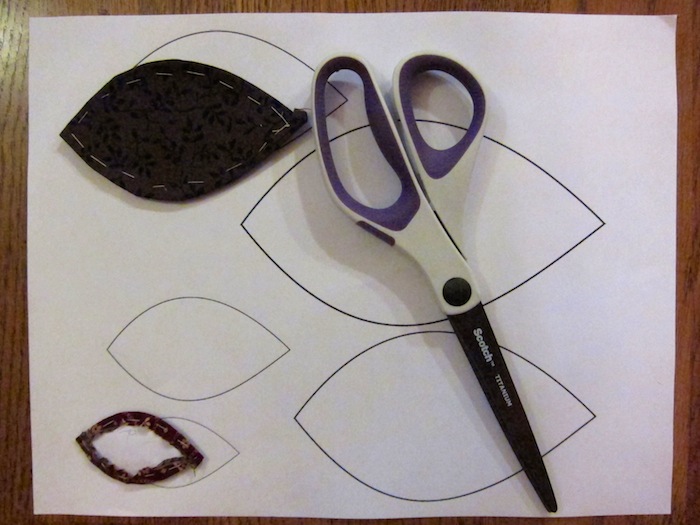
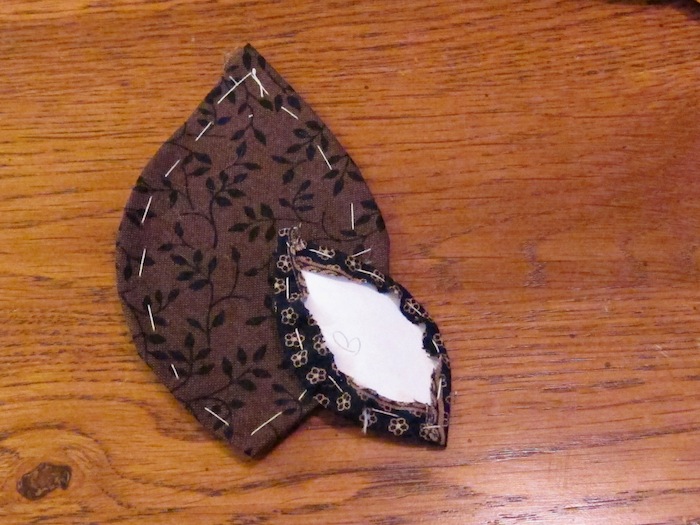
The process was simple – cut paper templates out, baste stitch around the edge and press.
Oh, so two, I learned the difference between ironing and pressing. And three, that you can burn your ironing board cover 🙁

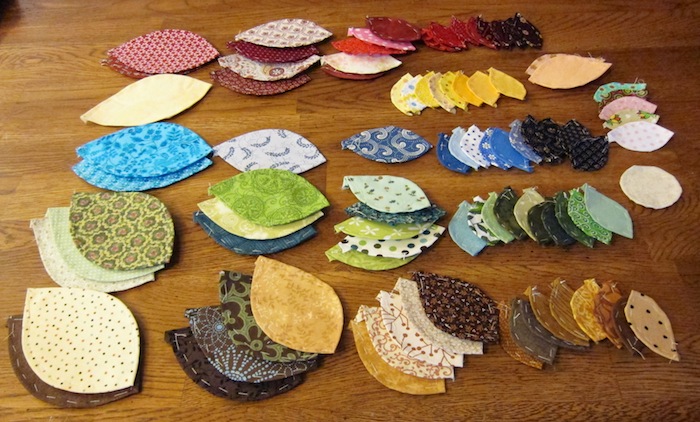
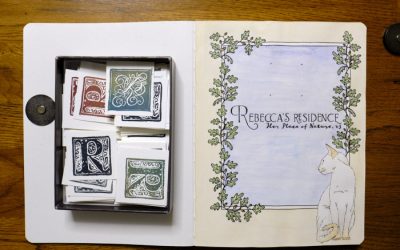
Kaite was very lax about what she wanted. Or where she wanted to put it. So, I tried to stick with neutrals and her general house colors, but she also said to make it a bit fun. I selected a rainbow of colors and fabrics.
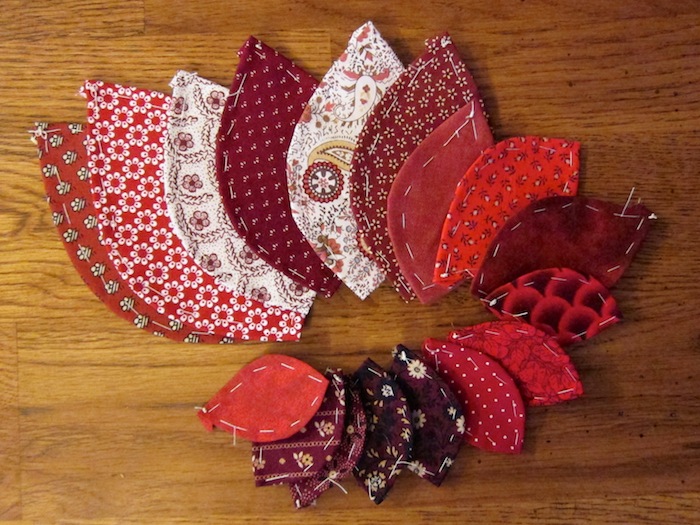
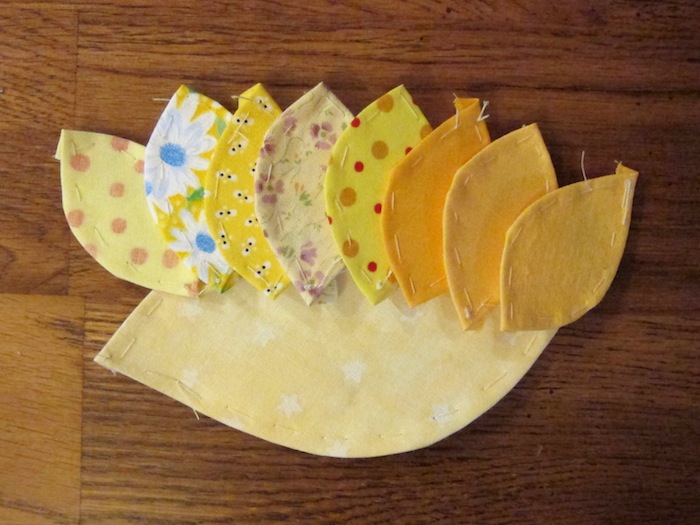
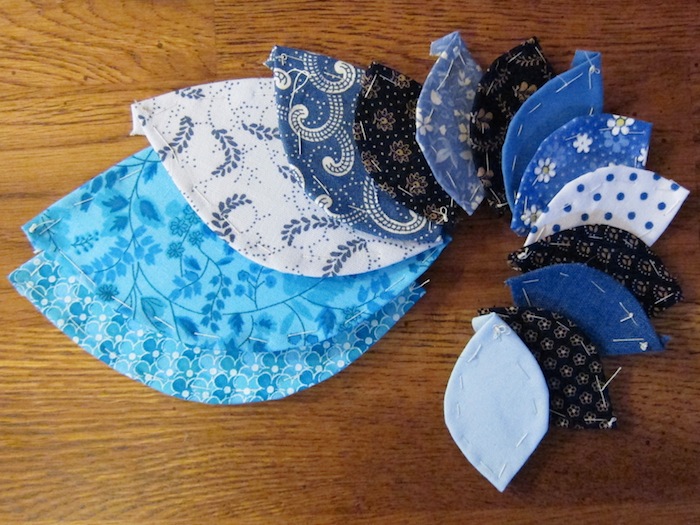
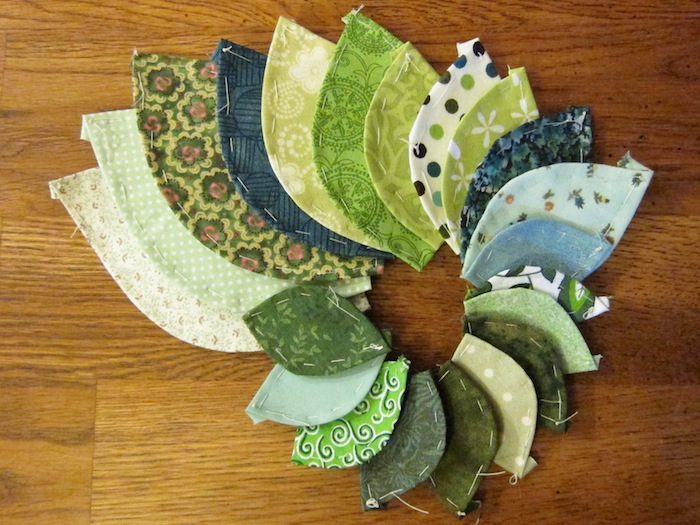
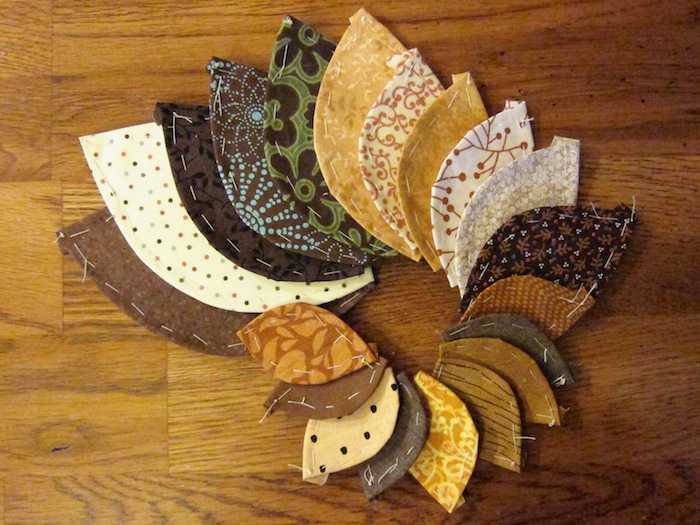
Not all of them made the cut once I started putting them together. I think I only used about half of the ones I had prepared. Here is a look at all of them:
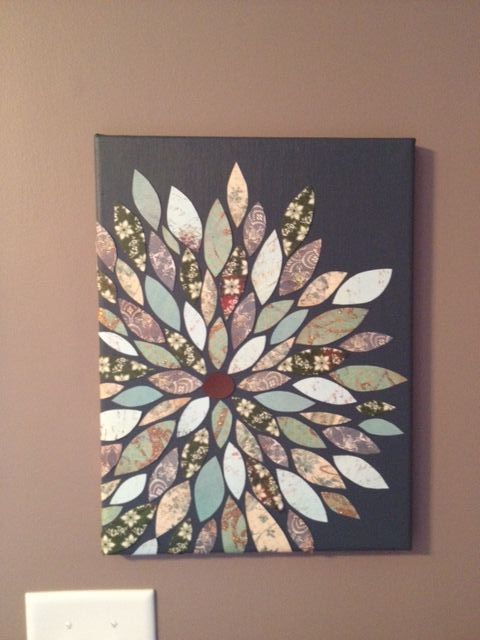
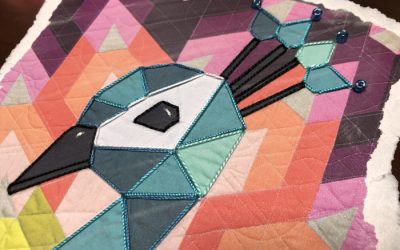
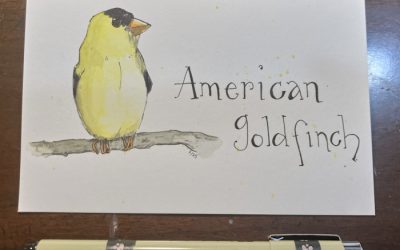
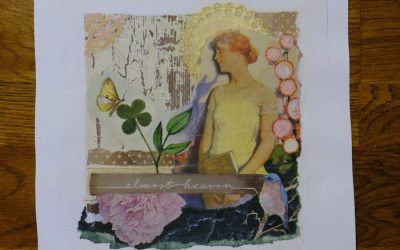
My inspiration came from this image, I found through a foray into Pinterest (I do not have a Pinterest account, for the record – but I scope it out every now and then. But not having it prevents me from locating this art’s owner…).
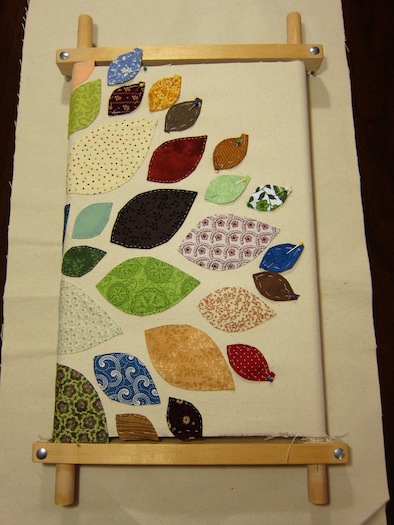
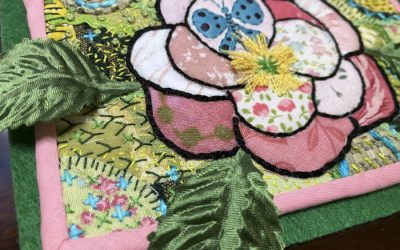
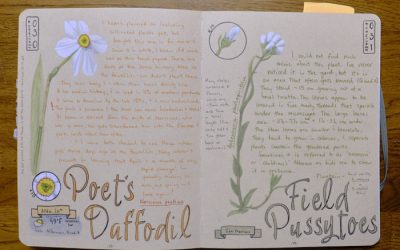
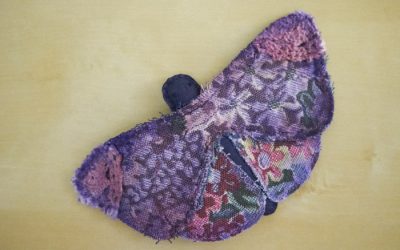
A long time ago, I bought this rectangular embroidery (?) “hoop” (is lap-quilt frame more appropriate?) for a project that I hope to embark on soon for a coworker of mine. (See a theme here about belated projects?) It worked out really well! I pinned the petals in place, and then appliquéd them on one by one. And four, let me tell you, Star Trek TNG is starting to get really, really good. I am almost on Season 4 and I am just now starting to understand why the internet thinks Picard is such a badass (when I was little, he was just the old man!). Now, I know.

An easy roll-over over to finish the edge:
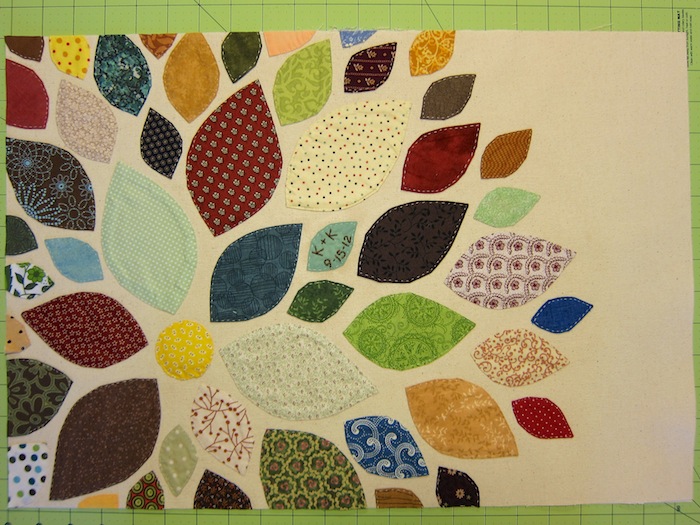
Even with the original choices for this pattern, not everything made the cut in the end. You’ll see that in the finale in the next post.
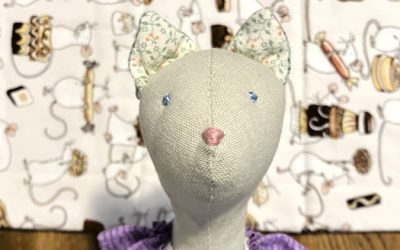
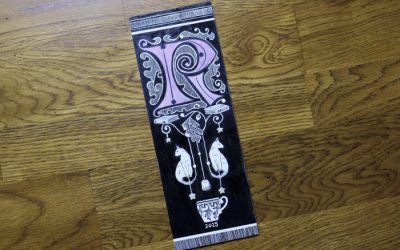
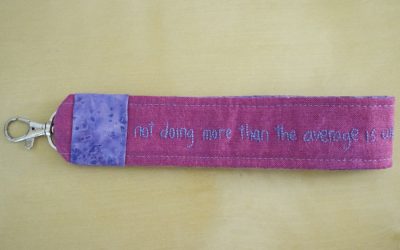
Then, some embroidery for the bride and groom – standard backstitch in a complimentary brown.

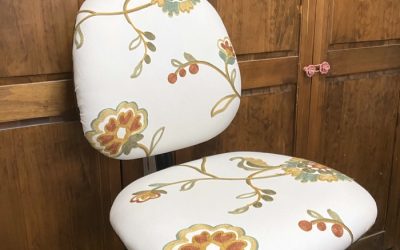
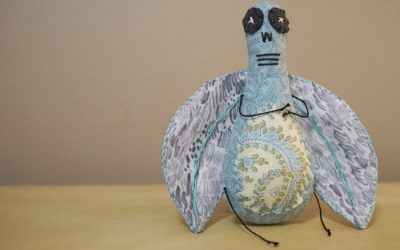
I had to cut it to size, and I lost some of the petals here. It was slightly crooked so to square it off; more got chopped off than originally planned. Then, of course, adding a quarter inch seam all around ate some of the real estate too.
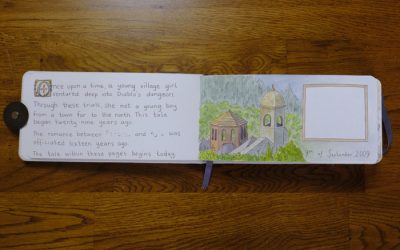
I had another piece of canvas for the back trimmed out with pockets for a rod – to either be hung vertically or horizontally (the embroidery works with both!). And, to either be hung so you do see the rod, or with spaces so you can use rod hangers behind the whole thing so the hardware doesn’t detract from the view. I wasn’t sure how they would hang it, or if they would want it hidden or not. I sewed the front and back face-to-face and left a fairly large hole to turn it out. More pressing and ironing. Then I sewed the trim to the backside (I was too afraid to try to get it perfect whilst sammiched inbetween). I also wanted to hide the edges of the canvas for the rod pockets, but with them being that small, I could not get them to turn out. The sides are nicely hemmed, but the bottom isn’t. And ironing them was a pain also, so I went with fray check (the darkened line across the bottom). I mean, it’s the back, right?
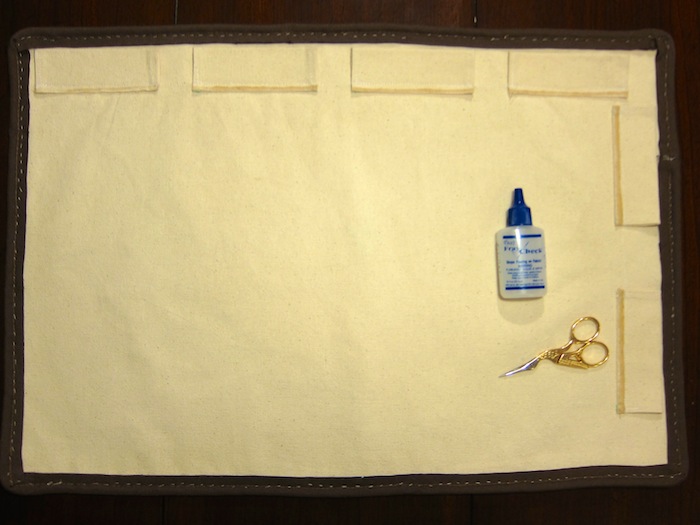
See those sweet scissors? Boy got them for me for my birthday! He says no embroiderer is complete without gold swan scissors. He admires them for their engineering and is sad he is not allowed to use them (he’s learned the hard way about my sewing sharps!). I should mention he is the one who picked out the background and trim for Kaite’s project. He’s very proud of that.
Hopefully she will send me pics along soon to show you the front so ye can be dazzled.
I also learned finally how to not end up with crazy knots all over the backside (in all of that, I had one knot – in the embroidery – and I was able to get it out before I tied it off!). I was so proud of it I took a photo, but the thread is too much the same color as the canvas and you can’t tell what’s going on. Just believe me. It was cool.

0 Comments