
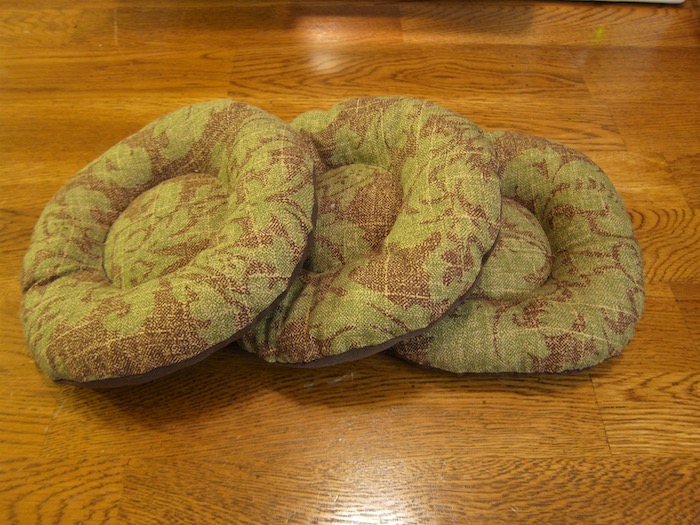
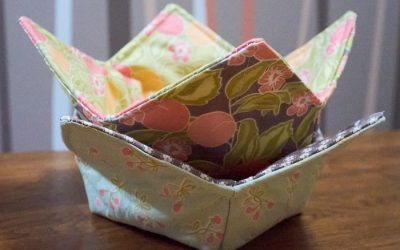
I am back from Mexico and will post about that trip some day, but first I wanted to share with you something I whipped up yesterday. I’ve been invited to go analyze some skeletons discovered by a road construction project and it reminded me that I wanted to make some skull pillows. These are useful for nestling a human skull so that it can be analyzed – while you may not understand the importance of doing such a thing, the remains have already been disturbed by modern construction, and it is crucially important to certain groups (such as many Native American populations) to know whether or not the individuals are their ancestors. If so, they will be repatriated to the appropriate tribe for the proper ceremonies to take place; if not, they will be reinterred elsewhere in a place hopefully to not be disturbed again. This is why I do skeletal analysis.
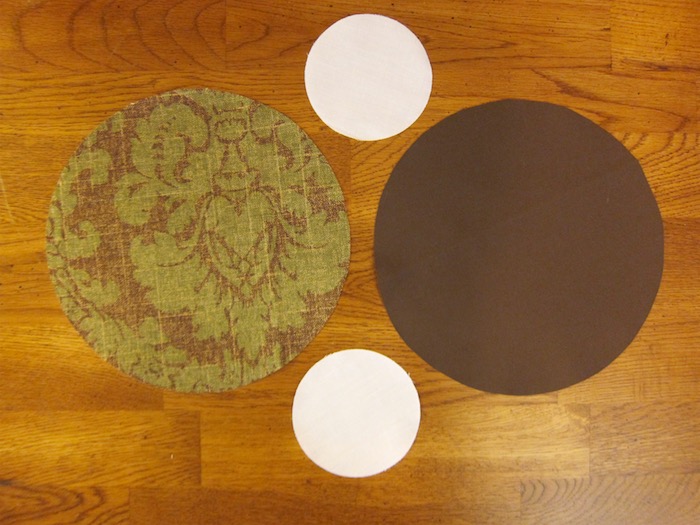
The first order of business is to cut out some circles. I use a stack of pre-cut white circles that my gramma bought and gifted me, and a tupperware container as a guide for the larger circles. This pattern went through a couple of prototypes about a year ago, but I seem to have not taken any photos of that mess. This process seems to work ok though, for those of you who may do bioarchaeology or know someone who handles human skulls… Let’s be real: probably no one who reads this post will find it useful, but at least I have a record here for the next time I might need to make one.
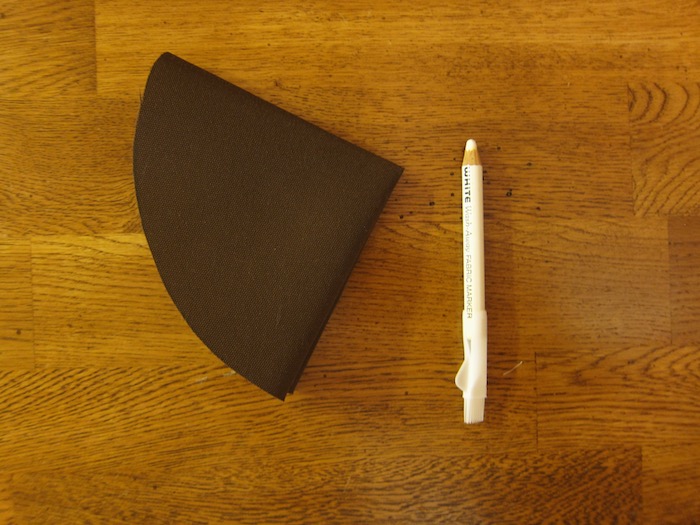
Next, I fold one of the large circles into a quarter and use a glass to trace around. The glass happens to fit over the white circles with a quarter-inch allowance, so it is the perfect tool for this step. I just line of the center of the glass to the corner of the folded fabric and give it a whirl with my marking pencil.
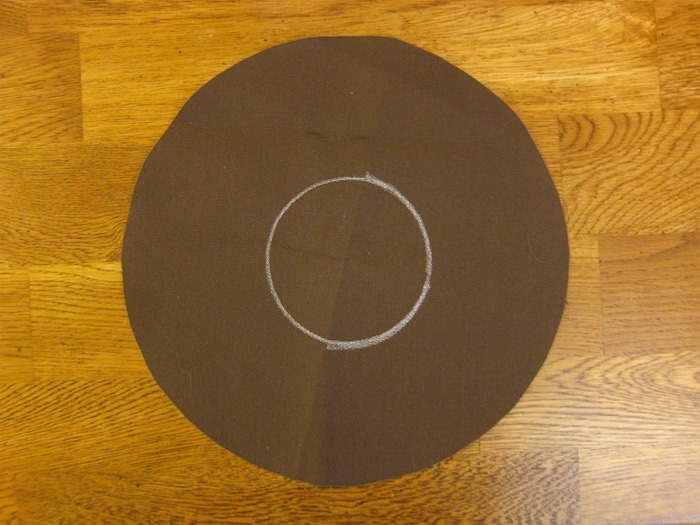
Unfold, line up the glass to the line, and complete the circle. I did this on both sides of the same fabric, which will come in handy later.
Then, place the two large circles right-sides together. Sew around, leaving a fairly wide opening so that you can complete the stuffing later. To sew a fairly perfect circle, I held a pin poked into the center of the circle to hold the fabric as the machine sewed (at the white dot in the image below the next). Clip the allowance, being careful to not clip through the seam.
Before turning out, align the two inner circles and pin them to the center of one side of the fabric. A single pin is better than the photo below (taken before I realized this) because you need to be mindful of how the pin is facing in order to remove it once you turn everything out – place the head of the pin pointing at the seam opening of the big circles. Make sense? Don’t do what I did here! (Marking the inner circles is also unnecessary.)
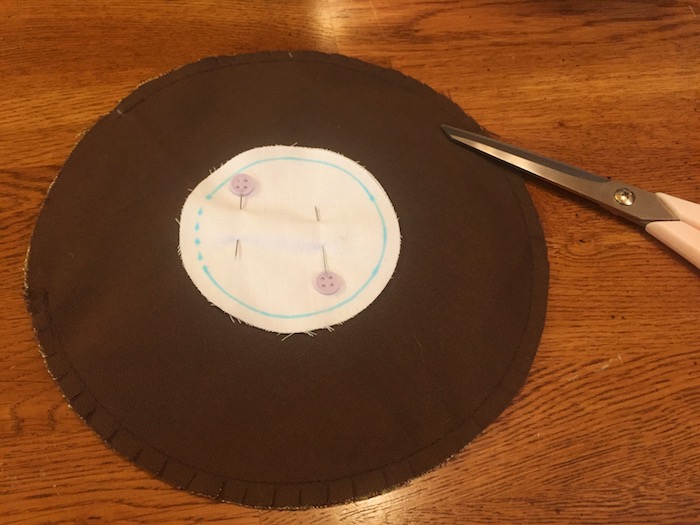
This is where that marked line on both sides of the fabric comes in handy. First – re-pin the inner circle from the outside (now right-side). Using the same trick mentioned above, with a pin holding the fabric in place against the machine (just hold it with your fingers vertically), sew a circle in the center of the big circles, but leave a small opening in the same direction as the big opening in the big circles.
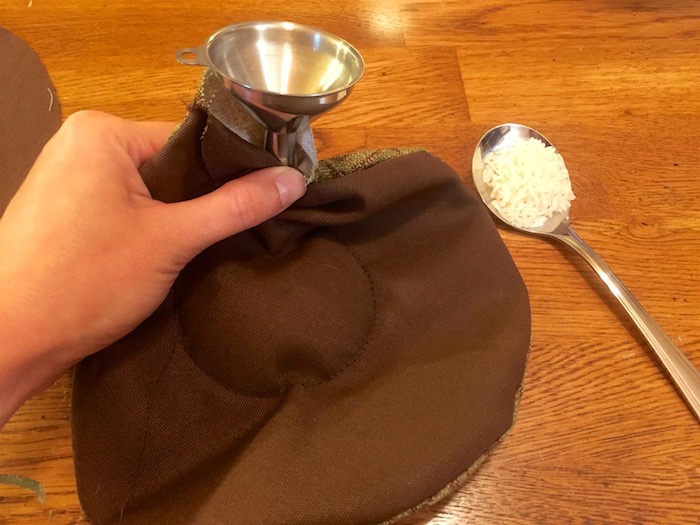
Now, it gets a little tricky but not difficult. Using a tiny funnel, fill the inner circle with weighted fill – I use spoonfuls of rice but I heard this might not be the best choice if you are worried about vermin of any kind. This part probably doesn’t even need to be weighted, but it gives a bit of a heft to the pillow, which makes it feel like it will protect the skull more. Emotions trump knowledge, right? Otherwise, you could fill it with stuffing – the important part is that you want the center of the pillow to be sunken so that a skull doesn’t roll off it. Kapish?
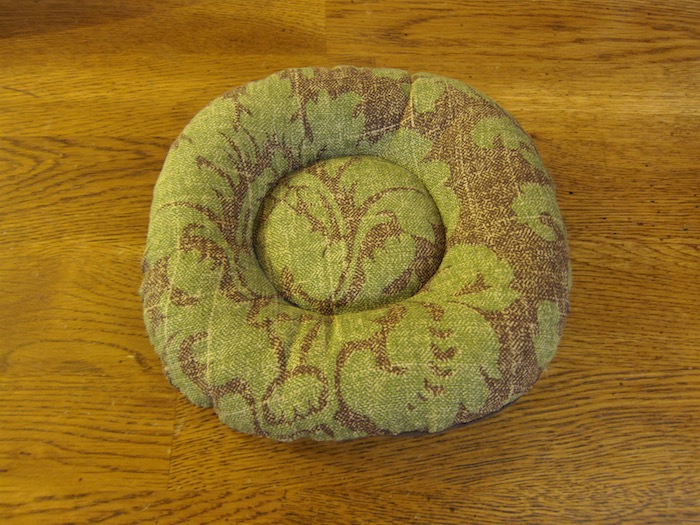
Only fill the rice bag about ⅔-¾ full, and pin all the rice to one side. Stick it back under the machine and complete the inner circle stitch. Using small wads of stuffing, stuff the donut-part of the pillow somewhere between medium and fully stuffed. Hand stitch the closure and voila!
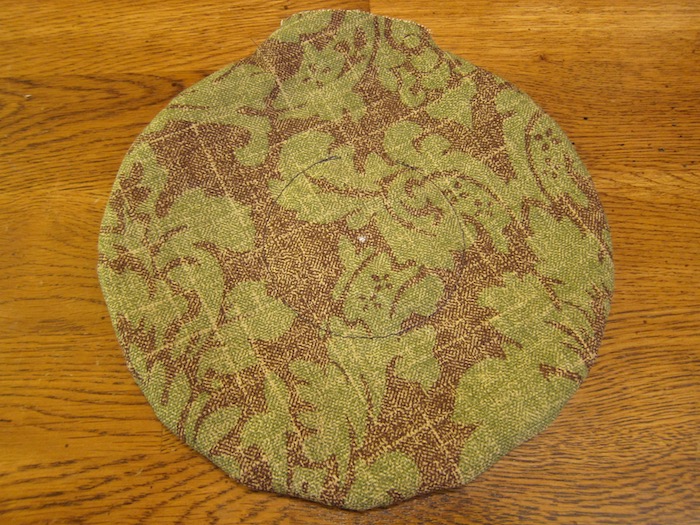
I just used some left-over fabric laying around that kind of sort of went together. You can have fun with the fabric choices, but it should be a fabric that is not too rough (some bone is quite delicate) and not too weak (which will become yucky with bone bits and frays).
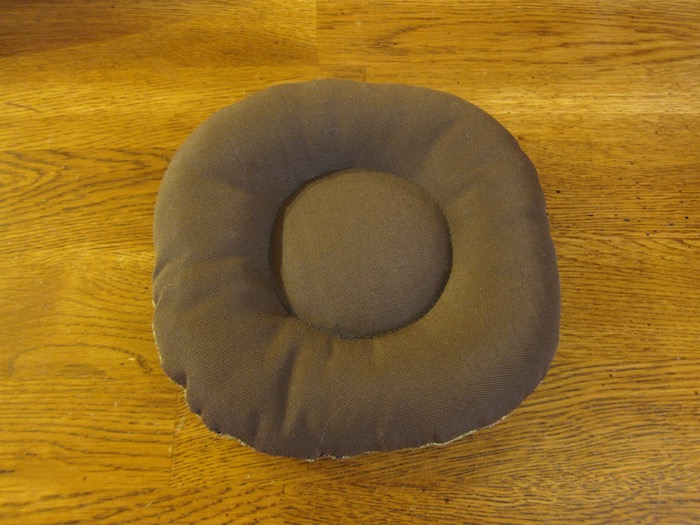
And obviously, my circle-stuffing skills could use a little work!


0 Comments