and then the bird landed

Monday, May 25, 2009

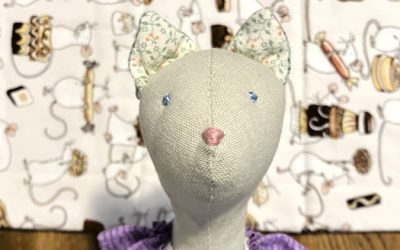
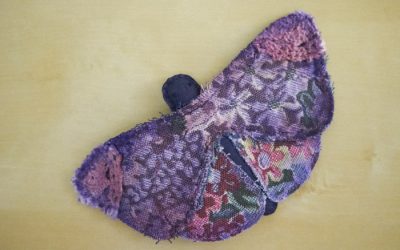
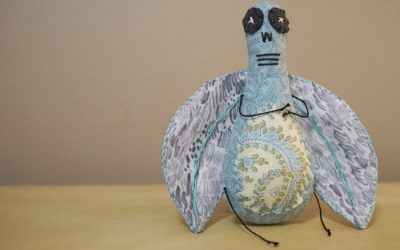
This is a project i have been working on for a bit. I got the bird pattern from Spool Sewing.

felt_toy_embroidered_bird4

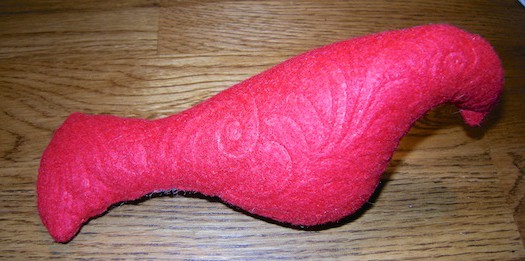
It was very easy to piece together by hand although I altered where the opening was for the stuffing because i had chosen very thick felt to use as the fabric so i needed something larger to turn it out.

felt_toy_embroidered_bird3

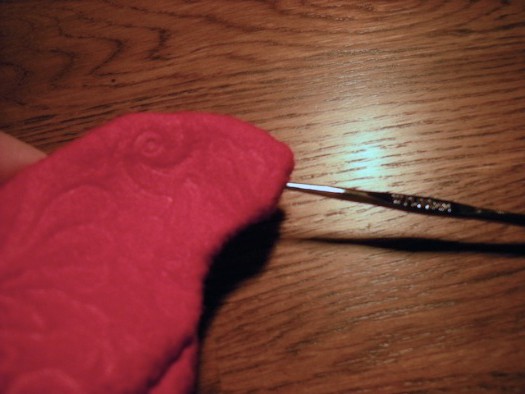
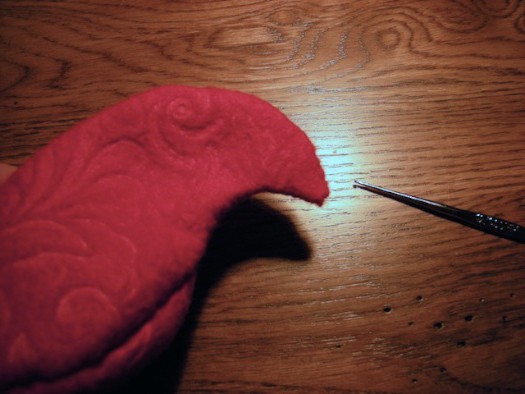
And my usual trick of using a teeny tiny crochet needle (12/1.00mm) to assist in turning out the smallest corners worked like a charm.

felt_toy_embroidered_bird5felt_toy_embroidered_bird6

I also took boys suggestion and stuffed it extra full – i could have still added some in the tail area, but it was hard to do since thats where i left it open at. Originally, i thought that by using this cool fancy felt, it would be enough to have a cool fancy bird.

felt_toy_embroidered_bird7

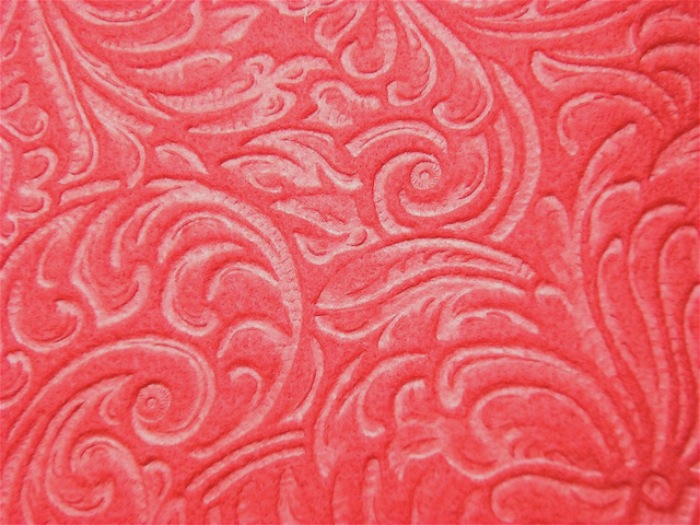
As it turns out, the more you work the felt, the image burnished onto it begins to fade. So my birdie was pretty blah.

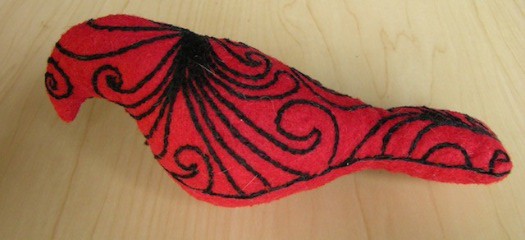
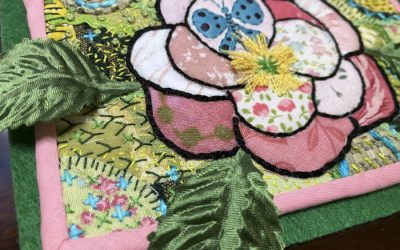
I decided it would be cool to embroidery the pattern on the felt and chose black as a stark contrast to the solid red. I was excited because it really looked cool. However, the more i worked it, the pattern disappeared completely in parts, so some of the pattern was done free hand. Thats totally ok by me except i didnt really know how to tie it together. To me, it looks like a few different patterns on one bird, and I am still sorting out whether i like that look or not.

felt_toy_embroidered_bird1

felt_toy_embroidered_bird2

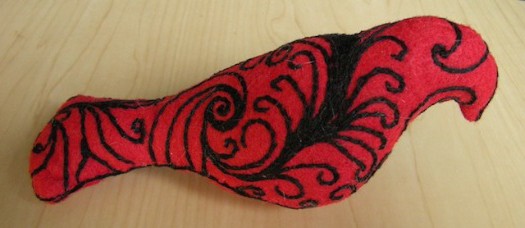
I felt that if I had continued the patterns to the bottom as well, something would be lost. So i ended the patterns at the seam line and needed to tidy it up so I chose to line the seamline with black. I think this look would equally be cool, if I had done black felt on the bottom.

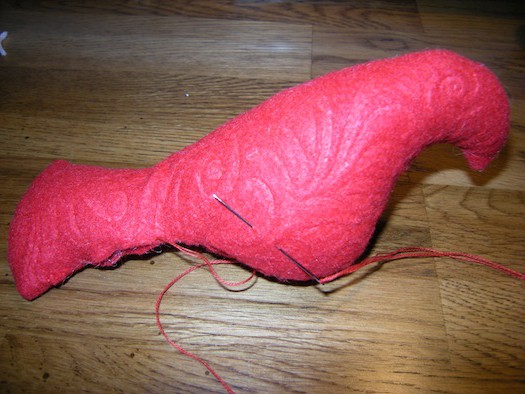
I also started to trace the seam line with an actual stitch through the felt, here and there when I had extra thread but not enough to continue a pattern. At the end, i decided to use a full 6 strand rather than 3, and loop it around the stitch from the seam itself (red thread). So sometimes those two lines are separated visibly, but as my first of this kind – its awesome. 😛

It took me so long because my finger was sore from pushing and pulling the needle so i took some days off between to finish. Another drawback is using white stuffing because it does get pulled out here and there and looks like cat hair (i do have cats, but i am fortunate that they dont shed much). I need to look into ways to dye stuffing. Any ideas?


See more posts related to:

1 Comment

  1. mik

    try using a small pair of pliers to aid moving the needle thru thick fabric (I use this with some hides), takes more time but better for the hands

    Reply

Submit a Comment

Your email address will not be published. Required fields are marked *

Looking for more cases of the Crafties?
Collaged Slow Stitch

Collaged Slow Stitch

I made a quirky and weird slow-stitched collage to try to push through a creative slump. It was much more about doing than the outcome.

read more
Stitch Camp 2023

Stitch Camp 2023

I stitched this mixed media piece following Gwen Hedley’s instruction through TextileArtist.org’s Stitch Camp.

read more
Tea Cup study

Tea Cup study

I was inspired to stitch up a stack of tea cups which lead to starting a second project that I’m still thinking about.

read more
Stitch Club: Clover

Stitch Club: Clover

Jette Clover lead a TextileArtist.org’s Stitch Club using scraps and a stamp. I used a country farm stamp with a big red barn as inspiration.

read more
Stitch Club: Tume

Stitch Club: Tume

Kate Time lead a TextileArtist.org’s Stitch Club on narrative bead texture, and I was inspired to have a play!

read more
Open Press Project

Open Press Project

I ordered a small print press from the Open Press Project and have begun experimenting with pressing leaves.

read more
Stitch Club: Notman

Stitch Club: Notman

Emily Notman lead a TextileArtist.org’s Stitch Club where we would learn to make a jar wrap, and I was inspired to create a scene along a lakefront at sunset with cattails blowing in the wind.

read more
Stitch Club: Bliss

Stitch Club: Bliss

Oliver Bliss lead a TextileArtist.org’s Stitch Club recently centered on color blocking, and I was inspired to stitch up a skull with flowers.

read more
Nina Stajner + Lake = Swan

Nina Stajner + Lake = Swan

I worked up Nina Stajner’s swan coloring page from the Lake app in a (mostly) single solitary stitch: the stem stitch.

read more
Stitch Club: Norbury

Stitch Club: Norbury

As part of TextileArtist.org’s Stitch Club, Ruth Norbury tasked us with making a textural mixed media peice and I chose Hubert Robert’s La Fontaine painting as my subject.

read more
Stitch Club: Steel-Jessop

Stitch Club: Steel-Jessop

As part of TextileArtist.org’s Stitch Club, I made a map of Guy Gavriel Kay’s Sarantium (by Martin Springett) following Bridget Steel-Jessop’s workshop.

read more
Kintsugi stones

Kintsugi stones

I used a kintsugi kit by Jack Richardson to meld two broken stones back together.

read more
Painting Miniatures

Painting Miniatures

I tested my painting skills in a challenge with Boy: who could paint the best D&D miniature?

read more
Hexie Dreams 16

Hexie Dreams 16

I have a total of 107 flowers ready for my fussy-cut EPP Hexie Dreams quilt and am moving on to planning how to arrange them.

read more
Eternal napping in the sun

Eternal napping in the sun

You can stop here if you don’t wish to read anything sad today. It’s already bad enough with Roe v. Wade, war, and such, I know.

read more