
Boy and I attended Interwoven Expressions over the fall and he got really excited about all the weavings – I am stoked that his admiration for crafts is gaining ground! Anyway, among the things we brought home, he bought me a pin weaving kit and board from Shirley Adams. Because I had TAST and some other projects to finish up, this one kept eyeing me from my desk, whispering how neat it would be to just start one more project, but I fought the urge to get everything else under control first.
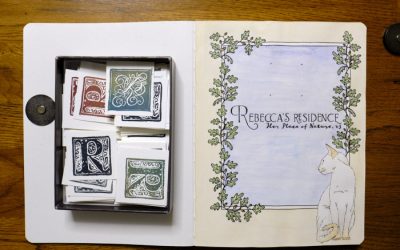
Shirley’s kit was perfect (and you can buy them here). Her instructions are quite clear and she includes the necessary fibers, fusible interfacing, and needle (we bought the board separately but the instructions to create your own are inside the pin weaving kit itself and I used my own pins). In fact, there is an article about her pin weaving with fantastic photos that really explain the process! Shirley’s choices of fibers were superbly color-coordinated (Boy chose this set for the teal) and the neatest part is just the different types of fiber. I’ve seen yarn before, obviously, but I never really look at it at the shops because I am not a knitter or crocheter so some of these types were newly delightful. Maybe I am a weaver?
Pin weaving is so amazingly simple! And I will certainly keep it in the back of my mind to replace embroidery when I get older if I end up with arthritis or some other ailment as such – it really didn’t take much effort at all.
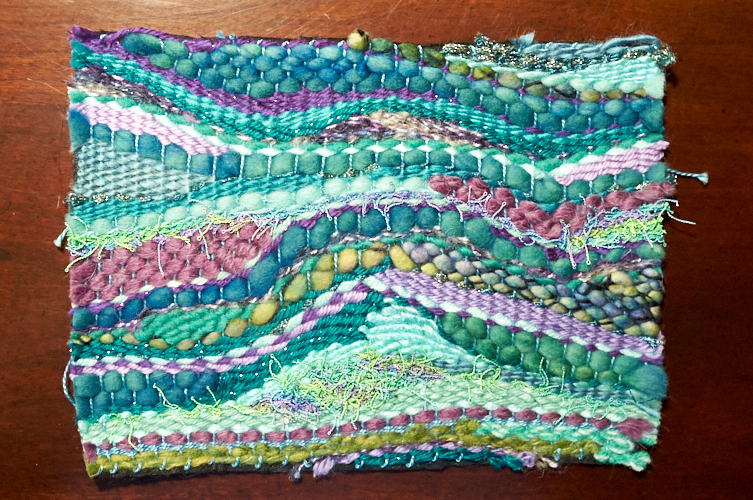
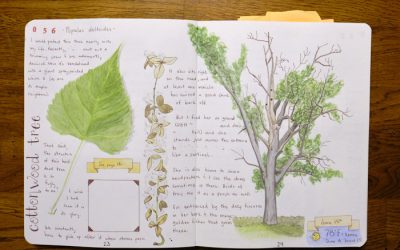
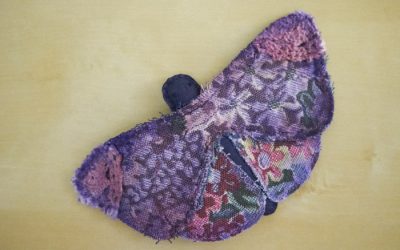
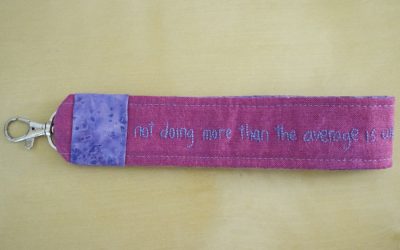
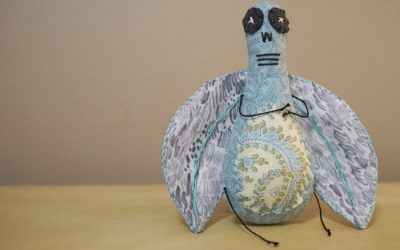
I also found pin weaving to be neat because you can work it as I did here, in some colorful abstract way – or, you can kind of create landscapes or other impressions. Shirley has turned much of her work into purse flaps and the like – click here to see what I mean – but also just as art, or even as a pair of shoes! I can see this also working as a bracelet cuff, or as a camera strap, or a fancy table rug…
Well, I’m not yet sure what this piece will end up becoming, but now I will start looking at yarns when I shop! Thanks Shirley! 😀
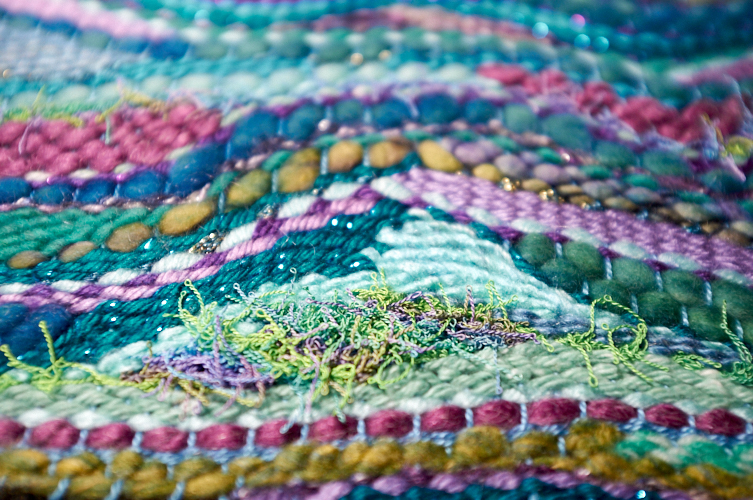
The colours are so prety together. How did you make them stick together?
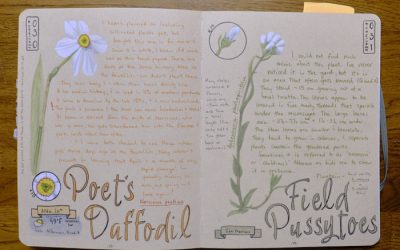
Thank you Semie! Do you mean, how does the whole thing stick together? Before you start weaving, you lay a piece of fusible interfacing down, fusible side up. Then you lay out the lines of thread that you will weave between, and start weaving. When you are finished, you gently steam iron it together, and ta-da! You have a working piece of “fabric” to do whatever you want with! I hope that helps – if it isn’t what you meant, let me know:)